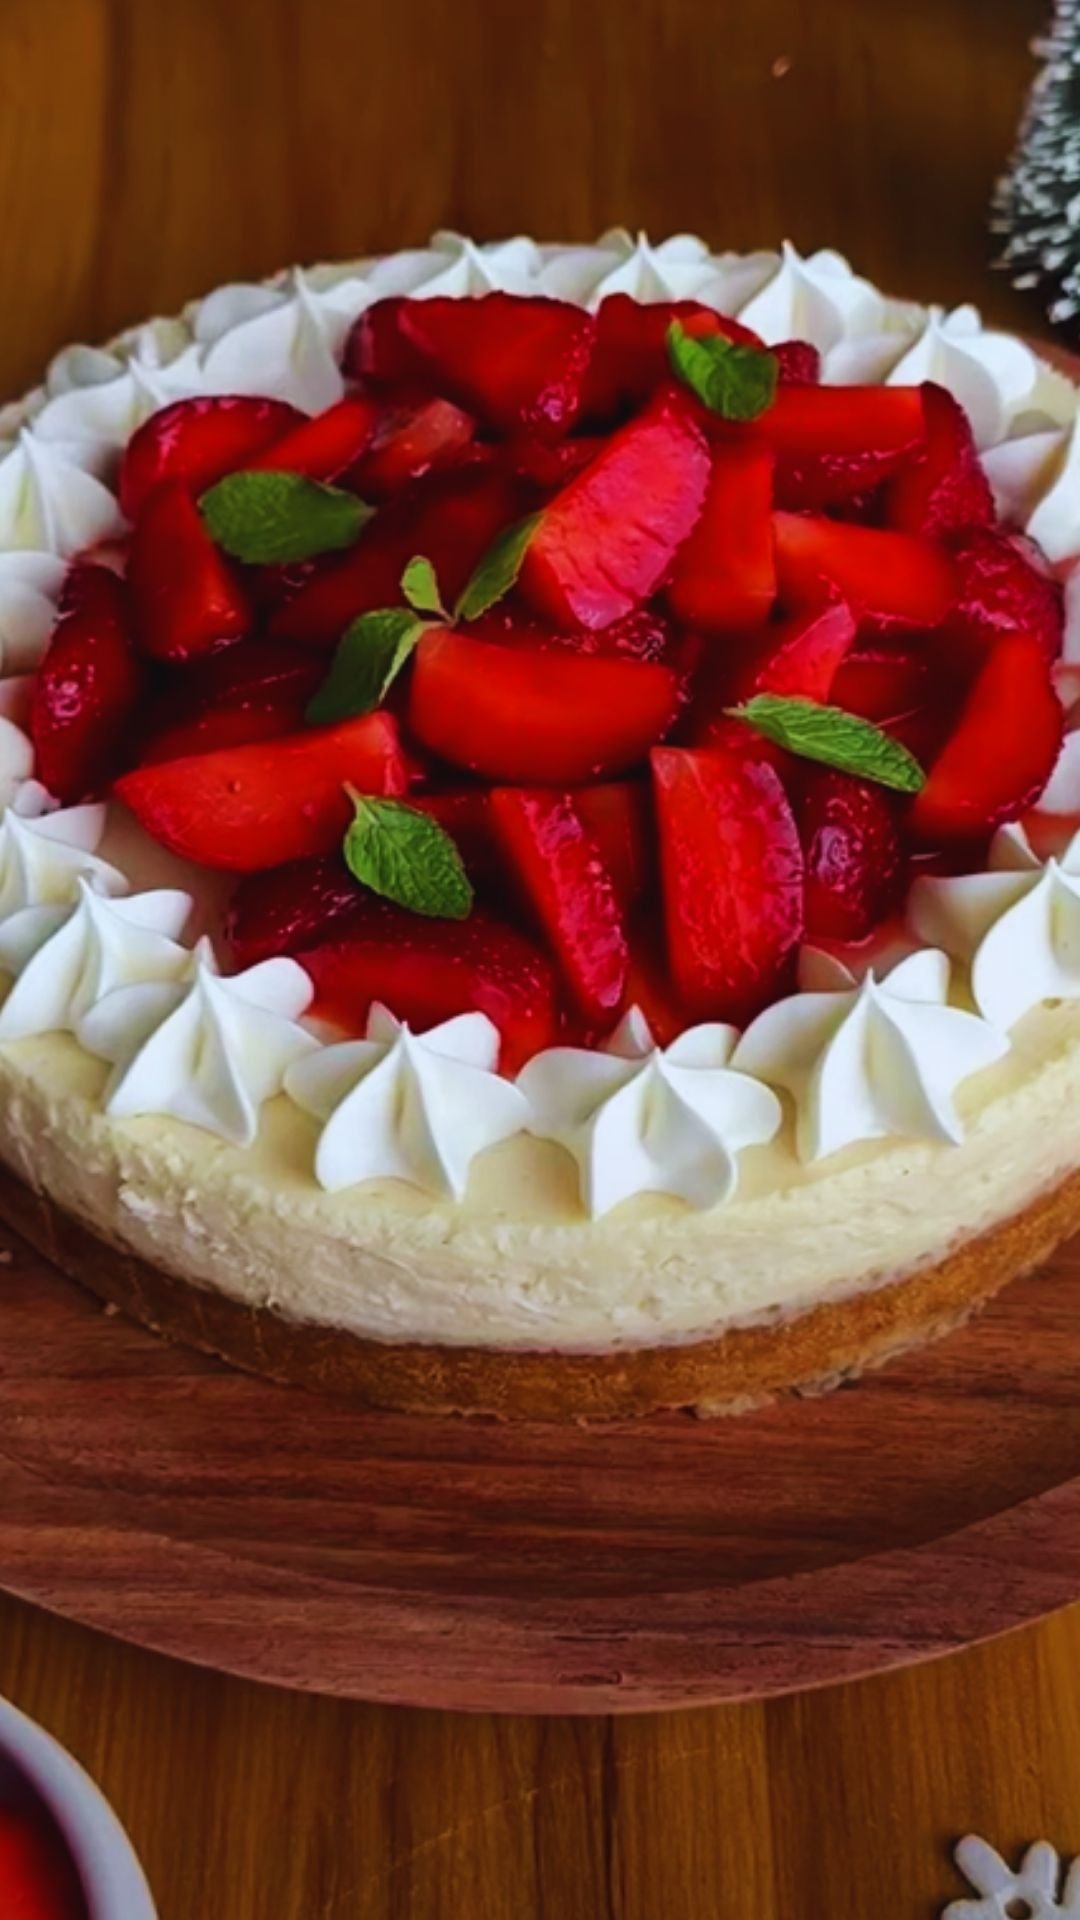
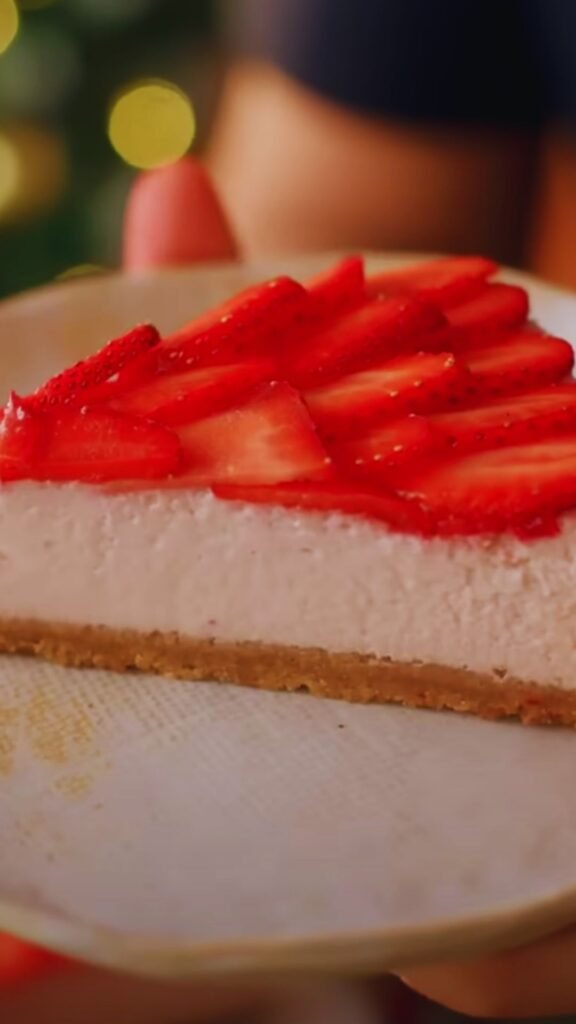
There’s something magical about the perfect strawberry cheesecake. That first bite—where the tangy cream cheese filling meets the sweet, juicy strawberries and the buttery graham cracker crust—is nothing short of heavenly. I’ve spent years perfecting my recipe, and today I’m thrilled to share all my secrets with you.
This isn’t just any strawberry cheesecake. It’s a celebration of flavors and textures that will make your taste buds dance. Whether you’re making it for a special occasion or simply treating yourself after a long week, this recipe promises to deliver smiles all around.
What Makes This Strawberry Cheesecake Special
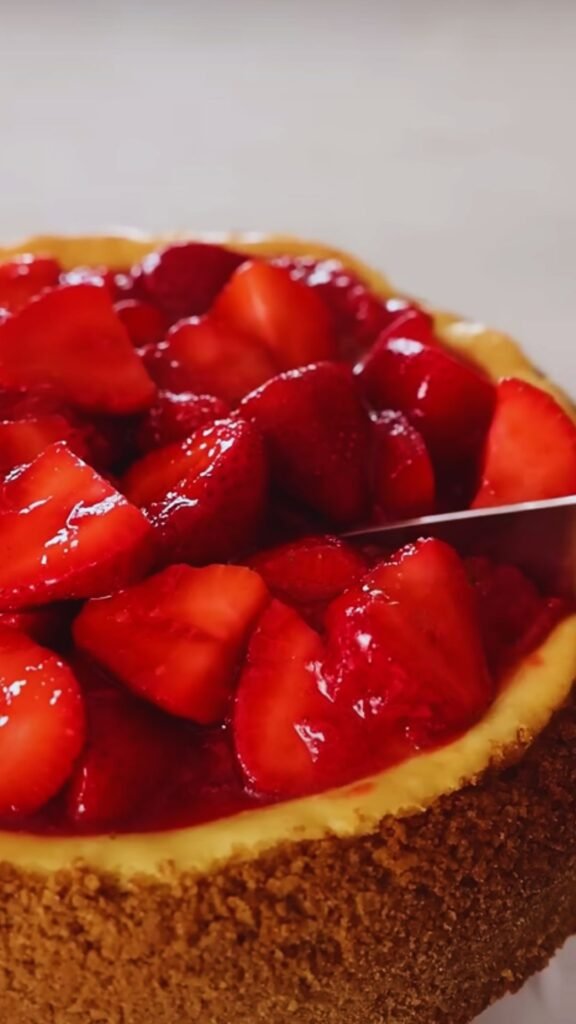
My version balances the rich creaminess of traditional cheesecake with the bright, fresh flavor of seasonal strawberries. The secret lies in using both a strawberry compote swirl inside the cheesecake and a gorgeous topping of glazed fresh strawberries. This double-strawberry approach ensures that every bite delivers that perfect berry flavor you’re craving.
I’ve also perfected a technique that prevents the common pitfalls of homemade cheesecake—no cracks, no sinkholes, and no over-baked edges. Even if you’ve never made cheesecake before, you’ll be amazed at how professional your results will look.
Essential Ingredients
Before we dive into the recipe, let’s take a look at what you’ll need:
For the Graham Cracker Crust:
- 2 cups graham cracker crumbs (about 15-16 full sheets)
- 1/4 cup granulated sugar
- 1/2 cup (1 stick) unsalted butter, melted
- Pinch of salt
For the Cheesecake Filling:
- 4 packages (32 oz total) cream cheese, at room temperature
- 1 1/2 cups granulated sugar
- 1/4 cup sour cream, at room temperature
- 2 teaspoons pure vanilla extract
- 4 large eggs, at room temperature
- 2 tablespoons all-purpose flour
- 1/4 teaspoon salt
For the Strawberry Compote Swirl:
- 2 cups fresh strawberries, hulled and chopped
- 1/4 cup granulated sugar
- 1 tablespoon lemon juice
- 1 tablespoon cornstarch
- 2 tablespoons water
For the Strawberry Topping:
- 4 cups fresh strawberries (2 pounds)
- 1/2 cup granulated sugar
- 2 tablespoons cornstarch
- 1/4 cup water
- 1 tablespoon lemon juice
- 1/2 teaspoon vanilla extract
Essential Equipment
Making the perfect cheesecake requires the right tools:
- 9-inch springform pan
- Heavy-duty aluminum foil
- Large roasting pan (for water bath)
- Electric mixer (stand or handheld)
- Food processor (for the crust)
- Fine mesh sieve (for the compote)
- Rubber spatula
- Instant-read thermometer (optional but helpful)
Step-by-Step Instructions
Preparing the Graham Cracker Crust
- Preheat your oven to 325°F (165°C).
- Wrap the outside of a 9-inch springform pan with a double layer of heavy-duty aluminum foil, covering the bottom and extending all the way up the sides. This prevents water from seeping in during baking.
- In a food processor, pulse graham crackers until you have fine crumbs.
- In a medium bowl, combine the graham cracker crumbs, sugar, and salt. Add the melted butter and mix until the crumbs are evenly moistened.
- Press the mixture firmly into the bottom and about 1-1/2 inches up the sides of the springform pan. Use the bottom of a measuring cup to compact the crust evenly.
- Bake the crust for 10 minutes, then remove from the oven and let cool while you prepare the filling. Leave the oven on.
I find that pre-baking the crust gives it that perfect crispy texture that contrasts beautifully with the creamy filling. A quick tip: chill your crust in the freezer for 10 minutes before baking to help it keep its shape.
Making the Strawberry Compote
- In a medium saucepan, combine the chopped strawberries, sugar, and lemon juice.
- Cook over medium heat, stirring occasionally, until the strawberries release their juices and begin to break down, about 5 minutes.
- In a small bowl, whisk together the cornstarch and water to create a slurry.
- Slowly pour the cornstarch mixture into the simmering strawberries, stirring constantly.
- Continue to cook, stirring frequently, until the mixture thickens, about 2-3 minutes.
- Remove from heat and pass through a fine-mesh sieve to remove seeds and any large pieces (optional but creates a smoother swirl).
- Allow to cool completely before using.
The compote adds concentrated strawberry flavor throughout the cheesecake. I sometimes make extra because it’s delicious spooned over ice cream or stirred into yogurt!
Preparing the Cheesecake Filling
- In the bowl of a stand mixer fitted with the paddle attachment (or using a hand mixer), beat the cream cheese on medium-low speed until smooth and lump-free, about 2 minutes.
- Add the sugar gradually and continue beating until completely incorporated and smooth, scraping down the sides of the bowl as needed.
- Add the sour cream and vanilla extract; beat until well combined.
- Add the eggs one at a time, beating on low speed just until incorporated after each addition. Don’t overmix at this stage.
- Sprinkle in the flour and salt, and beat on low just until combined.
The key to a silky-smooth cheesecake is having all your dairy ingredients at room temperature. I usually take them out of the refrigerator at least 2 hours before I start baking. Also, be gentle when mixing in the eggs—too much air in the batter can cause the cheesecake to puff up and then crack as it cools.
Assembling and Baking the Cheesecake
- Pour half of the cheesecake batter into the prepared crust.
- Dollop spoonfuls of the cooled strawberry compote (about half of it) over the batter.
- Use a skewer or the tip of a knife to gently swirl the compote into the batter. Don’t overmix—you want distinct swirls.
- Pour the remaining cheesecake batter on top.
- Repeat the dolloping and swirling process with the remaining compote.
- Place the foil-wrapped springform pan in a large roasting pan.
- Place the roasting pan in the oven and carefully pour hot water into the roasting pan until it reaches about halfway up the sides of the springform pan.
- Bake for 70-80 minutes, or until the edges are set but the center still has a slight jiggle when gently shaken.
- Turn off the oven, crack the door open, and let the cheesecake cool in the oven for 1 hour.
- Remove from the water bath, remove the foil, and let cool completely on a wire rack.
- Once cooled to room temperature, cover with plastic wrap and refrigerate for at least 6 hours, but preferably overnight.
The water bath might seem like an extra step, but it’s absolutely worth it. It regulates the temperature and creates a humid environment that prevents cracks and ensures even baking. Think of it as a day spa for your cheesecake!
Making the Strawberry Topping
- An hour before serving, hull and slice 3 cups of the strawberries. If they’re large, cut them in half or quarters. Reserve a few perfect whole berries for garnish.
- In a small saucepan, combine the remaining 1 cup of strawberries (chopped), sugar, cornstarch, water, and lemon juice.
- Cook over medium heat, stirring constantly, until the mixture comes to a boil and thickens, about 5 minutes.
- Remove from heat, stir in the vanilla extract, and let cool for 10-15 minutes.
- Fold in the sliced strawberries, gently coating them with the glaze.
- Spoon the topping over the chilled cheesecake just before serving, or refrigerate for up to 2 hours before serving.
The Science Behind the Perfect Cheesecake
Understanding the science of cheesecake has helped me perfect my recipe over the years. Here’s what I’ve learned:
| Factor | Effect | My Solution |
|---|---|---|
| Overmixing | Incorporates too much air, leading to cracks | Beat on low speed, especially after adding eggs |
| Temperature fluctuations | Causes rapid expansion and contraction, creating cracks | Water bath and slow cooling in the oven |
| Overbaking | Dry, rubbery texture | Bake until center is still slightly jiggly (internal temp of 150°F) |
| Cream cheese temperature | Cold cream cheese creates lumps | Always use room temperature ingredients |
| Opening the oven | Causes temperature drops and uneven baking | Resist the urge to peek! |
| Quick cooling | Causes the center to sink | Cool gradually in the turned-off oven |
Troubleshooting Common Cheesecake Problems
Even the most experienced bakers encounter issues sometimes. Here’s how to fix (or prevent) the most common cheesecake problems:
Cracked Top
- Cause: Overbaking, rapid temperature changes, or overmixing.
- Solution: Use a water bath, don’t overmix the batter (especially after adding eggs), and allow for slow cooling in the oven.
- Quick Fix: If your cheesecake does crack, cover it with the strawberry topping—no one will ever know!
Soggy Crust
- Cause: Water leaking into the pan from the water bath.
- Solution: Use heavy-duty aluminum foil and be meticulous about wrapping it tightly around the pan.
- Alternative: Some bakers place the springform pan inside a slightly larger regular cake pan for additional protection.
Uneven Texture
- Cause: Ingredients at different temperatures or undermixed batter.
- Solution: Make sure all ingredients are at room temperature and scrape down the sides of the bowl frequently during mixing.
Sunken Center
- Cause: Underbaking or rapid cooling.
- Solution: Make sure the cheesecake is properly set before turning off the oven (just a slight jiggle in the center), and cool it gradually.
Serving Suggestions
A perfect slice of strawberry cheesecake is fantastic on its own, but here are some ways to take it to the next level:
- Serve with a dollop of lightly sweetened whipped cream
- Add a sprig of fresh mint for color and aroma
- Pair with a small scoop of vanilla bean ice cream
- Drizzle with a touch of high-quality white chocolate sauce
- Serve alongside additional fresh strawberries
- Dust the plate with a little powdered sugar for an elegant presentation
- For breakfast lovers, try it with your morning coffee (I won’t tell anyone!)
Make-Ahead and Storage Tips
One of the best things about cheesecake is that it actually improves with time, making it perfect for entertaining:
- The cheesecake (without topping) can be made up to 3 days ahead and stored in the refrigerator.
- You can freeze the baked and cooled cheesecake (without topping) for up to 2 months. Wrap it tightly in plastic wrap, then in aluminum foil.
- To thaw a frozen cheesecake, transfer it to the refrigerator and let it thaw overnight.
- The strawberry topping is best made no more than 2 hours before serving, but you can prepare the glaze portion a day ahead and fold in the fresh berries before serving.
- Store leftover cheesecake in the refrigerator, covered, for up to 5 days.
Seasonal Variations
While fresh strawberries are at their peak from late spring through summer, you can enjoy this cheesecake year-round with these seasonal adaptations:
Winter Variation
- Use frozen strawberries (thawed and drained) for the compote swirl
- Top with a combination of strawberry glaze and fresh strawberries that are available (even off-season berries will taste great with the glaze)
Spring Variation
- Combine strawberries with rhubarb in the compote for a classic spring flavor
- Garnish with edible flowers like pansies or violets
Summer Variation
- Use the ripest, juiciest local strawberries you can find
- Add a few fresh basil leaves to the compote for a sophisticated twist
Fall Variation
- Add warm spices like cinnamon or cardamom to the crust
- Incorporate a touch of orange zest in the filling to brighten the flavor
Nutrition Information
While cheesecake is definitely an indulgence, it’s good to know what you’re consuming. Here’s the approximate nutrition information per slice (assuming the cake is cut into 12 slices):
| Nutrient | Amount per Slice |
|---|---|
| Calories | 450-500 |
| Total Fat | 30g |
| Saturated Fat | 18g |
| Cholesterol | 150mg |
| Sodium | 300mg |
| Total Carbohydrates | 42g |
| Dietary Fiber | 1g |
| Sugars | 34g |
| Protein | 7g |
Frequently Asked Questions
Q: Can I make this cheesecake without a water bath? While you can, I don’t recommend it. The water bath provides gentle, even heat that helps prevent cracks and ensures a creamy texture throughout. If you absolutely must skip it, bake at 325°F for about 55-65 minutes and expect that you might get some cracks on top.
Q: Can I use frozen strawberries? Yes, for the compote and glaze components. Thaw them completely and drain off excess liquid before using. For the fresh topping, however, I strongly recommend fresh strawberries for the best texture and appearance.
Q: My cheesecake cracked anyway. What now? Don’t worry! The strawberry topping will cover any cracks perfectly. No one will ever know, and it will taste just as delicious.
Q: How do I know when my cheesecake is done baking? The perfect cheesecake should still have a slight jiggle in the center when you gently shake the pan. The edges should be set and perhaps slightly puffed. If you have an instant-read thermometer, the internal temperature should reach about 150°F. Remember that the cheesecake will continue to cook slightly as it cools in the turned-off oven.
Q: Can I make mini cheesecakes with this recipe? Absolutely! Use a muffin tin lined with paper liners or a mini cheesecake pan. Adjust the baking time to about 20-25 minutes. You’ll get approximately 24 mini cheesecakes from this recipe.
Q: Is there a way to make this cheesecake lighter in calories? You can substitute reduced-fat cream cheese (not fat-free) for up to half of the cream cheese called for. You could also reduce the sugar slightly, but I wouldn’t go below 1 cup for the filling. Keep in mind that these substitutions will affect the texture and flavor.
Q: How far in advance can I make this for a party? The cheesecake itself (without topping) can be made up to 3 days ahead. The strawberry topping should ideally be added no more than 2 hours before serving for the freshest appearance and taste.
Q: My family doesn’t like graham cracker crust. Can I substitute something else? Certainly! Digestive biscuits, vanilla wafers, shortbread cookies, and even Oreos (with the filling removed) make excellent alternatives. Use the same amount by weight and prepare as directed.
Why This Recipe Works
After years of testing and tweaking, I’ve discovered that a few key techniques make all the difference:
- Room temperature ingredients ensure a smooth, lump-free batter.
- Low mixing speed after adding eggs prevents incorporating too much air, which can cause cracks.
- The water bath creates a gentle, humid environment that prevents the cheesecake from drying out.
- Gradual cooling prevents the dramatic temperature change that can cause the center to sink.
- The double strawberry approach (both swirled inside and topped on the cheesecake) maximizes flavor.
Final Thoughts
There’s something deeply satisfying about creating a perfect strawberry cheesecake from scratch. It takes time and patience, but the results are so worth it. The combination of the rich, tangy filling, the sweet-tart strawberry elements, and the buttery crust creates a dessert that’s greater than the sum of its parts.
I hope you’ll try this recipe and experience the joy of serving a showstopping dessert that brings smiles to everyone at your table. Remember, even if it doesn’t look picture-perfect the first time, it will still taste amazing. And with each cheesecake you make, you’ll get better and more confident.
Happy baking, and enjoy every creamy, strawberry-laden bite!