Chocolate macarons hold a special place in my heart. The first time I successfully made these delicate French confections, I felt like I had conquered Mount Everest in my kitchen. The glossy shells with their signature “feet,” the satisfying crack as you bite into one, and that heavenly ganache filling—it’s a sensory experience unlike any other pastry.
But let’s be honest: macarons have a reputation for being temperamental and difficult to master. I’ve had my fair share of flat, cracked, hollow, and footless failures. Through years of trial and error, I’ve discovered that making perfect chocolate macarons isn’t about luck—it’s about understanding the science and technique behind these sophisticated treats.
In this comprehensive guide, I’ll share everything I’ve learned about creating bakery-worthy chocolate macarons at home. From proper ingredient preparation to troubleshooting common problems, I’ll walk you through each step with precise instructions and insider tips that took me years to discover.
The History and Magic of Macarons
Macarons (not to be confused with coconut macaroons) originated in Italy during the Renaissance period but were popularized in France. These meringue-based sandwich cookies gained worldwide fame through prestigious Parisian patisseries in the 20th century.
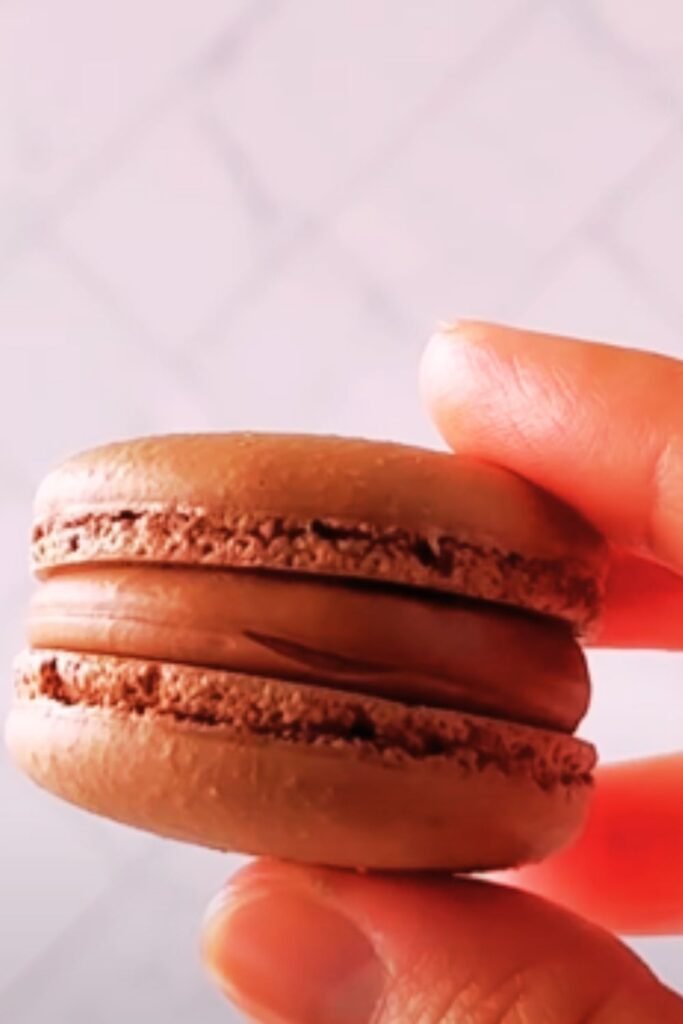
The classic macaron consists of two almond flour-based meringue shells sandwiching a flavored filling. What makes them special is their unique texture—crisp exterior, slightly chewy interior, and smooth filling creating a perfect textural balance. Chocolate macarons, with their rich cocoa-infused shells and decadent chocolate ganache, offer an indulgent twist on the traditional variety.
The Science Behind Perfect Macarons
Understanding the science behind macarons helps demystify the process. Here are the key scientific principles at work:
Protein Structure in Egg Whites: Whipping egg whites creates a protein network that traps air bubbles. This structure provides the foundation for light, airy shells.
Aging Egg Whites: Older egg whites have less moisture and more liquefied proteins, making them easier to whip to stable peaks.
Macaronage: This crucial folding technique incorporates dry ingredients into the meringue while releasing just enough air to achieve the right batter consistency.
Feet Formation: The characteristic ruffled bottom edge forms when the trapped air and moisture in the batter expand during baking, pushing the shell upward.
Rest Period: The controversial “resting time” allows the shells to form a skin, which helps create proper rise and feet during baking.
Essential Ingredients for Chocolate Macarons
Quality ingredients make a significant difference in macaron success. Here’s what you’ll need:
For the Chocolate Macaron Shells
- 100g aged egg whites (approximately 3 large eggs), room temperature
- 50g granulated sugar
- 120g almond flour, finely ground and sifted
- 100g powdered sugar
- 20g unsweetened cocoa powder (Dutch-processed for deeper color)
- ¼ teaspoon cream of tartar (optional, for stability)
- Pinch of salt
For the Dark Chocolate Ganache Filling
- 120g high-quality dark chocolate (60-70% cocoa), finely chopped
- 120ml heavy cream
- 15g unsalted butter, softened
- Optional: 1 tablespoon espresso powder for enhanced chocolate flavor
Equipment You’ll Need
The right tools can make macaron-making much more approachable:
- Digital kitchen scale (essential for precision)
- Food processor for grinding/sifting dry ingredients
- Electric mixer (stand or handheld)
- Rubber spatula
- Large piping bag
- Round piping tip (½-inch diameter)
- Baking sheets
- Silicone mats or parchment paper
- Oven thermometer (highly recommended)

Preparation: Setting Yourself Up for Success
I’ve found that thorough preparation is key to macaron success. Here’s my pre-baking checklist:
- Age the egg whites: Separate eggs 1-3 days before baking. Store egg whites in a clean container in the refrigerator, covered with plastic wrap with a few holes. Bring to room temperature before using.
- Measure precisely: Use a digital scale for all ingredients.
- Process dry ingredients: Pulse almond flour, powdered sugar, and cocoa powder in a food processor to remove lumps. Sift the mixture twice to ensure ultra-fine texture.
- Check weather: Humidity above 60% can affect macarons. Choose a dry day for best results.
- Prepare templates: Either purchase macaron templates or create your own by drawing 1.5-inch circles, spaced 2 inches apart on parchment paper. Place under your silicone mat or flip parchment over so ink doesn’t touch batter.
- Prepare piping bag: Insert piping tip into bag and fold the top down to prevent batter from sticking to the edges.
Detailed Step-by-Step Chocolate Macaron Recipe
Step 1: Prepare the Dry Ingredients
- In a food processor, combine almond flour, powdered sugar, and cocoa powder.
- Pulse for 30 seconds to break up clumps and create a finer texture.
- Sift the mixture into a large bowl using a fine-mesh sieve.
- Re-process and sift any large particles that remain until you have a very fine powder.
Step 2: Whip the Meringue
- In a clean, grease-free bowl, combine room temperature egg whites and cream of tartar.
- Begin whipping on medium speed until foamy.
- Gradually add granulated sugar, about 1 tablespoon at a time.
- Increase to medium-high speed and whip until stiff, glossy peaks form. The meringue should be firm enough that you can hold the bowl upside down without it sliding out.
Step 3: Macaronage (The Critical Folding Technique)
- Add one-third of the dry ingredients to the meringue.
- Fold gently using a rubber spatula, cutting through the center and scraping around the edges.
- Add remaining dry ingredients in two additions, folding until the batter flows like slow-moving lava.
- Test by lifting the spatula—the batter should fall in a continuous ribbon and reabsorb into the rest within 30 seconds.
Step 4: Pipe the Macaron Shells
- Transfer batter to the prepared piping bag.
- Hold the bag perpendicular to the baking sheet, about ½ inch above the surface.
- Pipe 1.5-inch rounds onto prepared baking sheets with templates.
- Tap the baking sheets firmly against the counter 3-4 times to release air bubbles.
- Use a toothpick to pop any visible bubbles on the surface.
Step 5: Rest the Shells
- Let the piped shells rest at room temperature until they form a skin—when touched gently, your finger should come away clean.
- This typically takes 30-60 minutes, depending on humidity.
Step 6: Bake the Shells
- Preheat oven to 300°F (150°C) with an oven thermometer to verify accuracy.
- Bake one sheet at a time in the center rack for 17-19 minutes.
- Look for developed “feet” and shells that don’t wiggle when gently touched.
- Cool completely on the baking sheet before attempting to remove.
Step 7: Prepare the Chocolate Ganache Filling
- Place finely chopped chocolate in a heat-resistant bowl.
- Heat heavy cream just to a simmer (do not boil).
- Pour hot cream over chocolate and let sit for 1 minute.
- Whisk gently until smooth and completely melted.
- Add softened butter and whisk until incorporated.
- Optional: Stir in espresso powder to enhance chocolate flavor.
- Cover with plastic wrap touching the surface and refrigerate until firm but spreadable (about 1-2 hours).
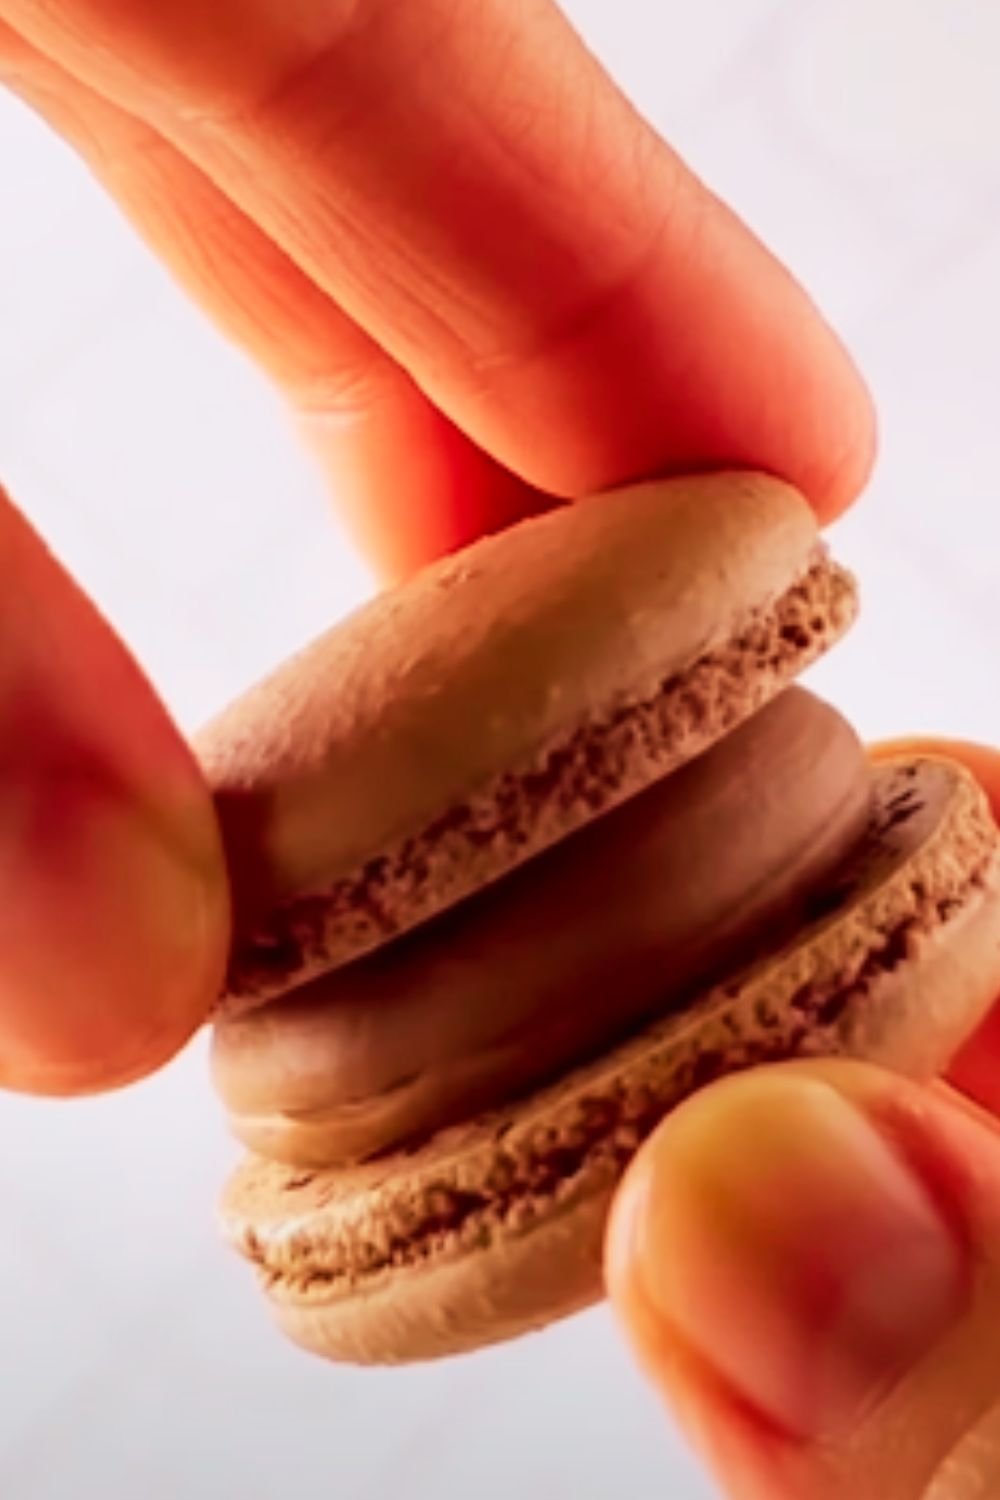
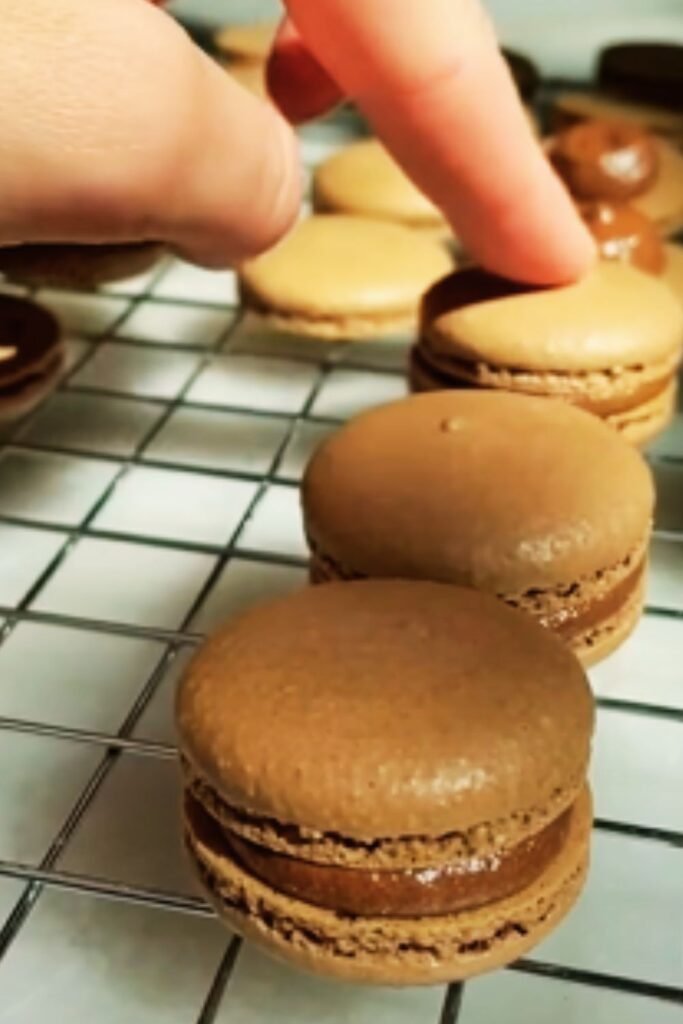
Step 8: Assemble the Macarons
- Match shells of similar size into pairs.
- Pipe or spoon about 1 teaspoon of ganache onto the flat side of one shell.
- Sandwich with the matching shell, applying gentle pressure to spread filling to edges.
Step 9: Mature the Macarons
- Place assembled macarons in an airtight container.
- Refrigerate for 24-48 hours to allow flavors to develop and textures to mature.
- Bring to room temperature for 30 minutes before serving for best flavor and texture.
The Art of Troubleshooting Macarons
Even experienced bakers encounter issues with macarons. Here’s how to diagnose and fix common problems:
| Problem | Possible Causes | Solutions |
|---|---|---|
| No feet | • Insufficient resting time<br>• Oven temperature too low<br>• Undermixed batter | • Ensure shells form a skin before baking<br>• Verify oven temperature with thermometer<br>• Adjust macaronage technique |
| Hollow shells | • Overwhipped meringue<br>• Oven temperature too high<br>• Baking time too short | • Stop whipping at stiff peaks stage<br>• Reduce oven temperature by 5-10°F<br>• Extend baking time by 1-2 minutes |
| Cracked tops | • Undermixed batter<br>• Trapped air bubbles<br>• Oven temperature too high | • Extend macaronage until proper consistency<br>• Tap sheets firmly to release air<br>• Reduce temperature and extend baking time |
| Wrinkled shells | • Too much moisture<br>• Overmixed batter<br>• Humid environment | • Age egg whites longer<br>• Be more gentle with macaronage<br>• Use dehumidifier or air conditioning |
| Lopsided shells | • Uneven oven heat<br>• Improper piping technique<br>• Drafty kitchen | • Rotate baking sheet halfway through<br>• Hold piping bag perpendicular to surface<br>• Close windows/doors while baking |
| Browning shells | • Oven temperature too high<br>• Baking time too long<br>• Top rack position | • Reduce temperature by 10-15°F<br>• Monitor closely and remove earlier<br>• Use middle rack position |
| Sticky bottoms | • Underbaked shells<br>• Removed from mat too soon<br>• Excess humidity | • Extend baking time by 1-2 minutes<br>• Cool completely before removing<br>• Store in airtight container with desiccant |
| No shine | • Almond flour not fine enough<br>• Insufficient sifting<br>• Overmixed batter | • Process almond flour longer<br>• Sift dry ingredients twice<br>• Be more gentle with macaronage |
Advanced Techniques for Chocolate Macaron Variations
Once you’ve mastered the basic chocolate macaron, try these variations to expand your repertoire:
Flavor Variations for Shells
- Mexican Chocolate: Add ¼ teaspoon cinnamon and a pinch of cayenne to dry ingredients
- Mocha: Replace 5g of cocoa powder with espresso powder
- Black Forest: Add 2 teaspoons freeze-dried cherry powder to dry ingredients
Filling Variations
- Chocolate-Hazelnut Ganache: Add 2 tablespoons hazelnut spread to ganache
- Salted Caramel: Layer chocolate ganache with salted caramel sauce
- Raspberry Chocolate: Swirl raspberry jam into chocolate ganache
- Mint Chocolate: Infuse cream with fresh mint leaves before making ganache
Decoration Ideas
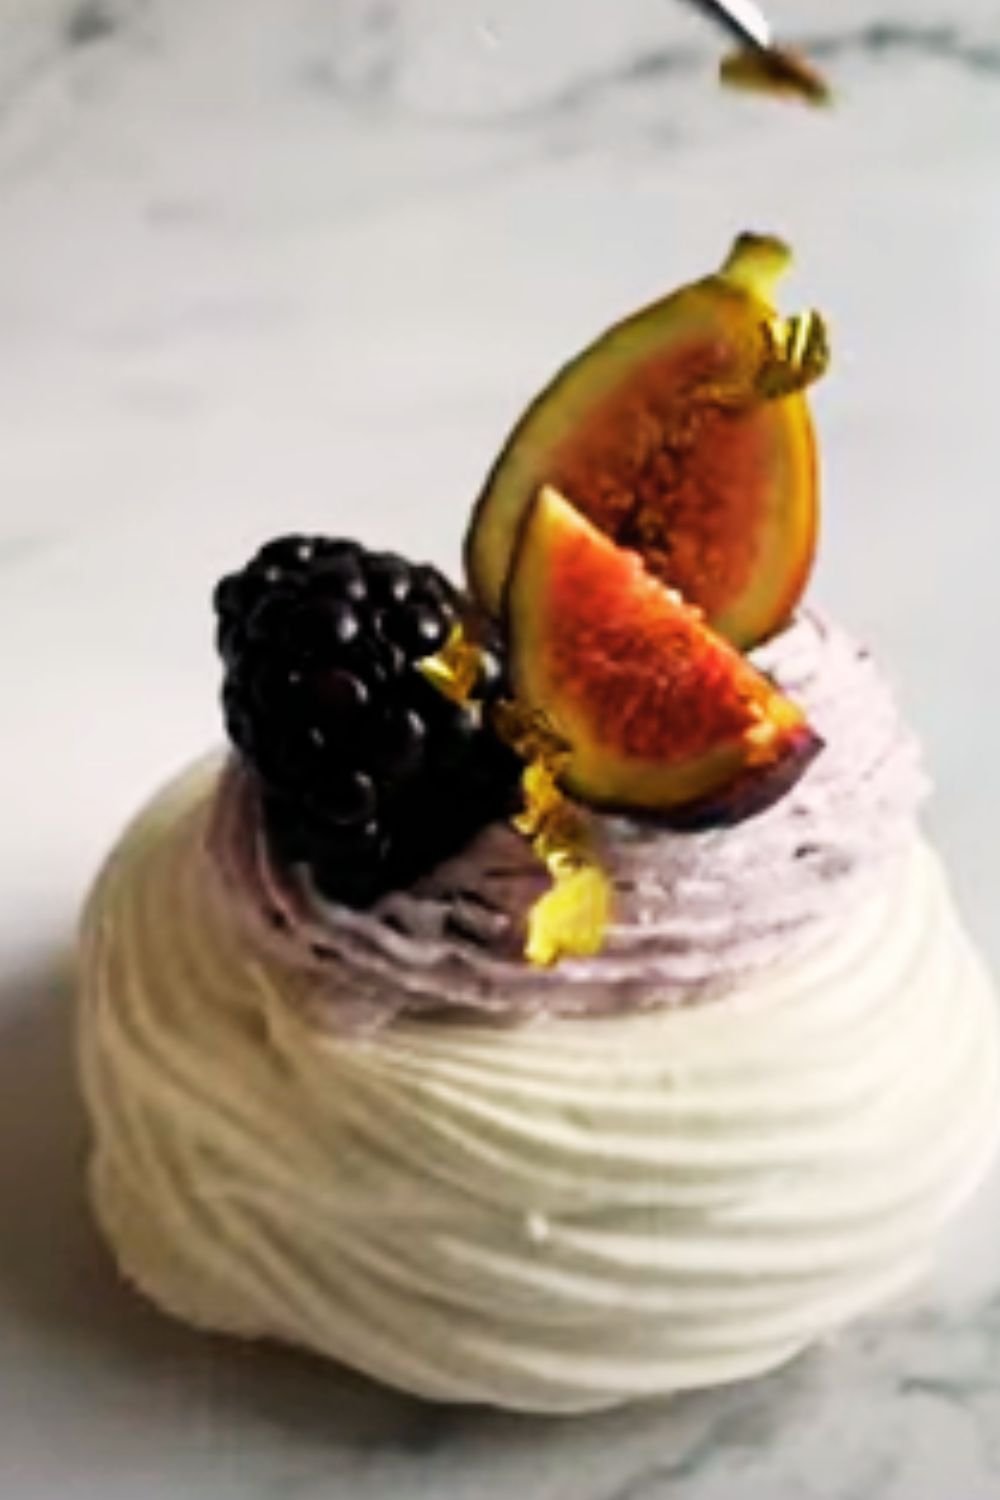
- Gilded Elegance: Brush tops lightly with edible gold dust
- Cocoa Dusting: Sprinkle tops with cocoa powder after piping
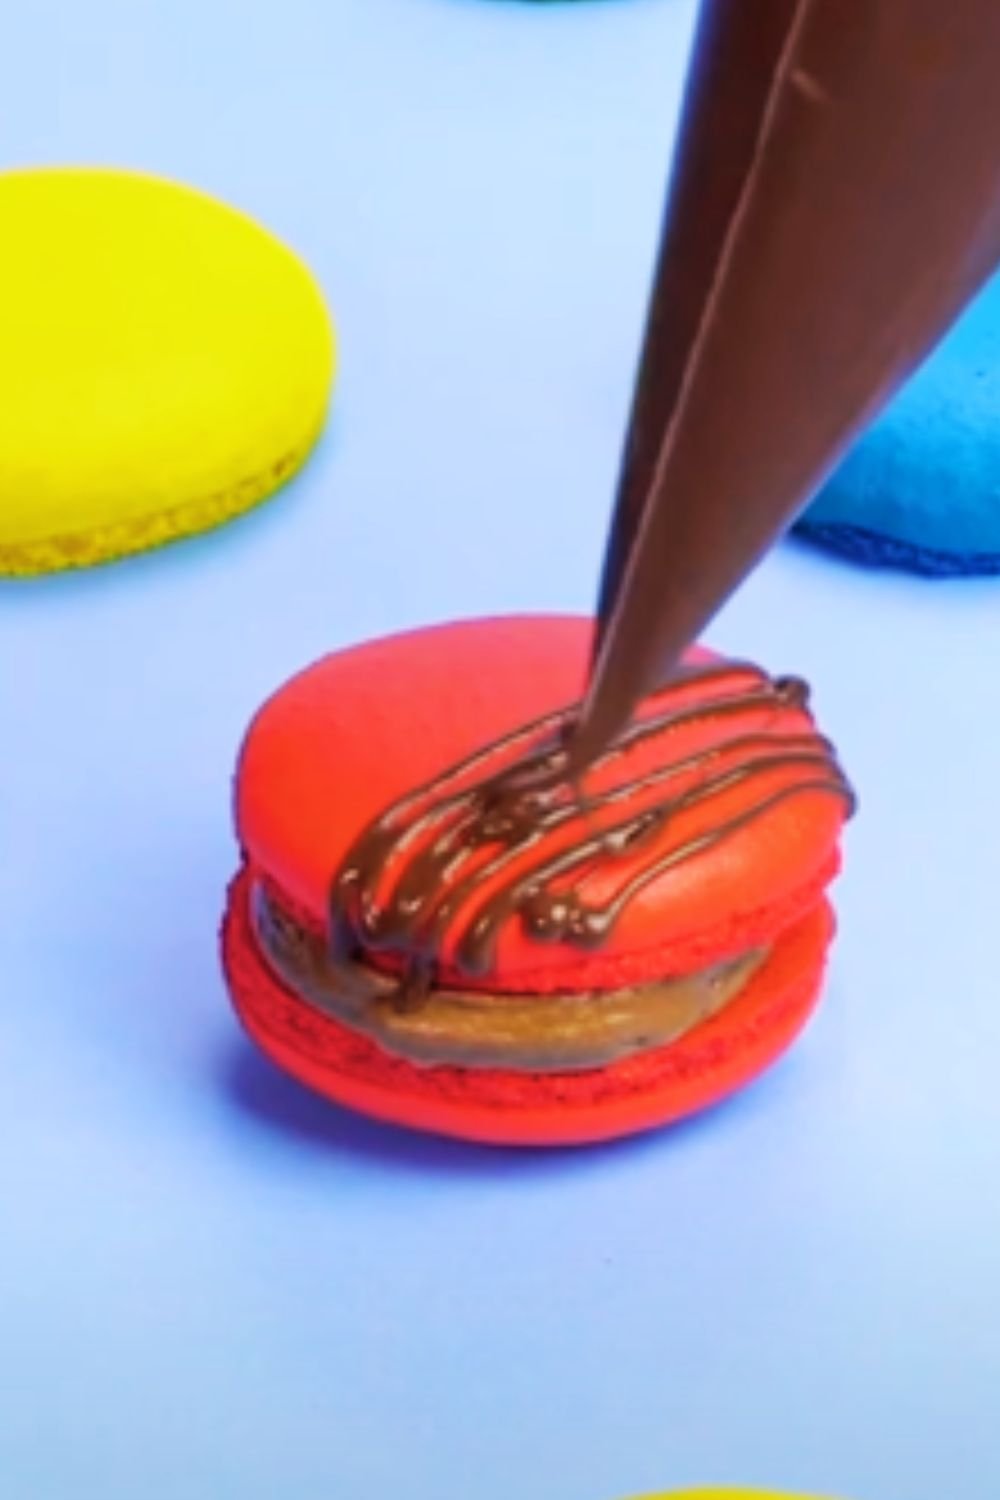
- Chocolate Drizzle: Drizzle thin lines of tempered chocolate across tops
- Sprinkle Rim: Press edges into chocolate sprinkles after filling
Storage and Presentation
Proper storage is crucial for maintaining macaron quality:
Short-term Storage: Store assembled macarons in an airtight container in the refrigerator for up to 7 days. The moisture from the filling will continue to perfect the texture.
Long-term Storage: Freeze unfilled shells in airtight containers for up to 3 months. Thaw in the refrigerator before filling.
Presentation Ideas:
- Stack in pyramid formation for dramatic effect
- Arrange in colorful macaron boxes with tissue paper
- Display on tiered cake stands for elegant service
- Package individually in clear cellophane bags for gifts
Serving Suggestions
Elevate your chocolate macaron experience with these pairing ideas:
- Hot espresso or cappuccino
- Earl Grey or chai tea
- Cold milk (regular or almond)
- Fresh raspberries or strawberries
- Vanilla bean ice cream
- Dark chocolate mousse
- Fresh mint garnish for contrast
Frequently Asked Questions
Q: Why do I need to age my egg whites? A: Aging reduces moisture content and breaks down protein structures, allowing for more stable meringue formation. This results in better shell formation and reduced risk of hollow macarons.
Q: Do I really need a kitchen scale? A: Absolutely. Macarons require precise measurements that volume-based measuring cups cannot provide. Even small variations can lead to failure.
Q: What’s the ideal oven temperature for macarons? A: Between 300-315°F (150-160°C), but every oven is different. An oven thermometer is essential as most ovens have temperature variations from what’s displayed.
Q: Can I use natural cocoa powder instead of Dutch-processed? A: You can, but Dutch-processed provides a deeper color and richer chocolate flavor. Natural cocoa powder is more acidic and may slightly affect the shell structure.
Q: Why did my macarons develop hollow shells? A: Hollow shells often result from overbeaten egg whites, oven temperature fluctuations, or removing the macarons from the oven too soon. Try adjusting these factors in your next batch.
Q: Do macarons really need to rest before baking? A: While some bakers skip this step successfully, resting helps form a skin that resists spreading and promotes proper foot development. For beginners, it’s a helpful safeguard against failure.
Q: How can I prevent my chocolate shells from browning too much? A: Lower your oven temperature by 5-10°F, place an empty baking sheet on the rack above to shield direct heat, or place a piece of foil loosely over the macarons for the last few minutes of baking.
Q: Why are my macarons sticking to the baking mat? A: Underbaking is the most common cause. Try baking 1-2 minutes longer. Also, ensure shells are completely cool before attempting to remove them.
Final Thoughts: The Joy of Mastering Macarons
Perfecting chocolate macarons takes practice, patience, and precision—but the satisfaction of creating these elegant confections makes every attempt worthwhile. Don’t be discouraged by initial failures; each batch teaches valuable lessons that bring you closer to mastery.
I remember the day when my macarons finally came out perfect after dozens of attempts—smooth tops, perfect feet, no hollows. That feeling of achievement was sweeter than the macarons themselves.
So embrace the process, take detailed notes of each batch, and celebrate small improvements. Before long, you’ll be creating chocolate macarons worthy of a Parisian patisserie window display, right in your own kitchen.
Remember that even professional pastry chefs had to start somewhere. The journey to macaron mastery is as rewarding as the destination—and infinitely more delicious. Happy baking!