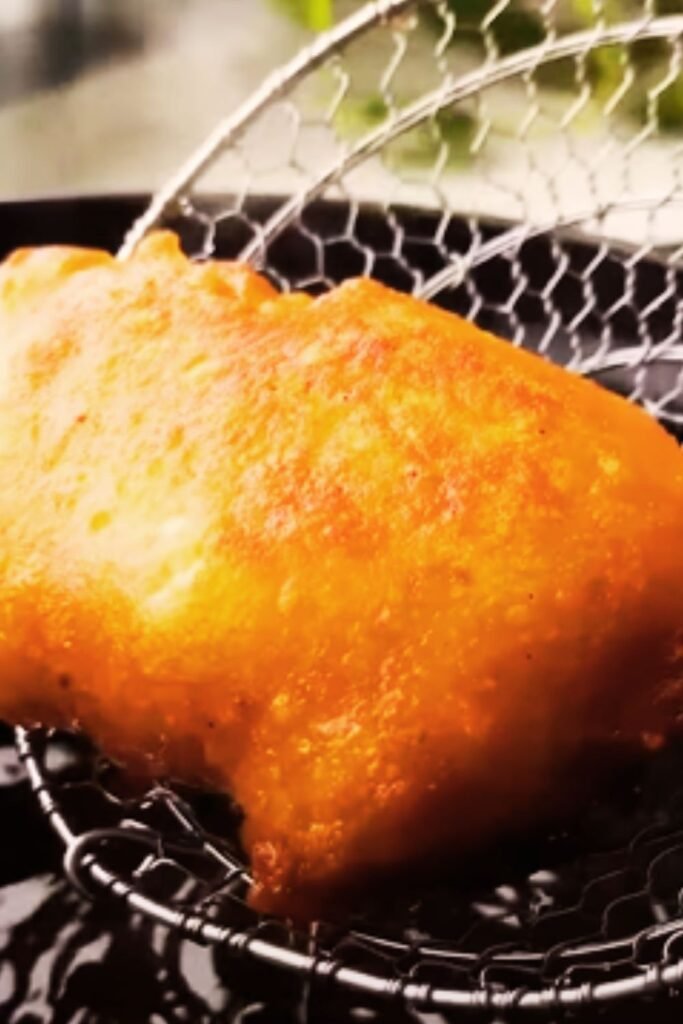
There’s something truly magical about biting into perfectly fried fish—that delicate crunch giving way to tender, flaky fish. As someone who’s spent years perfecting my fish and chips recipe, I’ve learned that the batter makes all the difference between soggy disappointment and crispy perfection. Today, I’m sharing my ultimate crispy fish batter recipe that will transform your homemade fish and chips into a restaurant-quality experience.
Why Crispy Batter Matters
Before diving into the recipe, let me explain why achieving that perfect crispiness is both an art and a science. A truly great fish batter should:
- Create a protective shell that keeps fish moist
- Provide textural contrast to the tender fish
- Hold its crunch even after cooling slightly
- Carry flavor while not overpowering the fish
- Have a golden, appetizing appearance
I’ve experimented with countless variations over the years, and the recipe I’m sharing today incorporates all the tricks I’ve discovered for achieving that ideal crispy coating that stays crunchy long after it leaves the fryer.
Essential Ingredients for Perfect Crispy Batter
The secret to exceptional fish batter starts with quality ingredients and understanding the role each one plays:
Flour: The foundation of any batter, providing structure and body.
Carbonation: Whether from beer, seltzer, or club soda, those bubbles create tiny air pockets that expand when heated, resulting in a lighter, crispier texture.
Cold Temperatures: Keeping ingredients chilled slows gluten development and keeps those carbonation bubbles intact until they hit the hot oil.
Corn Starch or Rice Flour: Adding these to all-purpose flour creates a crispier result that stays crunchy longer.
Seasoning: Salt is essential, but other spices can be added to enhance flavor.
Baking Powder: This provides extra lift and airiness to the batter.
Let’s get started with my foolproof recipe that incorporates all these critical elements.
The Ultimate Crispy Fish Batter Recipe
Ingredients
For the Fish:
- 1½ pounds firm white fish fillets (cod, haddock, or pollock work beautifully)
- Salt and pepper to taste
For the Batter:
- 1 cup all-purpose flour
- ½ cup cornstarch
- 1 teaspoon baking powder
- 1 teaspoon salt
- ¼ teaspoon garlic powder (optional)
- ¼ teaspoon onion powder (optional)
- 1 cup ice-cold club soda or seltzer water
- 1 tablespoon ice-cold vodka (secret ingredient that evaporates quickly, creating extra crispiness)
- 1 large egg, lightly beaten
For Frying:
- 4 cups vegetable oil or peanut oil (for deep frying)
Kitchen Tools You’ll Need
- Deep heavy-bottomed pot or deep fryer
- Candy/deep-fry thermometer
- Slotted spoon or spider strainer
- Paper towels
- Mixing bowls
- Whisk
- Tongs
- Baking sheet with rack for draining
Step-by-Step Instructions
Preparation Phase
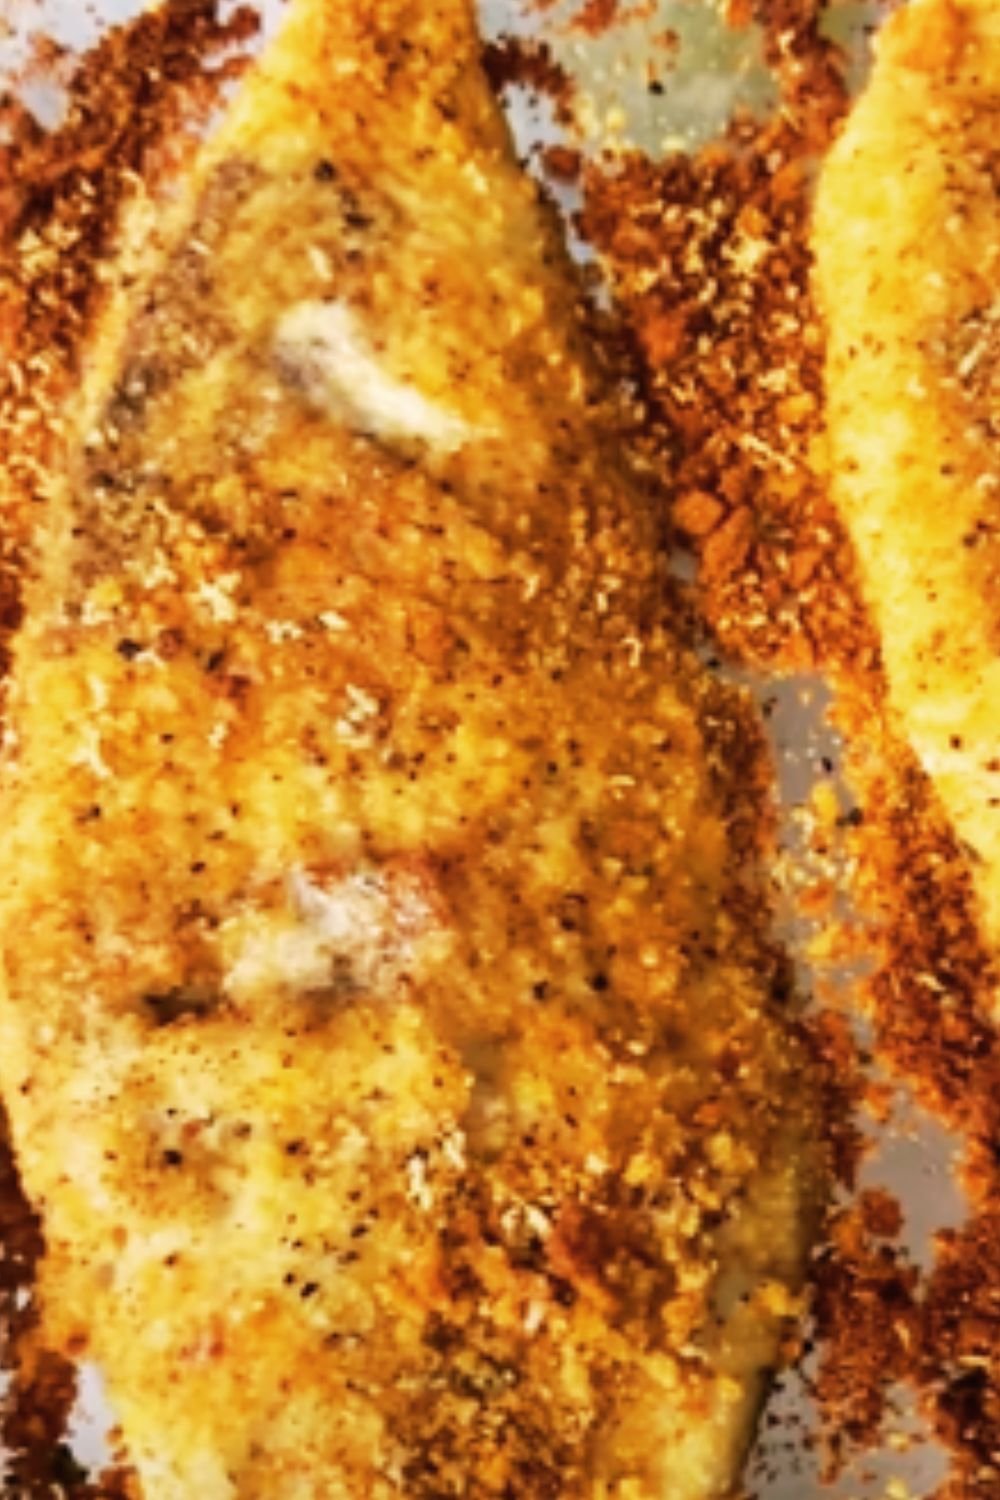
- Prepare the fish: Pat fish fillets completely dry with paper towels. This step is crucial—any moisture will create steam and lead to soggy batter. Cut into 4-5 inch portions, season lightly with salt and pepper, and place back in the refrigerator while preparing the batter.
- Set up your station: Line a baking sheet with paper towels and set a cooling rack on top. This will allow excess oil to drain while keeping the fried fish crispy on all sides.
- Heat the oil: Pour oil into your deep pot or fryer, ensuring it’s deep enough for the fish to float freely (about 3 inches). Heat to 350-360°F (175-182°C). Maintaining the right temperature is absolutely critical.
Mixing the Batter
- Prepare the dry ingredients: In a large bowl, whisk together the flour, cornstarch, baking powder, salt, and optional seasonings.
- Create a cold environment: Place your dry ingredients bowl inside a larger bowl filled with ice water for about 10 minutes. Cold batter = crispy results!
- Mix the wet ingredients: In a separate cold bowl, combine the club soda, vodka, and beaten egg. The vodka is optional but creates extra crispiness as it evaporates faster than water during frying.
- Combine with minimal mixing: Pour the wet ingredients into the chilled dry ingredients and whisk together just until combined. Some small lumps are perfectly fine—overmixing develops gluten and creates a chewy rather than crispy coating.
The Frying Process
- Final fish prep: Remove fish from the refrigerator and pat dry again if necessary.
- Dredge and coat: First, lightly dust each fish piece with a bit of flour (this helps the batter adhere). Then, dip into the batter, allowing excess to drip off for a second or two.
- Fry with care: Carefully lower the battered fish into the hot oil, away from you to prevent splashing. Don’t overcrowd the pot—fry in batches of 2-3 pieces at a time.
- Monitor the temperature: After adding fish to the oil, the temperature will drop. Adjust heat as needed to maintain 350°F (175°C).
- Flip once: Fry until the bottom side is golden brown (about 3-4 minutes), then carefully flip once and fry until the other side is equally golden and the fish is cooked through (another 3-4 minutes).
- Drain properly: Using a slotted spoon or spider, remove fish to your prepared rack. Allow to drain for a minute before serving.
The Science Behind Crispy Batter
Understanding the “why” behind crispy batter can help you troubleshoot and adapt the recipe to perfection:
| Factor | Scientific Role | Practical Application |
|---|---|---|
| Cold Temperature | Slows gluten development and keeps carbonation intact | Keep all liquid ingredients ice-cold; chill batter bowl |
| Carbonation | Creates air bubbles that expand when heated | Use freshly opened fizzy liquids; don’t overmix |
| Vodka/Alcohol | Evaporates quickly, reducing moisture | Creates extra crispiness without toughening the batter |
| Cornstarch | Inhibits gluten formation | Creates a more delicate, crispier crust |
| Oil Temperature | Seals the batter quickly, preventing sogginess | Maintain 350-360°F throughout frying |
| Baking Powder | Releases additional CO₂ when heated | Provides extra lift and airiness |
| Proper Draining | Removes excess oil | Use elevated rack rather than paper towels alone |
Troubleshooting Common Fish Batter Problems
Even experienced cooks can encounter issues when making battered fish. Here are solutions to the most common problems:
Soggy Batter
Possible Causes:
- Oil not hot enough
- Fish not dried thoroughly
- Batter too thick
- Overcrowding the fryer
Solutions:
- Use a thermometer to monitor oil temperature
- Triple-check that fish is completely patted dry
- Add a touch more liquid if batter seems too thick
- Fry fewer pieces at once
Batter Falling Off
Possible Causes:
- Fish too wet
- Batter too thin
- Not letting excess batter drip off
Solutions:
- Pat fish dry and dust with flour before battering
- Add a bit more flour to thicken batter
- Let excess batter drip off thoroughly before frying
Greasy Results
Possible Causes:
- Oil not hot enough
- Improper draining
- Oil temperature dropped too much during frying
Solutions:
- Ensure oil stays at 350-360°F
- Drain on a wire rack instead of paper towels alone
- Fry smaller batches to maintain oil temperature
Batter Too Pale or Too Dark
Possible Causes:
- Oil temperature too low (pale) or too high (dark)
- Frying time too short or too long
Solutions:
- Adjust oil temperature accordingly
- Watch carefully and remove when golden brown, not before or after
Variations to Try
Once you’ve mastered the basic recipe, consider these delicious variations:
Spiced Batter
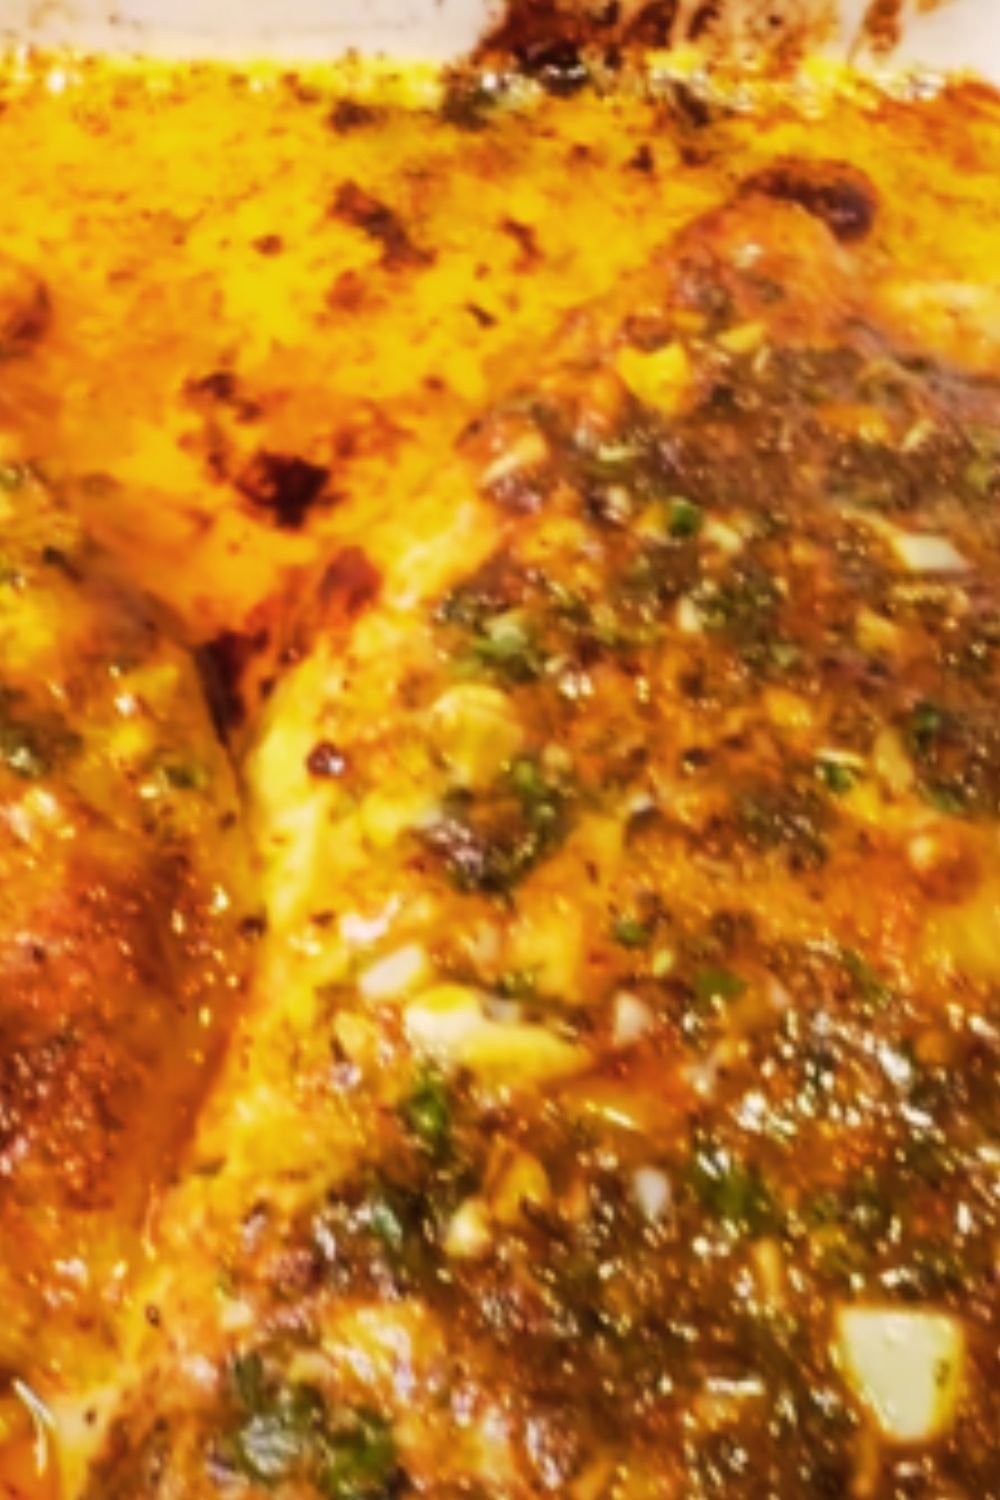
Add any of these to the dry ingredients:
- 1 teaspoon curry powder
- ½ teaspoon cayenne pepper
- 1 teaspoon smoked paprika
- 1 tablespoon fresh herbs (dill, parsley, or chives)
Extra-Crunchy Version
- Replace half the all-purpose flour with rice flour
- Add 2 tablespoons of cornmeal for added texture
Lighter Option
- Use sparkling mineral water instead of club soda
- Separate the egg and whip the white before folding into the batter
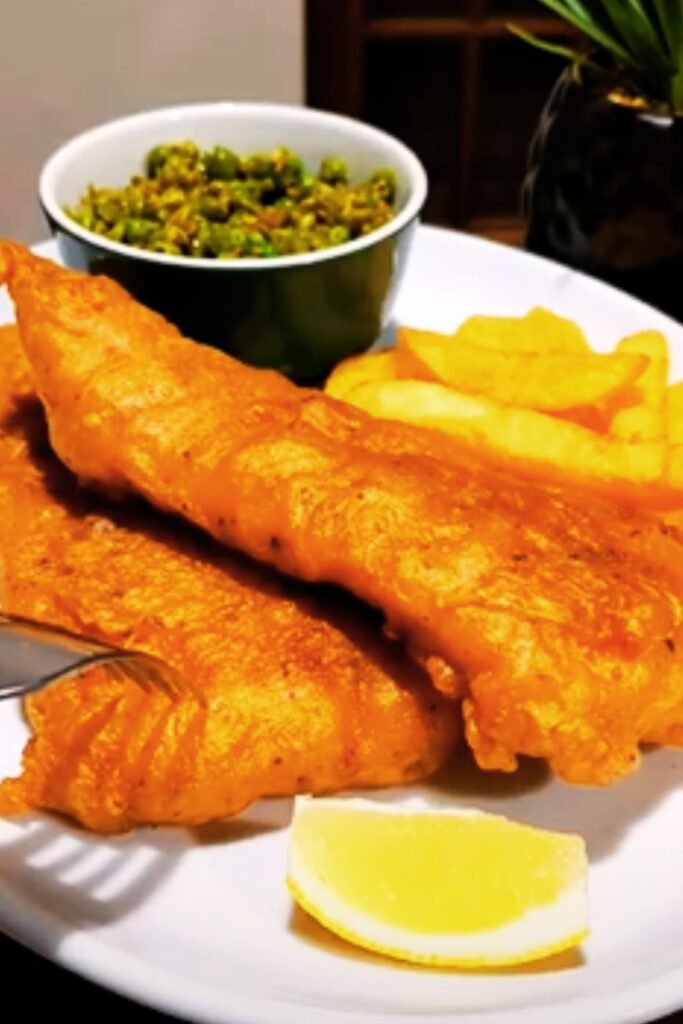
Serving Suggestions
The perfect crispy fish deserves perfect accompaniments:
- Classic: Serve with thick-cut chips (fries), malt vinegar, and tartar sauce
- Lighter Side: Accompany with a crisp coleslaw and lemon wedges
- Modern Twist: Serve with sweet potato fries and sriracha mayo
- Complete Meal: Add mushy peas or a fresh garden salad
Storage and Reheating Tips
While freshly fried fish is always best, sometimes you have leftovers. Here’s how to handle them:
- Cooling: Allow fried fish to cool completely on a wire rack.
- Refrigeration: Store in an airtight container with paper towels between layers. Consume within 2 days.
- Reheating: For best results, reheat in a 375°F (190°C) oven for 10-12 minutes until hot and crispy again. Avoid microwaving, which will make the batter soggy.
Fish Selection Guide
Not all fish are created equal when it comes to battering and frying. Here’s a quick guide:
| Fish Type | Flavor Profile | Texture When Fried | Best For |
|---|---|---|---|
| Cod | Mild, slightly sweet | Flaky, substantial | Traditional fish and chips |
| Haddock | Slightly sweeter than cod | Firm, flaky | Classic choice in the UK |
| Pollock | Mild | Softer than cod | Budget-friendly option |
| Halibut | Clean, mild | Firm, meaty | Premium fish and chips |
| Flounder | Delicate | Tender | Lighter option |
| Tilapia | Mild | Firm | Widely available option |
FAQ: Common Questions About Fish Batter
Q: Can I prepare the batter in advance? A: For best results, prepare the batter just before frying. The carbonation and chemical leavening agents work best when fresh. If you must prepare ahead, mix the dry ingredients and keep them separate from the wet ingredients until just before frying.
Q: What’s the best oil for frying fish? A: Neutral oils with high smoke points work best. Vegetable oil, canola oil, and peanut oil are excellent choices. Avoid olive oil, which has a lower smoke point and stronger flavor.
Q: How can I make my batter gluten-free? A: Substitute the all-purpose flour with a gluten-free flour blend plus a bit of xanthan gum (about ¼ teaspoon per cup of flour) to help with binding. Rice flour and cornstarch make an excellent gluten-free base for crispy batter.
Q: How thick should the batter be? A: The ideal batter should be the consistency of thick pancake batter—it should coat the back of a spoon but still drip off slowly. If it’s too thick, add a little more carbonated water; if too thin, add a bit more flour.
Q: Can I use this batter for vegetables or other seafood? A: Absolutely! This batter works wonderfully for onion rings, shrimp, calamari, and vegetables like zucchini or cauliflower. Cooking times will vary based on what you’re frying.
Q: Why is my batter not sticking to the fish? A: Make sure your fish is completely dry before battering. The trick of dusting with flour first creates a dry surface for the batter to adhere to. Also, make sure your batter isn’t too thin.
Q: Is it better to remove the skin from the fish before battering? A: This is personal preference, but I find that skinless fillets produce the most consistent results. If using skin-on fillets, score the skin several times to prevent curling during frying.
Q: What’s the secret to keeping batter crispy for longer? A: The cornstarch in the recipe helps, but proper draining is crucial. Use a wire rack instead of paper towels alone, as this allows air to circulate around the entire piece of fish. Serve immediately for best results.
Health Considerations
While fried fish is typically an occasional treat rather than an everyday meal, there are ways to make it a bit healthier:
- Choose fresh, sustainable fish high in omega-3 fatty acids
- Ensure oil is at the proper temperature to minimize oil absorption
- Drain thoroughly on a wire rack
- Serve with vegetable sides like salad or steamed vegetables
- Consider trying the recipe with an air fryer (though results will differ)
Final Thoughts
Mastering crispy fish batter is truly a culinary achievement worth celebrating. The techniques shared in this recipe—using cold ingredients, adding cornstarch and vodka, maintaining proper oil temperature, and draining correctly—are the culmination of years of testing and refining.
Remember that practice makes perfect, and even if your first attempt isn’t flawless, each batch will get better as you become more familiar with the process. Soon you’ll be creating restaurant-quality fish and chips right in your own kitchen, impressing family and friends with your crispy, golden creations.
What started as my quest for the perfect fish and chips has become one of my signature dishes, and I hope it becomes one of yours too. Happy frying!