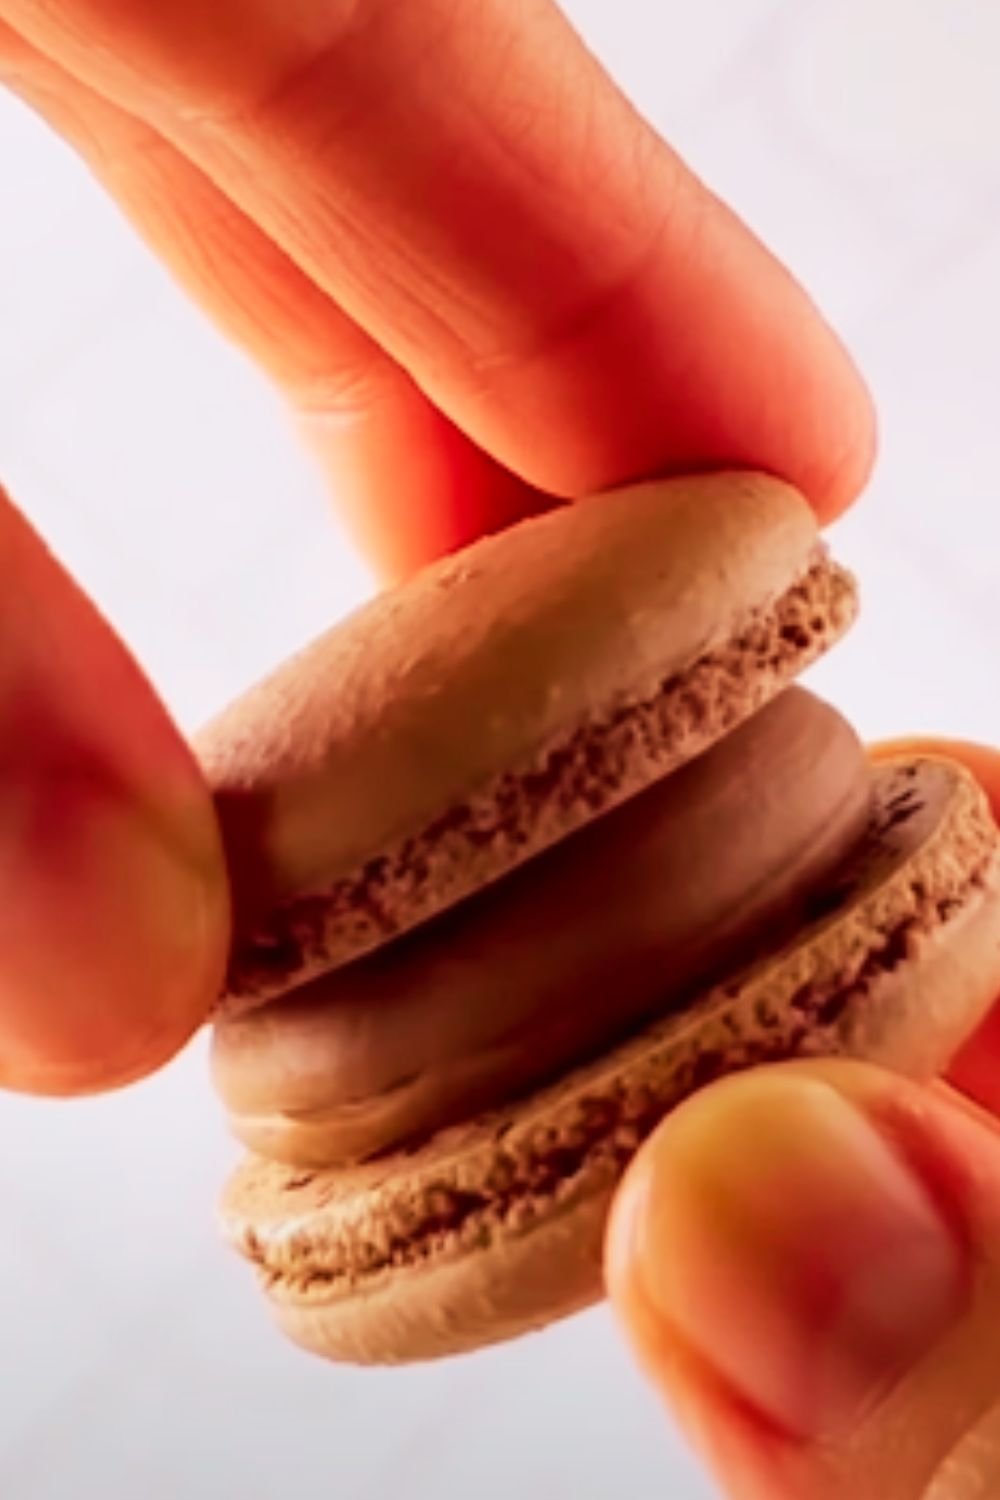
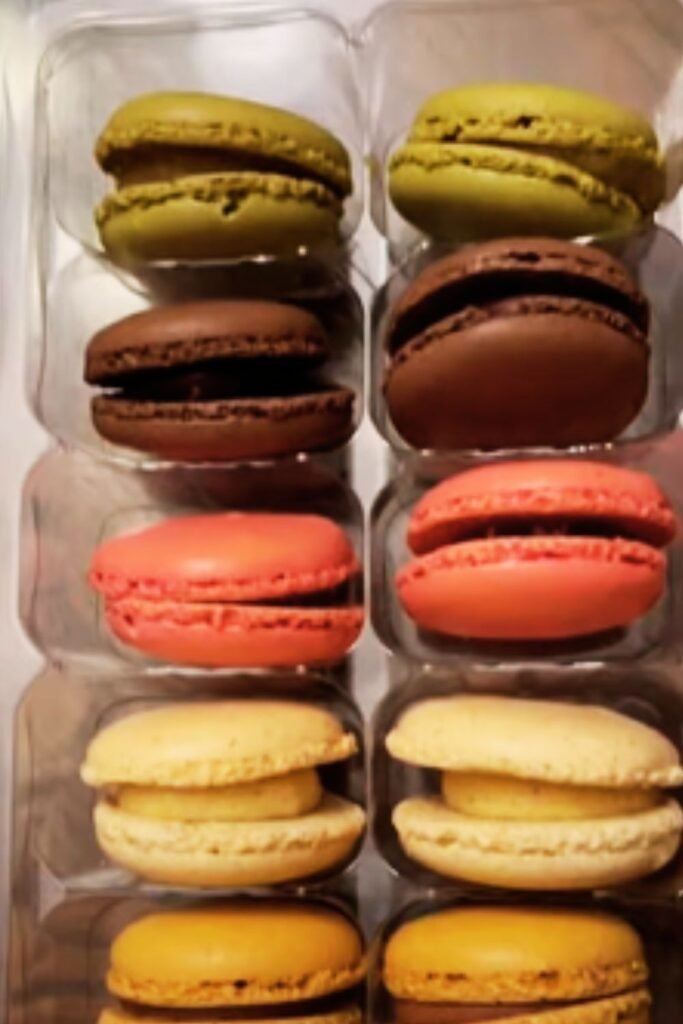
Have you ever scrolled through Instagram, drooling over those perfect little sandwich cookies with their smooth tops, frilly feet, and vibrant colors? If you’re like me, you’ve probably been intimidated by macarons for years. I spent countless weekends with egg whites and almond flour scattered across my kitchen, wondering why these delicate French treats seemed so impossible to master.
But here’s the truth – making macarons doesn’t have to be a kitchen nightmare. After dozens of failed attempts and mountains of both ugly and delicious rejects, I’ve finally cracked the code to foolproof macarons. Today, I’m sharing all my hard-won secrets so you can skip the frustration and go straight to the success.
Why Macarons Have a Difficult Reputation
Before we dive into the recipe, let’s address the elephant in the room: macarons have a reputation for being one of the most temperamental desserts to make. But why?
Macarons are sensitive to:
- Humidity in your kitchen
- How your egg whites are whipped
- The folding technique (called “macaronage”)
- Oven temperature fluctuations
- Resting time variations
One small misstep, and you might end up with cracked tops, missing feet, hollow shells, or sticky interiors. But don’t worry – the method I’m about to share accounts for all these variables and gives you room for error.
Essential Equipment You’ll Need
First things first – before you start mixing ingredients, make sure you have these tools on hand:
- Kitchen scale: This is non-negotiable. Measuring by weight is essential for consistent results.
- Stand mixer or handheld electric mixer: While you could whip egg whites by hand, I don’t recommend it unless you’re looking for an intense arm workout.
- Sieve or fine mesh strainer: For super smooth almond flour and powdered sugar.
- Baking sheets: Heavy-duty ones that won’t warp in the oven.
- Silicone mats or parchment paper: Personally, I find silicone mats give more consistent results.
- Piping bags and round tips: A #12 round tip is perfect.
- Oven thermometer: Most home ovens are off by 25°F or more, which is enough to ruin macarons.
Ingredient Breakdown
Let’s talk about what goes into these delicate treats. The macaron shell itself only requires four main ingredients, but each plays a crucial role:
| Ingredient | Role in Recipe | Pro Tips |
|---|---|---|
| Almond flour | Forms the base of the shells | Use blanched, finely ground almond flour. If it feels coarse, pulse it in a food processor with the powdered sugar, then sift. |
| Powdered sugar | Provides structure and sweetness | Look for powdered sugar without cornstarch if possible. |
| Egg whites | Create the meringue structure | Age your egg whites by leaving them covered in the refrigerator for 24-48 hours, then bring to room temperature before using. |
| Granulated sugar | Stabilizes the meringue | Add it slowly while beating to create a stable meringue. |
| Cream of tartar (optional) | Stabilizes egg whites | A pinch helps prevent overbeating, especially helpful for beginners. |
| Gel food coloring (optional) | Adds color | Always use gel, not liquid, as it won’t thin your batter. |
The Foolproof Macaron Method
Now for the moment you’ve been waiting for – the actual recipe and method that will give you perfect macarons, even if you’ve failed a dozen times before.
Ingredients for Shells
- 100g aged egg whites (from approximately 3 large eggs)
- 100g granulated sugar
- 1/8 teaspoon cream of tartar (optional but recommended)
- 200g powdered sugar
- 100g almond flour
- Gel food coloring (optional)
Ingredients for Basic Vanilla Buttercream Filling
- 113g (1 stick) unsalted butter, softened
- 240g powdered sugar
- 1 tablespoon heavy cream
- 1 teaspoon vanilla extract
- Pinch of salt
The Day Before
- Separate your eggs, placing the whites in a clean container. Cover with plastic wrap, poke a few holes in the top, and refrigerate for 24-48 hours.
- Measure out all dry ingredients so you’re ready to go the next day.
The Day Of: Making the Shells
- Prep your workspace: Take your egg whites out of the refrigerator 2 hours before starting to bring them to room temperature. Preheat your oven to 300°F (150°C). Line your baking sheets with silicone mats or parchment paper. Prepare your piping bag with a round tip.
- Sift dry ingredients: Sift the almond flour and powdered sugar together, discarding any large pieces that don’t go through the sieve. Do this at least twice for the smoothest shells.
- Make the meringue: In a completely clean and dry mixer bowl (any grease will prevent proper whipping), add your egg whites and cream of tartar. Beat on medium speed until foamy. Gradually add the granulated sugar, about a tablespoon at a time, while continuing to beat. Once all sugar is added, increase speed to medium-high and beat until stiff peaks form. The meringue should be glossy and when you turn the bowl upside down, nothing should move.
- Add color: If using food coloring, add a tiny amount of gel color now and gently fold it in. Remember that the color will fade slightly during baking, so go one shade darker than your desired final result.
- The macaronage (folding technique): This is the most critical step. Add the sifted dry ingredients to the meringue all at once. Using a flexible spatula, fold the mixture by scraping around the bowl and cutting through the middle. The goal is to deflate some air while thoroughly combining ingredients.
- Test for readiness: The batter is ready when it flows like lava and forms a ribbon that disappears back into the mass within about 30 seconds. To test, lift some batter with your spatula and let it flow back into the bowl. If it makes a figure 8 without breaking, it’s ready. If it’s too stiff, fold a few more times and check again.
- Pipe the shells: Transfer the batter to your piping bag. Pipe 1.5-inch circles onto your prepared baking sheets, keeping them about 2 inches apart. The batter should settle into smooth circles.
- Remove air bubbles: Here’s my secret weapon – after piping, firmly tap the baking sheets on your counter several times to release air bubbles. Then, use a toothpick to pop any surface bubbles you can see.
- Rest the shells: Let the piped shells rest until they form a skin and are no longer sticky to a gentle touch. This typically takes 30-60 minutes, depending on humidity. This step helps create those distinctive “feet” during baking.
- Bake: Bake one sheet at a time for 15-18 minutes. The shells are done when they don’t wiggle when gently touched at the top. If they’re still wobbly, bake for another minute and check again.
- Cool completely: Allow the shells to cool completely on the baking sheet before attempting to remove them. Trying to remove them while warm will likely result in broken shells.
Making the Filling
- Beat the softened butter until creamy and light.
- Gradually add powdered sugar, beating well after each addition.
- Add the heavy cream, vanilla extract, and salt. Beat until light and fluffy.
- Transfer to a piping bag fitted with a round tip.
Assembly and Maturation
- Match up similarly sized shells in pairs.
- Pipe a dollop of filling onto one shell of each pair, then sandwich with the matching shell. Press gently just until the filling reaches the edges.
- Important maturation step: Place the filled macarons in an airtight container and refrigerate for at least 24 hours before eating. This “maturation” process allows the flavors to meld and the texture to improve as moisture from the filling softens the shells slightly.
Troubleshooting Common Macaron Problems
Even with a foolproof recipe, you might encounter some issues. Here’s how to fix them:
| Problem | Possible Causes | Solutions |
|---|---|---|
| No feet | Shells didn’t rest long enough; oven too cool | Ensure shells form a skin before baking; check oven temperature |
| Cracked tops | Oven too hot; trapped air bubbles | Lower oven temperature; tap sheets firmly after piping |
| Hollow shells | Meringue overbeaten; oven temperature issues | Beat meringue just to stiff peaks; adjust oven temperature |
| Wrinkled tops | Too much moisture | Age egg whites longer; adjust recipe in humid weather |
| Lopsided feet | Uneven heat in oven; draft during resting | Rotate pans halfway through baking; avoid drafts |
| Sticking to mat/paper | Underbaked | Increase baking time slightly; cool completely before removing |
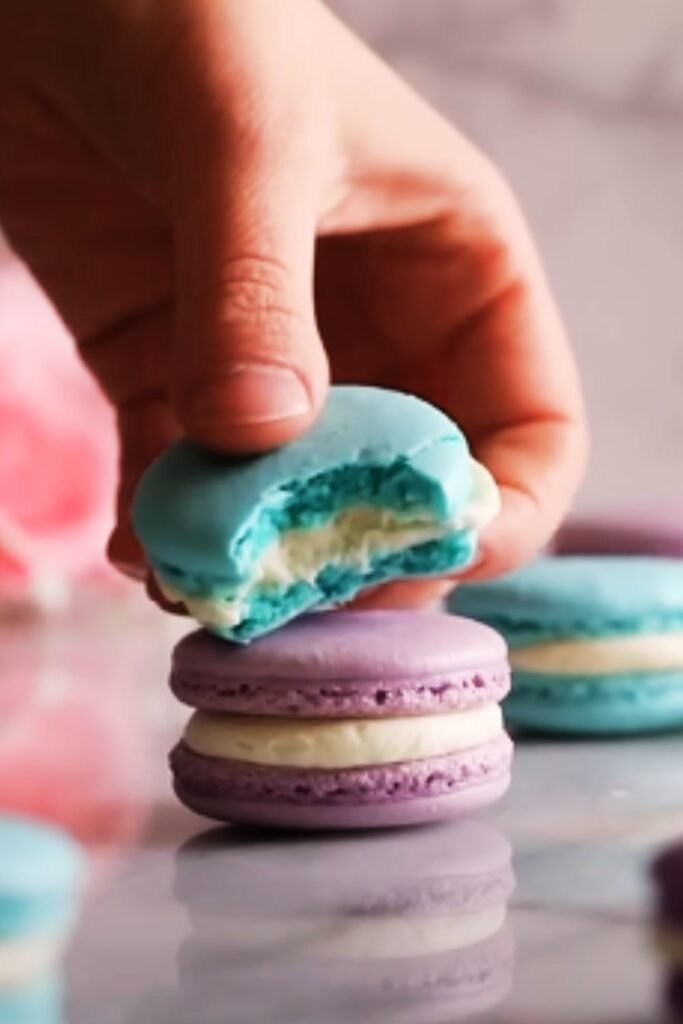
Flavor Variations
Once you’ve mastered the basic recipe, the flavor possibilities are endless. Here are some of my favorites:
Shell Variations
- Chocolate: Replace 20g of almond flour with unsweetened cocoa powder
- Lemon: Add 1 teaspoon dried lemon zest to dry ingredients
- Matcha: Add 1 tablespoon matcha powder to dry ingredients
- Earl Grey: Add 1 tablespoon finely ground earl grey tea to dry ingredients
Filling Variations
- Chocolate ganache: Heat 120ml heavy cream, pour over 200g chopped chocolate, stir until smooth
- Lemon curd: Mix 3 egg yolks, 75g sugar, 60ml lemon juice, and zest over low heat until thickened
- Raspberry buttercream: Add 2 tablespoons strained raspberry puree to basic buttercream
- Salted caramel: Add 3 tablespoons cooled salted caramel sauce to basic buttercream
Storage Tips
Macarons actually taste better after they’ve been aged, but how you store them matters:
- Refrigerator: Filled macarons can be stored in an airtight container in the refrigerator for up to 7 days. Bring to room temperature before serving for best flavor and texture.
- Freezer: Unfilled shells can be frozen in an airtight container for up to 3 months. Filled macarons can be frozen for up to 1 month. Thaw in the refrigerator overnight.
- Don’t store at room temperature: Due to the filling, macarons should not be left at room temperature for more than a few hours.
Serving Suggestions
Macarons are delightful on their own, but if you want to create a memorable dessert experience, try these serving ideas:
- Create a macaron tower for special occasions
- Serve with hot tea or coffee for an afternoon treat
- Pair with fresh fruit and a scoop of vanilla ice cream for an elegant dessert plate
- Package in clear gift boxes tied with ribbon for heartfelt homemade gifts
- Create a dessert charcuterie board with macarons as the star, surrounded by chocolate truffles, fresh berries, and tiny shortbread cookies
- Crush failed macarons and use as a topping for ice cream or as layers in a trifle (because even “ugly” macarons taste delicious!)
Frequently Asked Questions
Why do I need to age egg whites? Aging egg whites reduces their moisture content and allows the proteins to relax, making them whip more stably. This creates a more consistent meringue, which is the foundation of a good macaron.
Can I use a hand mixer instead of a stand mixer? Absolutely! A hand mixer works perfectly well – you’ll just get a bit more of an arm workout. Make sure to use a deep, narrow bowl to prevent splattering.
Is it necessary to let the shells rest before baking? Yes, this resting period allows a skin to form on the surface, which helps create the signature “feet” when baking. In very humid environments, you may need to rest them longer.
Why did my macarons turn hollow? Hollow macarons usually happen when the meringue is overbeaten or when the oven temperature fluctuates too much. Try beating your meringue just until stiff peaks form and invest in an oven thermometer to ensure consistent temperature.
Can I make macarons in hot, humid weather? Yes, but you may need to adjust. Try reducing the egg whites by 5g, aging them longer, and extending the resting time. Running a dehumidifier in your kitchen can also help.
Why aren’t my macarons perfectly round? Piping technique plays a big role here. Hold the piping bag perpendicular to the baking sheet and about 1/2 inch above it. Apply gentle, even pressure, then stop pressing and make a quick flick of the wrist to detach the batter.
Is it normal for my first batch to fail? Absolutely! Even with a foolproof recipe, mastering macarons takes practice. Each kitchen environment is different, and you’ll need to make small adjustments based on your specific conditions. Don’t get discouraged!
Can I double this recipe? I don’t recommend doubling macaron recipes, especially for beginners. It’s harder to achieve the right consistency when working with larger quantities. Instead, make multiple single batches.
The Secret to Truly Foolproof Macarons
After all my trials and errors, I’ve discovered that the real secret to perfect macarons isn’t just in the recipe – it’s in the attitude. Expect that you’ll need 2-3 attempts to get them right, even with a foolproof method. Each batch will teach you something about your particular kitchen environment, oven quirks, and technique.
Keep in mind that even “failed” macarons usually taste delicious. So instead of aiming for Instagram perfection on your first try, focus on the process. Take notes, make small adjustments, and enjoy the learning curve. Before long, you’ll be turning out picture-perfect macarons and impressing everyone (including yourself).
Remember that these delicate cookies have been challenging pastry chefs for centuries – there’s no shame in needing a few attempts to master them. The satisfaction when you finally pull a perfect batch from the oven makes all the previous failures worthwhile.
Now get baking, and don’t forget to snap a photo of your masterpieces before they disappear!