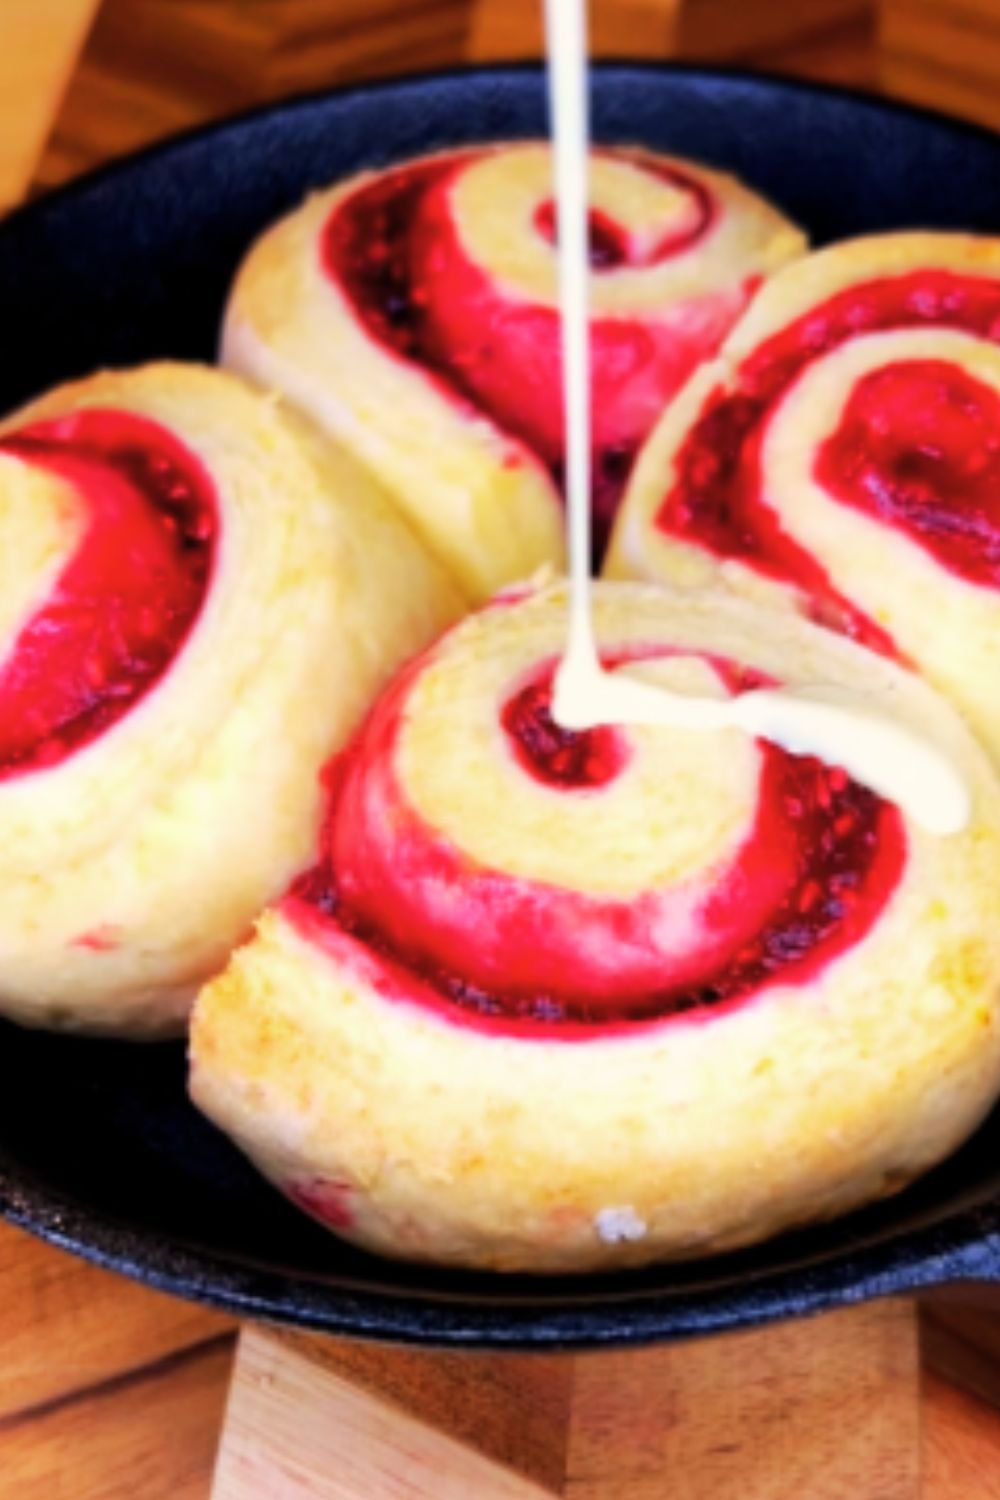
There’s something magical about the combination of bubbling fruit and buttery topping that makes a cobbler irresistible. As someone who’s been baking for family gatherings for over two decades, I’ve tried countless cobbler recipes, but this Peach and Raspberry Cobbler has become my go-to summer dessert. The sweet peaches and tart raspberries create a perfect balance of flavors, while the golden biscuit topping soaks up all those delicious juices. The best part? It’s ridiculously easy to make, even for novice bakers.
A Taste of Summer, Any Time of Year
While nothing beats using fresh, in-season peaches and raspberries picked at their peak (I still remember my grandmother’s cobbler made with peaches from her backyard tree), this recipe works beautifully with frozen fruit. This means you can enjoy a taste of summer even in the depths of winter when you’re craving something bright and fruity.
I first created this recipe when I needed a quick dessert for unexpected guests. With just a few pantry staples and some frozen fruit, I whipped up what would become a family favorite. The compliments I received that evening convinced me I had stumbled onto something special.
What Makes This Cobbler Special
Before diving into the recipe, let’s talk about what sets this cobbler apart:
- Balanced Flavors: The sweetness of peaches and tartness of raspberries complement each other perfectly
- Versatile Base: Works with fresh or frozen fruit, making it a year-round option
- Simple Ingredients: Nothing fancy required – just basic pantry staples
- Quick Preparation: Ready for the oven in under 15 minutes
- Foolproof Method: Nearly impossible to mess up, even for beginners
- Crowd-Pleaser: Appeals to both fruit dessert lovers and those with a sweet tooth
Ingredients You’ll Need
For the Fruit Filling:
- 4 cups fresh or frozen peaches, sliced (about 6-7 medium peaches)
- 2 cups fresh or frozen raspberries
- ¾ cup granulated sugar (adjust based on fruit sweetness)
- 2 tablespoons cornstarch
- 1 tablespoon lemon juice
- 1 teaspoon vanilla extract
- ¼ teaspoon ground cinnamon
- Pinch of salt
For the Cobbler Topping:
- 1½ cups all-purpose flour
- ½ cup granulated sugar
- 1½ teaspoons baking powder
- ½ teaspoon salt
- 1 teaspoon vanilla extract
- ⅓ cup cold unsalted butter, cubed
- ½ cup milk
- 1 large egg
- 2 tablespoons coarse sugar for sprinkling (optional)
Essential Equipment
While this cobbler doesn’t require fancy tools, here are the basics you’ll need:
- 9×13-inch baking dish (I prefer ceramic or glass)
- Large mixing bowl
- Medium mixing bowl
- Measuring cups and spoons
- Whisk
- Pastry cutter or fork
- Rubber spatula
Step-by-Step Instructions
Preparing the Fruit Filling
- Preheat your oven to 375°F (190°C) and lightly grease your baking dish.
- If using frozen fruit, there’s no need to thaw it completely—a partial thaw is perfect. Fresh peaches should be ripe but still firm. If they’re too soft, they’ll turn mushy during baking.
- In a large bowl, combine the peaches and raspberries.
- In a small bowl, whisk together the sugar and cornstarch until no lumps remain. This prevents the dreaded cornstarch clumps in your filling.
- Add the sugar-cornstarch mixture to the fruit along with lemon juice, vanilla extract, cinnamon, and salt. Gently toss until the fruit is evenly coated.
- Transfer the fruit mixture to your prepared baking dish, spreading it in an even layer.
Making the Cobbler Topping
- In a medium bowl, whisk together the flour, sugar, baking powder, and salt.
- Add the cold butter cubes. Using a pastry cutter, two forks, or your fingertips, work the butter into the flour mixture until it resembles coarse crumbs. The pieces should be pea-sized or smaller.
- In a small bowl or measuring cup, whisk together the milk, egg, and vanilla.
- Pour the wet ingredients into the flour-butter mixture and stir just until combined. Be careful not to overmix—a few lumps are perfectly fine. The batter should be thick and slightly sticky.
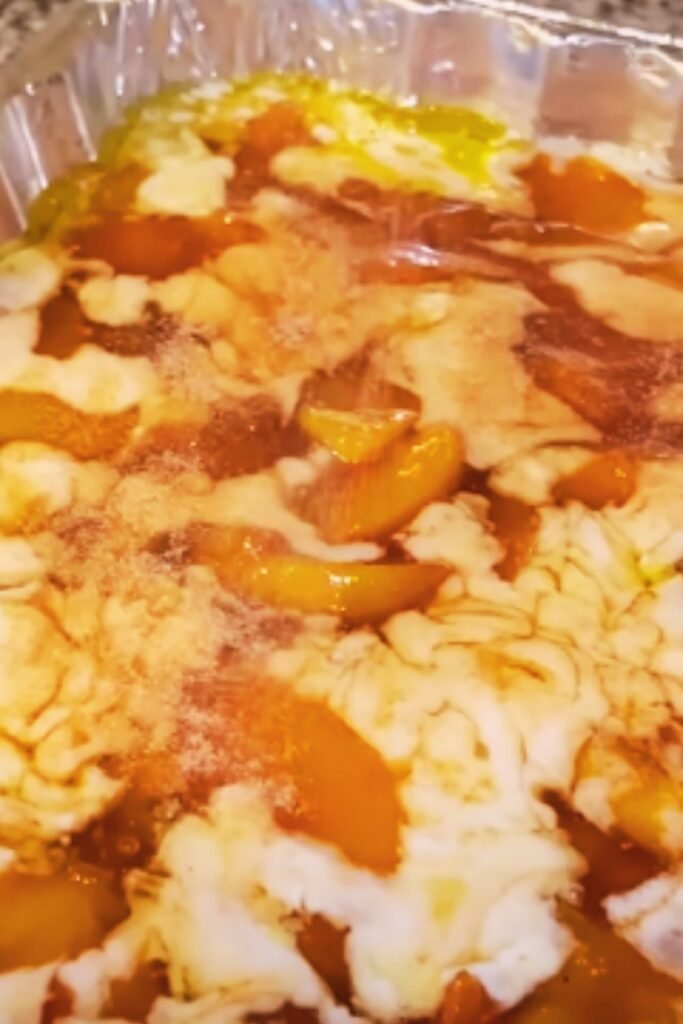
Assembling and Baking
- Using a spoon or cookie scoop, drop dollops of the batter over the fruit mixture. Don’t worry about covering all the fruit—the batter will spread as it bakes, and those gaps allow the beautiful fruit juices to bubble up.
- If desired, sprinkle the coarse sugar over the batter for an extra crunch and sparkle.
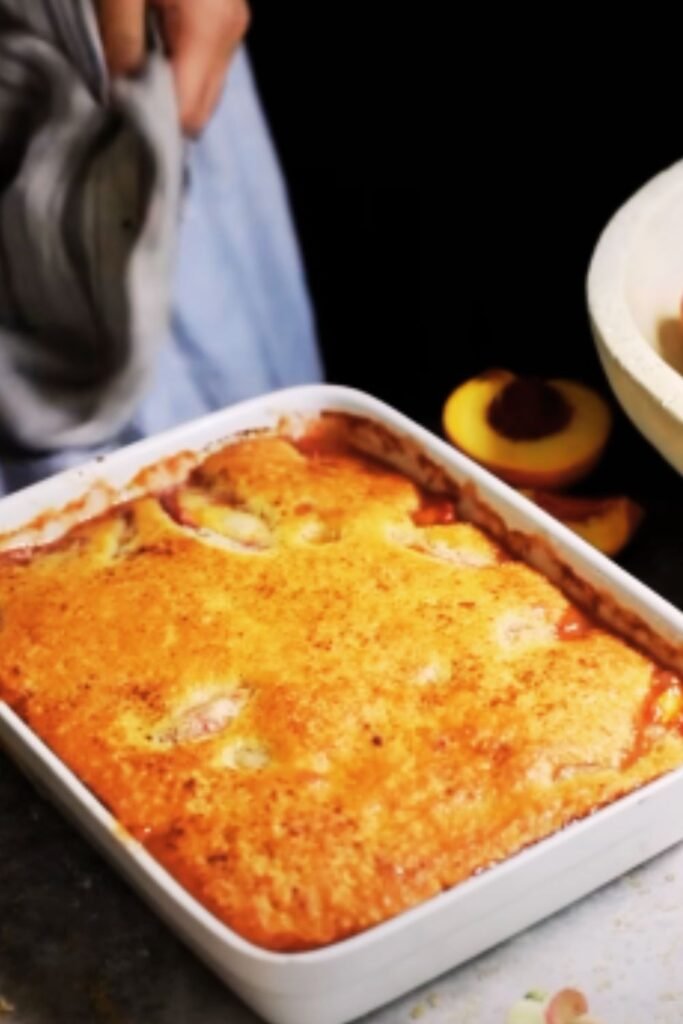
- Bake for 35-40 minutes, or until the topping is golden brown and a toothpick inserted into the batter comes out clean. The fruit should be bubbling around the edges.
- Remove from the oven and let cool for at least 15 minutes before serving. This cooling time allows the fruit juices to thicken slightly.

Variations to Try
One of the reasons I love this cobbler is its versatility. Here are some delicious variations I’ve tried over the years:
Fruit Combinations
The peach-raspberry pair is magical, but don’t stop there! Try these combinations:
| Fruit Combination | Flavor Profile | Adjustments Needed |
|---|---|---|
| Peach + Blueberry | Sweet and juicy | Reduce sugar by 2 tablespoons |
| Peach + Blackberry | Robust and tart | Add 1 tablespoon additional sugar |
| Nectarine + Raspberry | Bright and tangy | No adjustments needed |
| Plum + Raspberry | Rich and complex | Add ¼ teaspoon almond extract |
| Apple + Raspberry | Cozy and comforting | Add ½ teaspoon cinnamon and ¼ teaspoon nutmeg |
| All Berries (mixed) | Bold berry flavor | Add 1 tablespoon lemon zest |
| Peach + Cherry | Sweet and sophisticated | Reduce sugar by 1 tablespoon |
Topping Variations
The classic cobbler topping is delicious, but these variations can add interesting twists:
| Topping Variation | How to Adjust | Best Paired With |
|---|---|---|
| Cinnamon-Sugar | Add 1 teaspoon cinnamon to topping and sprinkle with cinnamon-sugar | Apple-based combinations |
| Almond | Replace ¼ cup flour with almond flour and add ¼ teaspoon almond extract | Stone fruit combinations |
| Lemon | Add 1 tablespoon lemon zest to topping | Berry-heavy combinations |
| Ginger | Add 1 teaspoon ground ginger to topping | Peach-heavy combinations |
| Oatmeal | Replace ½ cup flour with quick oats | All combinations |
| Brown Sugar | Replace white sugar with brown sugar in topping | Apple or stone fruit combinations |
| Coconut | Add ½ cup shredded coconut to topping | Tropical fruit variations |
Make-Ahead and Storage Tips
I often prepare components in advance when hosting dinner parties. Here’s what works best:
Make-Ahead Options:
- Fruit mixture: Can be prepared up to 24 hours in advance and stored in the refrigerator. The cornstarch will help prevent the mixture from becoming too watery.
- Dry topping ingredients: Can be mixed and stored at room temperature for 1-2 days. Keep the butter separate until you’re ready to assemble.
- Assembled cobbler: Can be prepared but not baked up to 4 hours in advance. Keep refrigerated and add 5-10 minutes to the baking time.
Storage Guidelines:
- Room temperature: Best enjoyed day-of, but can be left covered at room temperature for up to 24 hours.
- Refrigerator: Store leftovers covered in the refrigerator for up to 4 days. The topping will soften but still taste delicious.
- Freezer: Baked cobbler can be frozen for up to 3 months. Thaw overnight in the refrigerator and reheat in a 300°F oven until warmed through.
Nutritional Information
For those tracking their intake, here’s an approximate nutritional breakdown per serving (assuming 8 servings per cobbler):
| Nutrient | Amount per Serving |
|---|---|
| Calories | 320 |
| Total Fat | 9g |
| Saturated Fat | 5g |
| Cholesterol | 45mg |
| Sodium | 230mg |
| Total Carbohydrates | 57g |
| Dietary Fiber | 4g |
| Sugars | 36g |
| Protein | 4g |
| Vitamin A | 15% DV |
| Vitamin C | 20% DV |
| Calcium | 8% DV |
| Iron | 6% DV |
Values are approximate and will vary based on exact ingredients used.
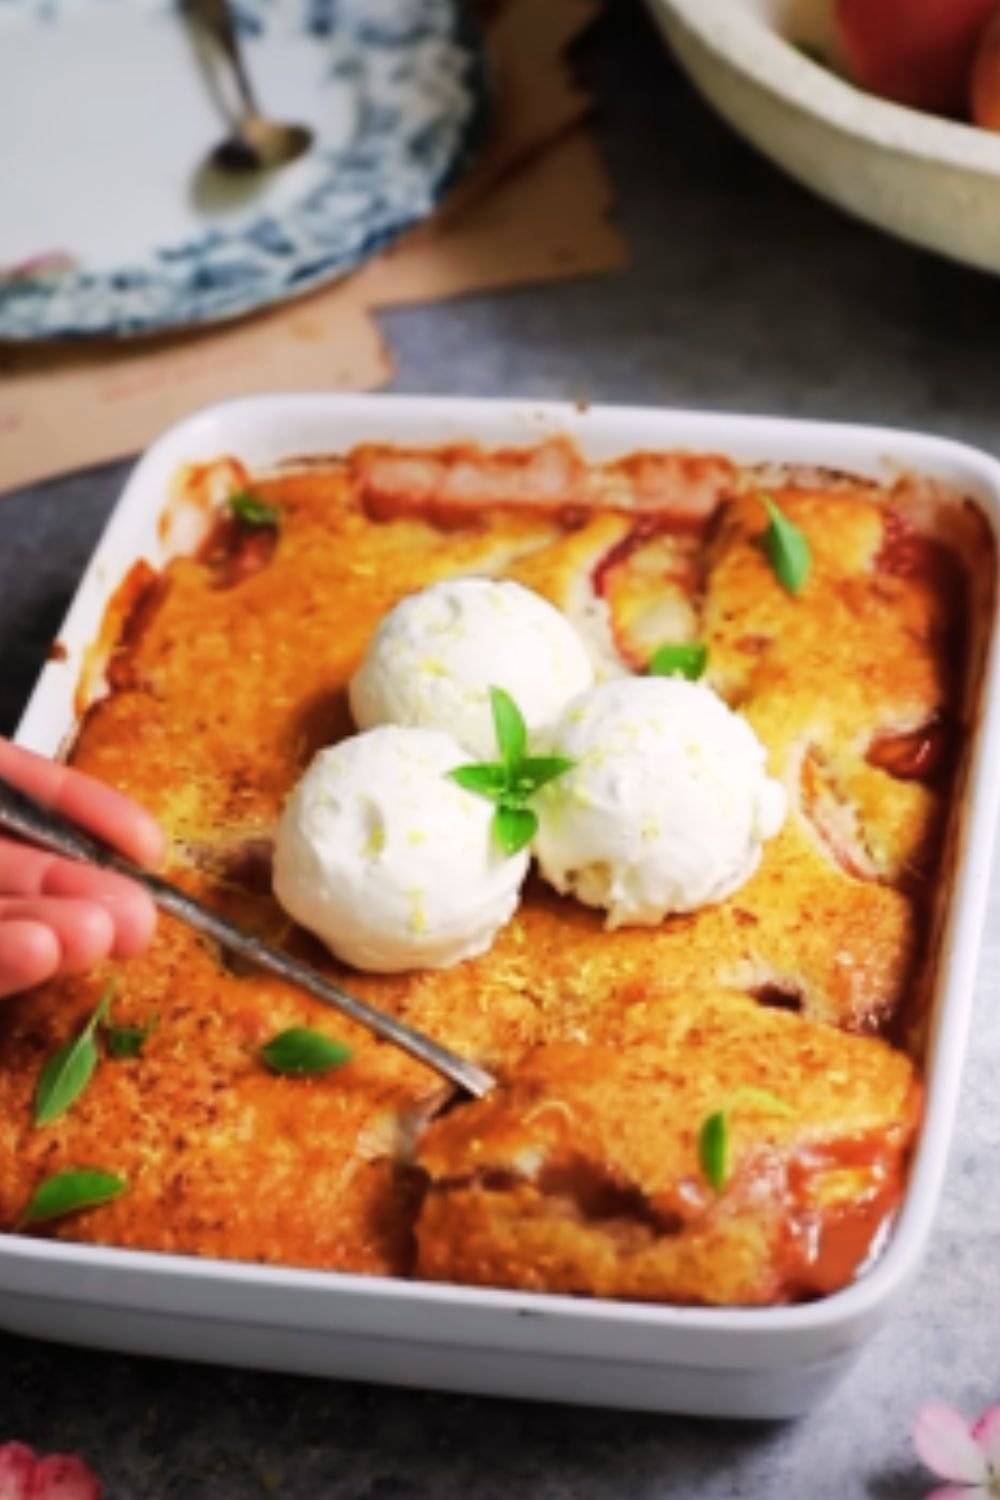
Serving Suggestions
A warm cobbler straight from the oven is heavenly on its own, but these accompaniments can take it to another level:
Traditional Pairings:
- Vanilla ice cream (my personal favorite)
- Freshly whipped cream
- Warm custard sauce
- Greek yogurt with a drizzle of honey
- Fresh mint leaves for garnish
Unexpected Twists:
- Lemon-infused whipped cream
- Coconut ice cream
- Gingersnap cookie crumbles
- Honey-sweetened mascarpone
- Candied lemon zest
Troubleshooting Common Issues
Even though this cobbler is relatively foolproof, here are solutions to potential problems:
| Problem | Possible Cause | Solution |
|---|---|---|
| Runny filling | Fruit too juicy or cornstarch not activated | Add 1 additional tablespoon cornstarch to the fruit mixture or bake 5-10 minutes longer |
| Topping too dense | Overmixing the batter | Mix just until ingredients are combined, leaving some small lumps |
| Topping not cooked through | Oven temperature too low or dollops too thick | Test with a toothpick and bake longer if needed, or make smaller dollops of batter |
| Fruit too tart | Underripe fruit or naturally tart varieties | Increase sugar in the filling by 2-3 tablespoons |
| Soggy bottom topping | Fruit too juicy or cobbler not cooled properly | Let the cobbler rest 20-30 minutes before serving |
| Too sweet | Overripe fruit or too much sugar | Reduce sugar in filling by 2-3 tablespoons and balance with 1 additional teaspoon of lemon juice |
Seasonal Adaptations
While this cobbler works year-round with frozen fruit, I love adapting it to what’s fresh each season:
Spring:
- Substitute strawberries for raspberries
- Add 1 tablespoon of fresh chopped mint to the fruit
- Use meyer lemon juice instead of regular lemon
Summer:
- Use perfectly ripe local peaches and fresh raspberries
- Add a handful of blueberries for color contrast
- Garnish with edible flowers like violets or pansies
Fall:
- Replace some peaches with pears
- Add warming spices (extra cinnamon, nutmeg, ginger)
- Drizzle with maple syrup before serving
Winter:
- Use all frozen fruit
- Add orange zest to the filling
- Serve with a warm vanilla bean sauce
Dietary Adaptations
Over the years, I’ve adapted this recipe for friends with various dietary needs:
Gluten-Free Version:
- Replace all-purpose flour with a 1:1 gluten-free flour blend
- Add ¼ teaspoon xanthan gum if your blend doesn’t include it
- The texture will be slightly different but still delicious
Dairy-Free Version:
- Substitute cold coconut oil for butter (use solid, not melted)
- Use almond milk or oat milk instead of dairy milk
- Top with coconut whipped cream instead of ice cream
Reduced Sugar Option:
- Reduce sugar in filling to ½ cup
- Use ripe, naturally sweet peaches
- Replace sugar in topping with ⅓ cup honey or maple syrup (reduce milk by 1 tablespoon)
Vegan Adaptation:
- Use coconut oil instead of butter
- Replace egg with a flax egg (1 tablespoon ground flaxseed mixed with 3 tablespoons water, let sit for 5 minutes)
- Use plant-based milk and serve with vegan ice cream
Why This Recipe Works
As someone who has experimented with countless cobbler recipes, I can tell you why this particular method creates consistent results:
- The cornstarch ratio: Just enough to thicken without making the filling gummy
- Butter temperature: Using cold butter creates those perfect biscuit-like pockets in the topping
- Minimal mixing: Prevents the dreaded tough topping
- The baking temperature: 375°F is the sweet spot for juicy fruit and golden topping
- Balanced sweetness: The fruit shines without being overwhelmed by sugar
- Vanilla in both components: Creates depth of flavor throughout
Frequently Asked Questions
Q: Can I use canned peaches instead of fresh or frozen?
A: Yes, but drain them well and reduce the sugar in the filling by about 3 tablespoons, as canned peaches typically come in syrup. You’ll also need about 2 cans (15 oz each) to get the right amount.
Q: My cobbler seems too runny. What went wrong?
A: Fruits naturally vary in juiciness. If you’re using particularly juicy peaches or your raspberries were super ripe, they’ll release more liquid. Try adding an extra tablespoon of cornstarch next time, or let the cobbler cool longer before serving.
Q: Do I need to peel the peaches?
A: It’s a matter of preference. I usually don’t peel mine because the peels soften during baking and add nice color and texture. If you prefer no peels, blanch fresh peaches in boiling water for 30 seconds, then transfer to ice water—the skins will slip right off.
Q: How do I know when the cobbler is done?
A: The topping should be golden brown, and a toothpick inserted into the topping should come out clean. You should also see the fruit mixture bubbling around the edges.
Q: Can I make individual cobblers instead of one large one?
A: Absolutely! Divide the mixture among ramekins or small oven-safe dishes and reduce the baking time to about 25-30 minutes.
Q: Why did my topping sink into the fruit?
A: This can happen if the fruit mixture is too hot when you add the topping, or if the topping is too wet. Make sure your batter has a thick, scoopable consistency.
Q: How do I store leftover cobbler?
A: Cover and refrigerate for up to 4 days. Reheat individual portions in the microwave for 30-60 seconds, or warm the entire cobbler in a 300°F oven for 15-20 minutes.
Q: Can I double this recipe?
A: Yes! Use two 9×13-inch baking dishes or one larger baking dish and increase the baking time by about 10-15 minutes.

Final Thoughts: The Heart of Home Baking
There’s something deeply satisfying about pulling a bubbling, golden cobbler from the oven. The way it fills your home with the aroma of sweet fruit and buttery topping creates an instant atmosphere of warmth and welcome.
This peach and raspberry cobbler has become my signature dessert, the one friends request for gatherings and family looks forward to at reunions. It’s simple enough for a weeknight treat but special enough for celebrations.
What I love most about this recipe is how it connects us to seasonal rhythms and the simple pleasure of transforming humble ingredients into something extraordinary. When peaches are at their peak in late summer, making this cobbler feels like capturing sunshine in a dish—a memory to savor when winter arrives.
Whether you’re an experienced baker or just starting out, I hope this recipe brings you as much joy as it has brought to my table over the years. There’s no better way to show care than through something homemade, especially when it’s this delicious and accessible to make.
Happy baking!