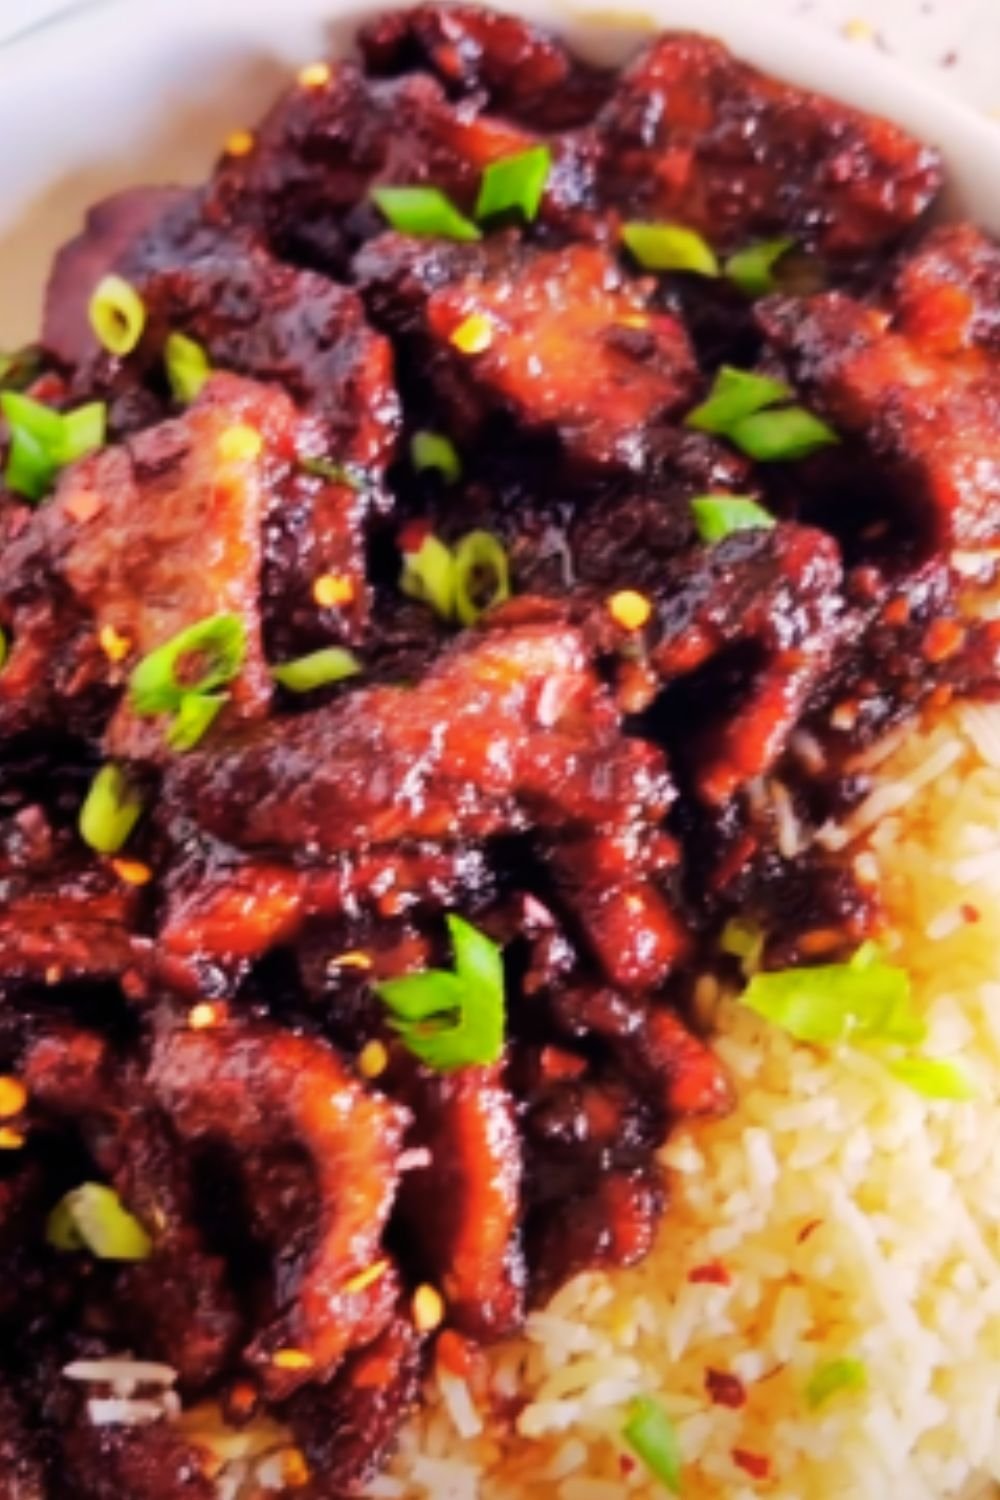
Have you ever sat mesmerized at a Japanese steakhouse, watching skilled chefs flip, slice, and sizzle your dinner into existence right before your eyes? That theatrical dining experience—complete with flaming onion volcanoes and behind-the-back seasoning tosses—always leaves me craving more. After countless hibachi dinners (and an embarrassing amount of money spent), I decided it was time to bring that magic into my own kitchen. Today, I’m sharing my perfected recipe for restaurant-quality hibachi chicken paired with that addictively creamy yum yum sauce that I could honestly eat by the spoonful.
What makes hibachi cooking so special isn’t just the entertainment value—it’s the simple yet powerful flavor combinations, the perfectly caramelized proteins, and the smoky char that can only come from high-heat cooking. While you might not have a massive flat-top grill in your kitchen, I’ve discovered techniques that will help you achieve authentic hibachi results using equipment you already own.
This isn’t just another stir-fry recipe. True hibachi cooking follows specific techniques, uses particular ingredients, and requires understanding the balance of heat, timing, and seasoning that Japanese steakhouse chefs have mastered. After dozens of attempts (and a few smoke detector incidents), I’ve cracked the code to creating restaurant-worthy hibachi chicken at home—complete with that iconic pink sauce that makes everything taste better.
Ready to transform your kitchen into a hibachi hotspot? Let’s dive in!
The History and Art of Hibachi Cooking
Before we heat up our pans, let’s take a moment to understand what we’re trying to recreate. Contrary to popular belief, what most Americans call “hibachi” is actually “teppanyaki” cooking in Japan. A traditional hibachi is a charcoal-heated, open-grated cooking device, while teppanyaki uses a solid flat iron griddle—the large cooktop you see at Japanese steakhouses.
The teppanyaki style was popularized in America in the mid-20th century by the Benihana restaurant chain, which combined traditional Japanese flavors with theatrical cooking techniques to create the entertainment-focused dining experience we know today.
What makes this style of cooking special:
- High heat that creates unique flavor through the Maillard reaction
- Simple seasonings that enhance rather than mask the main ingredients
- Quick cooking that preserves the texture of proteins and vegetables
- The communal dining experience (which we’ll recreate for your family)
While I can’t promise you’ll be flipping shrimp into your hat by the end of this recipe, I can promise restaurant-quality flavor that will make your family think you’ve been secretly training as a hibachi chef.
Essential Equipment for Hibachi-Style Cooking
One of the biggest challenges in recreating hibachi at home is the equipment. Professional chefs use large flat-top grills that can reach temperatures far higher than most home stoves. However, I’ve found ways to adapt the cooking style to standard kitchen equipment with excellent results.
Here’s what you’ll need:
| Equipment | Professional Hibachi | Home Alternative | Why It Works |
|---|---|---|---|
| Cooking Surface | Large flat-top teppanyaki grill (600°F+) | Cast iron skillet or carbon steel pan | Retains high heat and provides even cooking surface |
| Heat Source | Commercial-grade gas burners | Home gas or electric stove on highest setting | Pre-heating is key to compensating for lower max temperatures |
| Spatulas | Long metal spatulas with beveled edges | Metal fish spatula or offset metal spatula | Allows for quick flipping and food manipulation |
| Squeeze Bottles | For oil and sauces | Clean condiment bottles or small bowls | Makes controlled addition of liquids easier |
| Preparation Area | Built-in cutting board | Separate cutting board near cooking area | Allows for quick addition of ingredients |
The most important aspect is heat retention. Your goal is to get your cooking surface as hot as possible and keep it hot throughout the cooking process. That’s why cast iron or carbon steel pans work best—they maintain high temperatures even when you add food to them.
I’ve found that using two medium-sized pans rather than one large one gives me better temperature control—one for proteins and one for vegetables. This mimics how hibachi chefs work with different zones on their large flat-tops.
Ingredients Breakdown: The Secret to Authentic Flavor
The beauty of hibachi cooking lies in its simplicity. The ingredients list isn’t long or exotic, but the quality and preparation make all the difference. Here’s what you’ll need for authentic hibachi chicken and yum yum sauce:
For the Hibachi Chicken:
| Ingredient | Amount | Notes |
|---|---|---|
| Chicken breasts | 1.5 pounds | Boneless, skinless, cut into 1-inch cubes |
| Soy sauce | 3 tablespoons | Use Japanese brands like Kikkoman for authenticity |
| Mirin | 1 tablespoon | Sweet Japanese rice wine that adds depth |
| Sesame oil | 2 teaspoons | Toasted variety provides more flavor |
| Garlic | 3 cloves | Minced very finely |
| Ginger | 1-inch piece | Grated freshly |
| Cooking oil | 2 tablespoons | High smoke point variety (avocado, grapeseed) |
| Unsalted butter | 2 tablespoons | Creates richness and helps with browning |
| Salt | ½ teaspoon | Sea salt or kosher salt preferred |
| Black pepper | ¼ teaspoon | Freshly ground |
For the Hibachi Vegetables:
| Ingredient | Amount | Notes |
|---|---|---|
| Zucchini | 1 medium | Cut into half-moons |
| Onion | 1 medium | White or yellow, cut into ½-inch pieces |
| Mushrooms | 8 ounces | Button or cremini, sliced |
| Carrots | 2 medium | Julienned or sliced thinly |
| Garlic butter | 1 tablespoon | Mix 1 tbsp butter with ½ tsp garlic powder |
| Soy sauce | 1 tablespoon | For seasoning vegetables |
| Salt and pepper | To taste | Added at the end |
For the Yum Yum Sauce:
| Ingredient | Amount | Notes |
|---|---|---|
| Mayonnaise | 1 cup | Japanese Kewpie mayo produces best results |
| Tomato paste | 2 tablespoons | Provides color and tanginess |
| Rice vinegar | 1 tablespoon | Adds acidity |
| Sugar | 1 tablespoon | Balances the acidity |
| Paprika | 1 teaspoon | For color and mild flavor |
| Garlic powder | ½ teaspoon | Provides savory depth |
| Onion powder | ½ teaspoon | Adds sweetness and savoriness |
| Mirin | 1 teaspoon | Authentic Japanese sweet rice wine |
| Butter | 1 tablespoon | Melted, adds richness |
| Water | 1-3 tablespoons | For adjusting consistency |
Substitutions and Variations:
- Protein options: Substitute chicken with shrimp, steak, or tofu for variety
- Vegetable alternatives: Bell peppers, broccoli, or bean sprouts work well
- Dietary restrictions: Use coconut aminos instead of soy sauce for gluten-free; substitute vegan mayo for traditional in the sauce
- Spice level: Add cayenne pepper to the yum yum sauce for heat
I’ve tried countless variations of these recipes, and I’ve found that the ingredients listed above create the most authentic restaurant-style flavor. The marinade may seem simple, but that’s intentional—hibachi cooking is about enhancing the natural flavors of good ingredients, not masking them.
Preparation: Setting Yourself Up for Success
One aspect of hibachi cooking that’s often overlooked is the importance of mise en place—having everything prepped and ready before you start cooking. Once you begin the high-heat cooking process, things move quickly, and you won’t have time to chop an onion or measure soy sauce.
Chicken Preparation (Start 1-2 hours ahead):
- Cut chicken into uniform 1-inch cubes (uniformity ensures even cooking)
- Mix marinade ingredients: soy sauce, mirin, sesame oil, minced garlic, and grated ginger
- Combine chicken with marinade in a zip-top bag
- Refrigerate for 30 minutes to 2 hours (not longer, as the salt can start to cure the chicken)
- Remove from refrigerator 20 minutes before cooking to take the chill off
Vegetable Preparation:
- Wash all vegetables thoroughly
- Cut zucchini into ¼-inch half-moons
- Slice onion into ½-inch pieces
- Clean and slice mushrooms
- Julienne or thinly slice carrots
- Arrange all vegetables on a plate in the order you’ll add them to the pan
Yum Yum Sauce Preparation (Can be made 1-3 days ahead):
- Combine all sauce ingredients except water in a bowl
- Whisk until smooth and uniform in color
- Add water 1 tablespoon at a time until desired consistency is reached
- Transfer to a sealed container and refrigerate at least 1 hour (flavors develop with time)
- Bring to room temperature before serving
Cooking Station Setup:
- Position your pans on the stove
- Place prepared ingredients within arm’s reach in the order you’ll use them
- Have spatulas, tongs, and any other tools ready
- Prepare a warm serving platter
- Have serving sauces in squeeze bottles or small bowls with spoons
This level of preparation might seem excessive, but it’s the secret to successful hibachi cooking. Professional chefs have everything arranged precisely so they can focus on heat control and timing. By setting up your station properly, you’ll avoid the stress of searching for ingredients mid-cook and reduce the chance of overcooking.
The Cooking Process: Techniques for Perfect Results
Now for the exciting part—the actual cooking! This is where we’ll apply the techniques that hibachi chefs use to create those distinctive flavors and textures. The process is deceptively simple, but timing and heat management are critical.
Step 1: Heating Your Cooking Surface
- Place your cast iron or carbon steel pan on the stove over high heat
- Allow it to heat for 5-7 minutes until extremely hot (a drop of water should instantly evaporate with a sizzle)
- Add a thin layer of high smoke-point oil and swirl to coat
- The oil should shimmer but not smoke heavily—if it smokes a lot, your pan is too hot
Step 2: Cooking the Hibachi Chicken
- Remove chicken from marinade and pat lightly with paper towels to remove excess moisture
- Add 1 tablespoon of cooking oil to the hot pan
- Carefully add chicken pieces in a single layer, leaving space between them
- Do not move the chicken for 2 minutes to allow proper browning
- Flip each piece and continue cooking for another 2 minutes
- Add 1 tablespoon of butter and allow it to melt around the chicken
- Toss chicken in the butter, then push to one side of the pan
- Total cooking time should be 5-6 minutes for juicy, fully cooked chicken
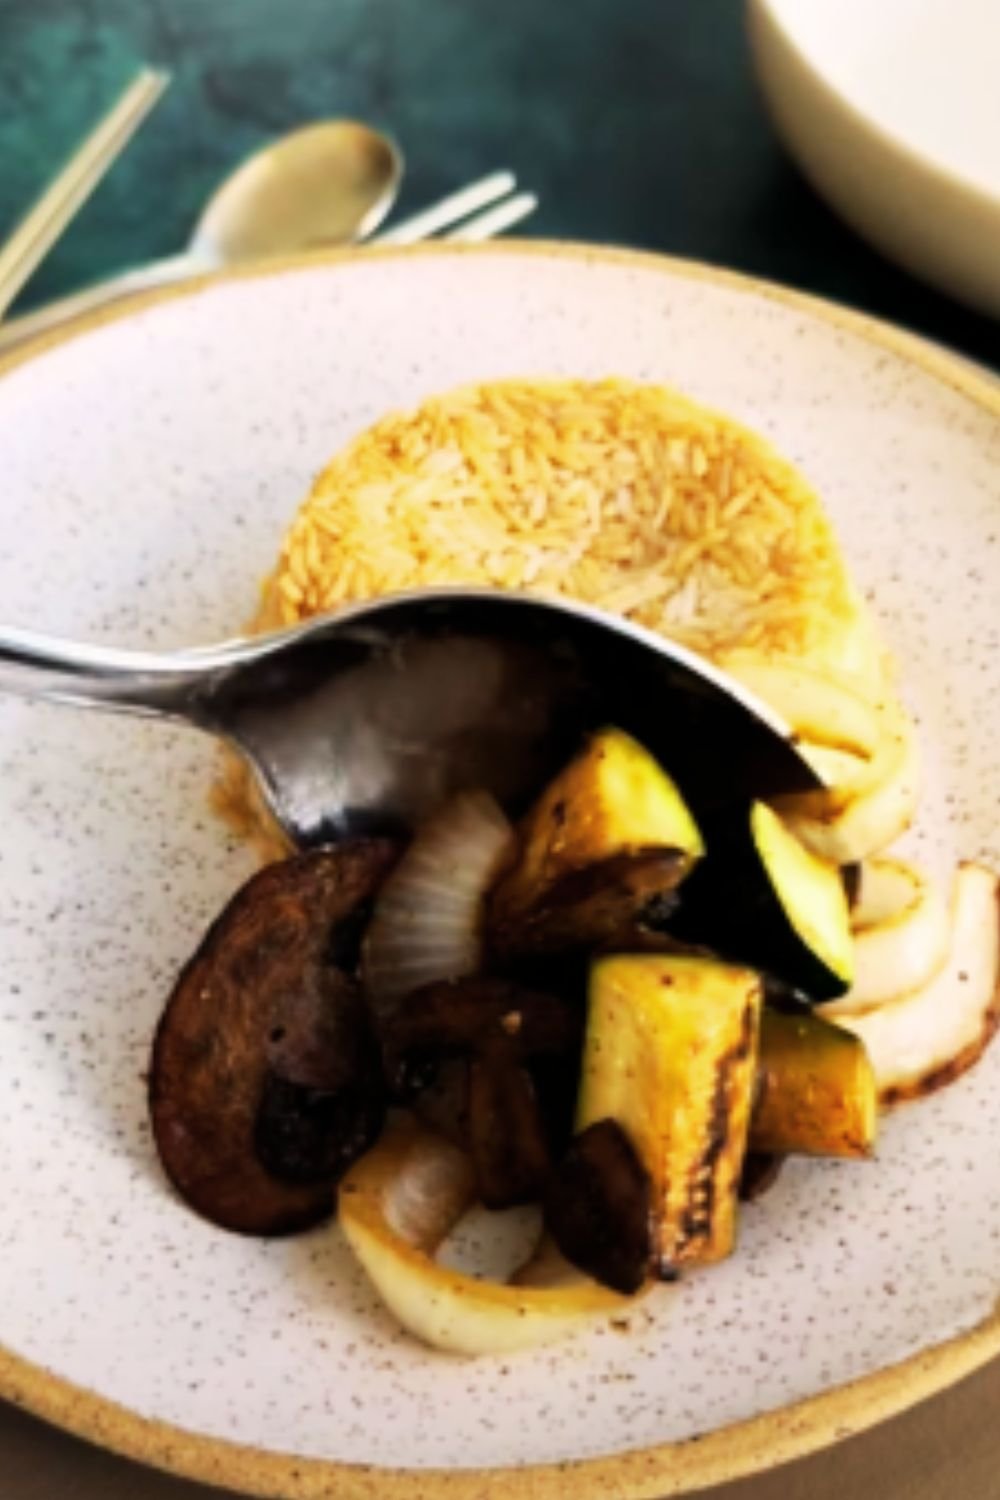
Step 3: Cooking the Hibachi Vegetables
- In a separate hot pan, add 1 tablespoon of oil
- Add onions and carrots first (they take longest to cook), cooking for 2 minutes
- Add zucchini and mushrooms, tossing frequently
- After 2 minutes, add 1 tablespoon of garlic butter
- Drizzle 1 tablespoon of soy sauce around the edge of the pan (this creates steam and flavor)
- Toss vegetables to coat, cooking for another 1-2 minutes until tender-crisp
- Season with salt and pepper to taste
Step 4: The Finishing Touch
- Combine chicken and vegetables in one pan if desired
- Press everything down slightly with your spatula and allow to cook undisturbed for 30 seconds (creates additional browning)
- Toss everything together one last time
- Transfer to a warmed serving platter
- Drizzle with a small amount of sesame oil if desired
| Common Hibachi Cooking Mistakes | How to Avoid Them |
|---|---|
| Overcrowded pan | Cook in batches if necessary to maintain high heat |
| Stirring too frequently | Allow food to sit and develop browning |
| Underseasoned food | Season at multiple stages, not just at the end |
| Overcooked vegetables | Add vegetables in order of cooking time needed |
| Cold serving plates | Warm plates in oven at low temperature |
| Uneven chicken pieces | Take time to cut uniformly for even cooking |
The entire cooking process should take less than 15 minutes once your pans are hot. This quick cooking preserves the texture and color of the vegetables while ensuring the chicken stays juicy.
I’ve found that the most common mistake home cooks make is overcrowding the pan, which drops the temperature too much and leads to steaming rather than browning. If you’re cooking for a family, work in batches rather than trying to cook everything at once.
Serving Suggestions: Creating the Full Hibachi Experience
Part of what makes hibachi restaurants special is the complete dining experience. While we can’t recreate the flying shrimp catches at home, we can present our meal in a way that captures the essence of hibachi dining.
Traditional Accompaniments:
- Steamed white rice (short-grain Japanese rice is authentic)
- Clear soup (a light broth with mushrooms, green onions, and thin-sliced carrots)
- Green salad with ginger dressing
- Pickled ginger on the side
- Yum yum sauce in small dipping bowls
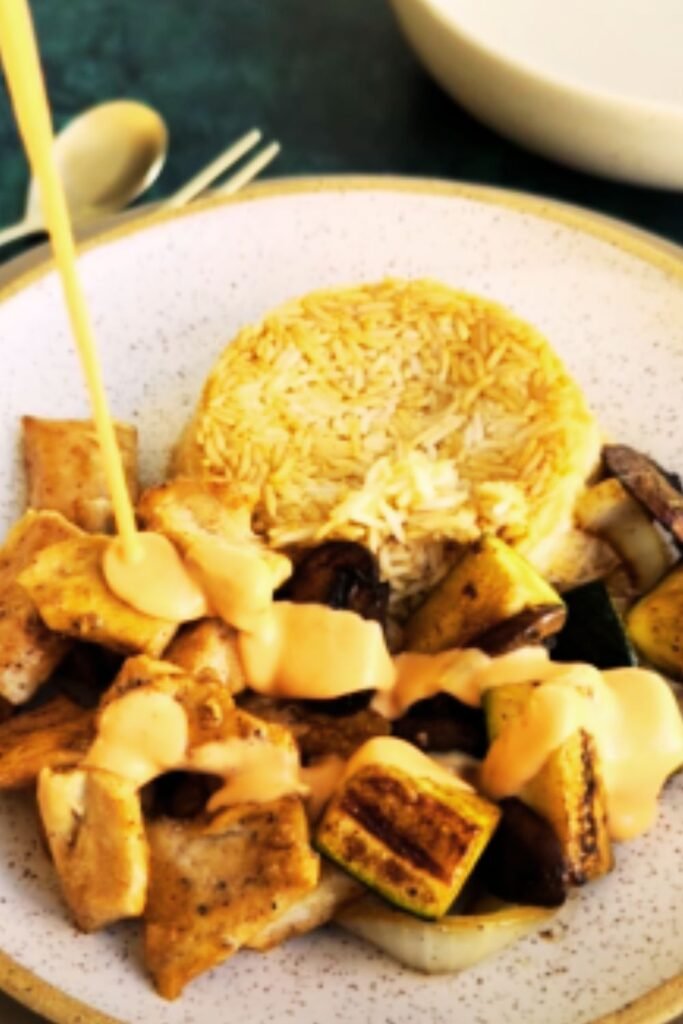
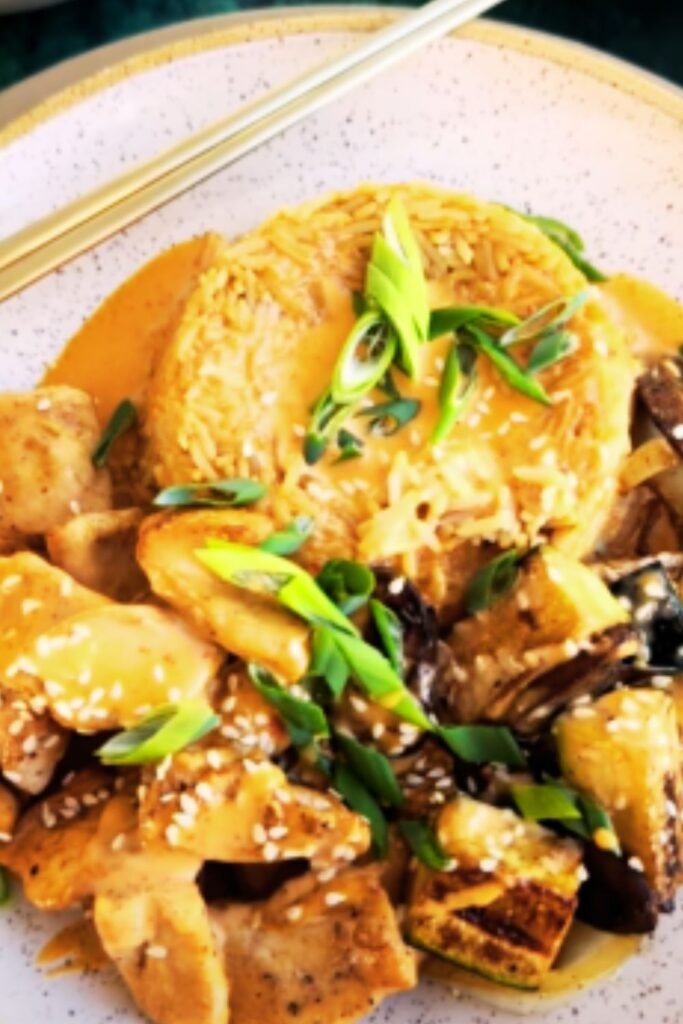
Plating Like a Pro:
- Use large, warm plates with separate sections if available
- Place a mound of rice on one side of the plate
- Arrange hibachi chicken and vegetables beside the rice
- Add small bowls of yum yum sauce and any other condiments
- Garnish with sesame seeds and thinly sliced green onions
Creating Atmosphere:
- Set the table with chopsticks alongside regular cutlery
- Use low serving bowls similar to those in Japanese restaurants
- Serve green tea in small cups
- Consider teppanyaki-style cooking at the table using a portable induction burner for special occasions
I like to serve everything family-style, placing the platters of food in the center of the table alongside bowls of sauce and rice. This captures the communal spirit of hibachi dining and allows everyone to take exactly what they want.
For special occasions, I’ll sometimes invest in the theatrical element by cooking portions of the meal at the table on a portable burner. While this isn’t necessary for the flavor, it does add to the fun and makes for a memorable dinner experience.
Mastering the Legendary Yum Yum Sauce
Let’s talk more about that famous pink sauce that everyone loves. Yum yum sauce (sometimes called white sauce, despite its pink color) is perhaps the most distinctive element of American hibachi restaurants. Its creamy, tangy-sweet flavor profile complements the savory grilled meats perfectly.
The Science Behind Perfect Yum Yum Sauce:
The key components that make yum yum sauce work:
- Fat base: Mayonnaise provides creaminess and body
- Acid component: Rice vinegar cuts through the richness
- Sweetness: Sugar and mirin balance the acidity
- Umami elements: Tomato paste and garlic add depth
- Color: Paprika gives the characteristic pink hue
- Texture: The sauce should be thick but pourable
Common Yum Yum Sauce Questions:
Why does restaurant yum yum sauce taste different from homemade versions?
Commercial restaurants often use specialized Japanese mayonnaise (Kewpie) which has a different flavor profile than American mayo. It’s made with egg yolks only (no whites) and uses rice vinegar instead of distilled vinegar.
Why does my sauce separate after refrigeration?
This is normal. Simply whisk it well before serving, or let it come to room temperature and it will recombine more easily.
How long does homemade yum yum sauce last?
When properly refrigerated in an airtight container, it will keep for up to one week.
Can I freeze yum yum sauce?
I don’t recommend freezing as the mayonnaise base tends to separate upon thawing.
Yum Yum Sauce Variations:
- Spicy yum yum: Add sriracha or cayenne pepper to taste
- Garlic lover’s version: Double the garlic powder and add one finely minced fresh garlic clove
- Herb-infused: Add 1 tablespoon of finely chopped cilantro or parsley
- Citrus twist: Add ½ teaspoon of lemon or lime zest
I’ve experimented with countless variations over the years, but I always come back to the classic recipe. There’s something about that perfect balance of creamy, sweet, tangy, and savory that can’t be improved upon. If you make only one component of this hibachi recipe, let it be the yum yum sauce—it’s delicious on everything from grilled meats to roasted vegetables.
Scaling and Storage: Hibachi for Meal Prep
One of the great things about hibachi-style cooking is how well it works for meal prep. The flavors actually develop nicely overnight, and the cooking method ensures that proteins don’t dry out when reheated.
Scaling the Recipe:
| Original Recipe (Serves 4) | Half Recipe (Serves 2) | Double Recipe (Serves 8) |
|---|---|---|
| 1.5 lbs chicken | 12 oz chicken | 3 lbs chicken |
| 3 tbsp soy sauce | 1.5 tbsp soy sauce | 6 tbsp soy sauce |
| 1 tbsp mirin | 1.5 tsp mirin | 2 tbsp mirin |
| 2 tsp sesame oil | 1 tsp sesame oil | 4 tsp sesame oil |
| 3 garlic cloves | 1-2 garlic cloves | 6 garlic cloves |
| 1-inch ginger | ½-inch ginger | 2-inch ginger |
When scaling up, the most important adjustment is to cook in multiple batches to maintain proper heat. Never overcrowd your pan, even if it means taking more time to complete the cooking.
Storage Guidelines:
- Refrigeration:
- Store cooked hibachi chicken and vegetables in airtight containers
- Keep for up to 3 days
- Store rice separately to prevent it from absorbing too much moisture
- Keep yum yum sauce in a separate container for up to 1 week
- Freezing:
- Hibachi chicken freezes well for up to 3 months
- Vegetables may become softer after freezing but remain flavorful
- Freeze in portion-sized containers for easy reheating
- Do not freeze yum yum sauce (mayo-based sauces separate when frozen)
- Reheating:
- Microwave: Heat on 70% power with a damp paper towel over the container
- Stovetop: Add a tablespoon of water to a pan, add food, and cover for 2-3 minutes
- Add fresh green onions after reheating for brightness
- Stir in a small amount of fresh sauce after reheating for maximum flavor
I often make a double batch of this recipe on Sunday and portion it out for lunches throughout the week. The flavor is actually even better the next day, as the chicken has more time to absorb the seasonings.
Troubleshooting Common Hibachi Cooking Issues
Even with the best preparation, things sometimes go wrong. Here are solutions to the most common problems I’ve encountered when making hibachi at home:
Problem: Chicken is browning too quickly on the outside but raw inside
Solution: Your heat is too high. Start with a very hot pan, but once you add the chicken, reduce heat to medium-high. Also, make sure your chicken pieces are uniform in size.
Problem: Vegetables are soggy instead of crisp-tender
Solution: You’re likely overcrowding the pan or cooking them too long. Cook vegetables in batches if needed and aim for shorter cooking time—they should still have some bite to them.
Problem: Food sticks to the pan
Solution: Make sure your pan is properly heated before adding oil, and don’t move the food too soon after adding it to the pan. Let it develop a crust first, which will naturally release from the surface.
Problem: Yum yum sauce is too thick/thin
Solution: For too thick, add water 1 teaspoon at a time until desired consistency. For too thin, add more mayonnaise or refrigerate to firm up.
Problem: Flavors seem bland compared to restaurant hibachi
Solution: Restaurant hibachi uses very high heat that’s hard to replicate at home. To compensate, try these tricks:
- Let your pan heat longer before cooking
- Use a bit more butter than the recipe calls for
- Add a pinch of MSG (if you’re comfortable using it)
- Make sure you’re using enough salt
- Finish with a sprinkle of toasted sesame seeds
Problem: Everything tastes too salty
Solution: Different brands of soy sauce vary in saltiness. If your dish comes out too salty, add a squeeze of lemon juice to balance it, and next time, reduce the soy sauce by 25%.
Remember that hibachi cooking takes practice. Each time you make it, you’ll get better at controlling the heat and timing. Don’t be discouraged if your first attempt isn’t perfect—focus on what worked well and adjust from there.
Frequently Asked Questions About Hibachi Cooking
Throughout my hibachi cooking journey, I’ve been asked many questions by friends and family. Here are the most common ones with detailed answers:
Q: What’s the difference between hibachi, teppanyaki, and teriyaki?
A: Hibachi traditionally refers to a charcoal-heated barbecue grill with an open grate design. Teppanyaki uses a flat iron griddle and is actually what most American “hibachi” restaurants serve. Teriyaki refers to a cooking technique where foods are glazed with a sweet soy sauce.
Q: Can I make hibachi chicken without a cast iron pan?
A: Yes, though cast iron provides the best results due to its heat retention. A stainless steel pan can work if preheated well, but avoid non-stick pans as they shouldn’t be heated to the high temperatures needed for proper hibachi cooking.
Q: Is hibachi chicken healthy?
A: Hibachi chicken can be part of a healthy diet. It’s primarily lean protein with vegetables, though restaurant versions often use more oil and butter than necessary. My home version allows you to control the amount of fat while maintaining flavor.
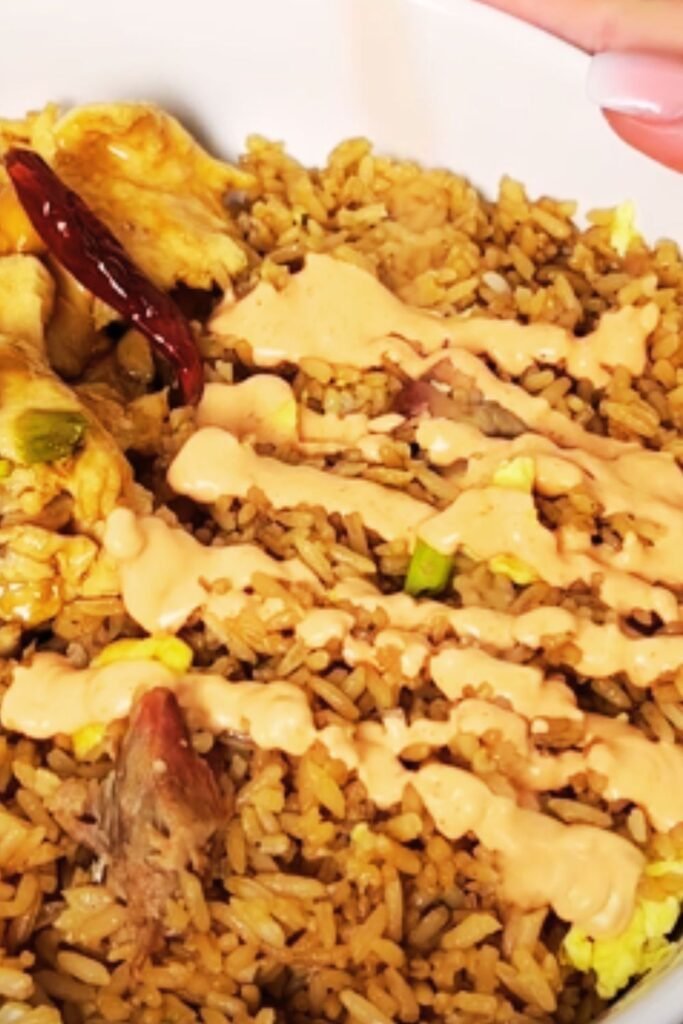
Q: What makes hibachi rice different from regular rice?
A: Hibachi rice (often called fried rice) is typically day-old rice that’s been cooled, which gives it the perfect texture for stir-frying. It’s cooked with butter, soy sauce, and sometimes garlic, then mixed with vegetables and scrambled egg.
Q: Can I make vegetarian hibachi?
A: Absolutely! Firm tofu works beautifully with hibachi cooking methods. Press it well before cooking, and consider freezing and thawing it first for a more meat-like texture. You can also use plant-based chicken alternatives or simply increase the variety of vegetables.
Q: Why does restaurant hibachi chicken taste different from my homemade version?
A: Restaurant hibachi grills reach much higher temperatures than home stoves, creating more intense caramelization. Many restaurants also add a small amount of MSG as a flavor enhancer. Additionally, some use specialized equipment and techniques refined over years of experience.
Q: Is yum yum sauce actually Japanese?
A: Yum yum sauce is an American creation found primarily in Western Japanese steakhouses. It’s not traditional in Japan, but has become synonymous with the American hibachi dining experience.
Q: Can I make this ahead for a party?
A: Yes! You can marinate the chicken and prep the vegetables a day ahead. The yum yum sauce actually improves with time in the refrigerator. For the best results when serving, cook just before eating or prepare earlier and gently reheat in a hot skillet.
Conclusion: Why Mastering Hibachi at Home is Worth It
After perfecting this recipe over dozens of attempts, I can honestly say that learning to make hibachi at home has been one of my most rewarding cooking achievements. Not only has it saved me hundreds of dollars I would have spent at restaurants, but it’s also become a go-to meal that pleases everyone at my table.
What makes home hibachi so special:
- It’s incredibly versatile—switch up proteins and vegetables based on what you have
- The cooking technique, once mastered, can be applied to countless other dishes
- It’s an impressive yet actually simple meal for entertaining
- The flavors are clean and satisfying without being heavy
- It’s a great way to get lots of vegetables into your meal
While we may not have the flat-top grills, catching shrimp in our pockets, or spinning eggs on spatulas, we can capture the essence of what makes hibachi special: high-heat cooking that highlights quality ingredients with simple, powerful seasonings.
I hope this guide helps you bring a little Japanese steakhouse magic into your kitchen. Once you taste the results, I’m confident you’ll be as hooked on home hibachi as I am.
Remember—the key to great hibachi is preparation, heat management, and confidence. Don’t be afraid of the sizzle, and don’t rush the process. With practice, you’ll develop an intuition for the perfect timing and temperature that makes hibachi cooking truly special.
Now grab your largest pan, sharpen your knife, and prepare to impress yourself and your family with restaurant-quality hibachi chicken at home!
Q&A Section
Q: Do I really need both mirin and rice vinegar for this recipe?
A: While they serve different purposes (mirin is sweet rice wine and rice vinegar is acidic), you can substitute mirin with 1 tablespoon of rice vinegar mixed with 1 teaspoon of sugar if necessary. The flavor won’t be identical but will be close enough for most palates.
Q: My local grocery store doesn’t carry Japanese mayo. What should I use instead?
A: Regular mayonnaise will work, but to more closely mimic Kewpie (Japanese mayo), use 1 cup regular mayonnaise mixed with 1 tablespoon rice vinegar and a pinch of sugar. The distinct flavor of Kewpie comes from using only egg yolks and rice vinegar.
Q: How can I make this recipe gluten-free?
A: Substitute regular soy sauce with tamari or coconut aminos. Double-check that your mirin is gluten-free (most are, but some contain trace amounts). All other ingredients in the standard recipe are naturally gluten-free.
Q: What’s the best way to cut chicken for hibachi?
A: Cut against the grain into pieces about 1-inch in size. Starting with partially frozen chicken breast can make it easier to get clean, even cuts. Uniformity is key for even cooking.
Q: Can I use chicken thighs instead of breasts?
A: Absolutely! Chicken thighs are actually more forgiving in high-heat cooking as they don’t dry out as quickly. They have more flavor but also more fat. Cut them slightly smaller than you would breast meat as they take a bit longer to cook through.