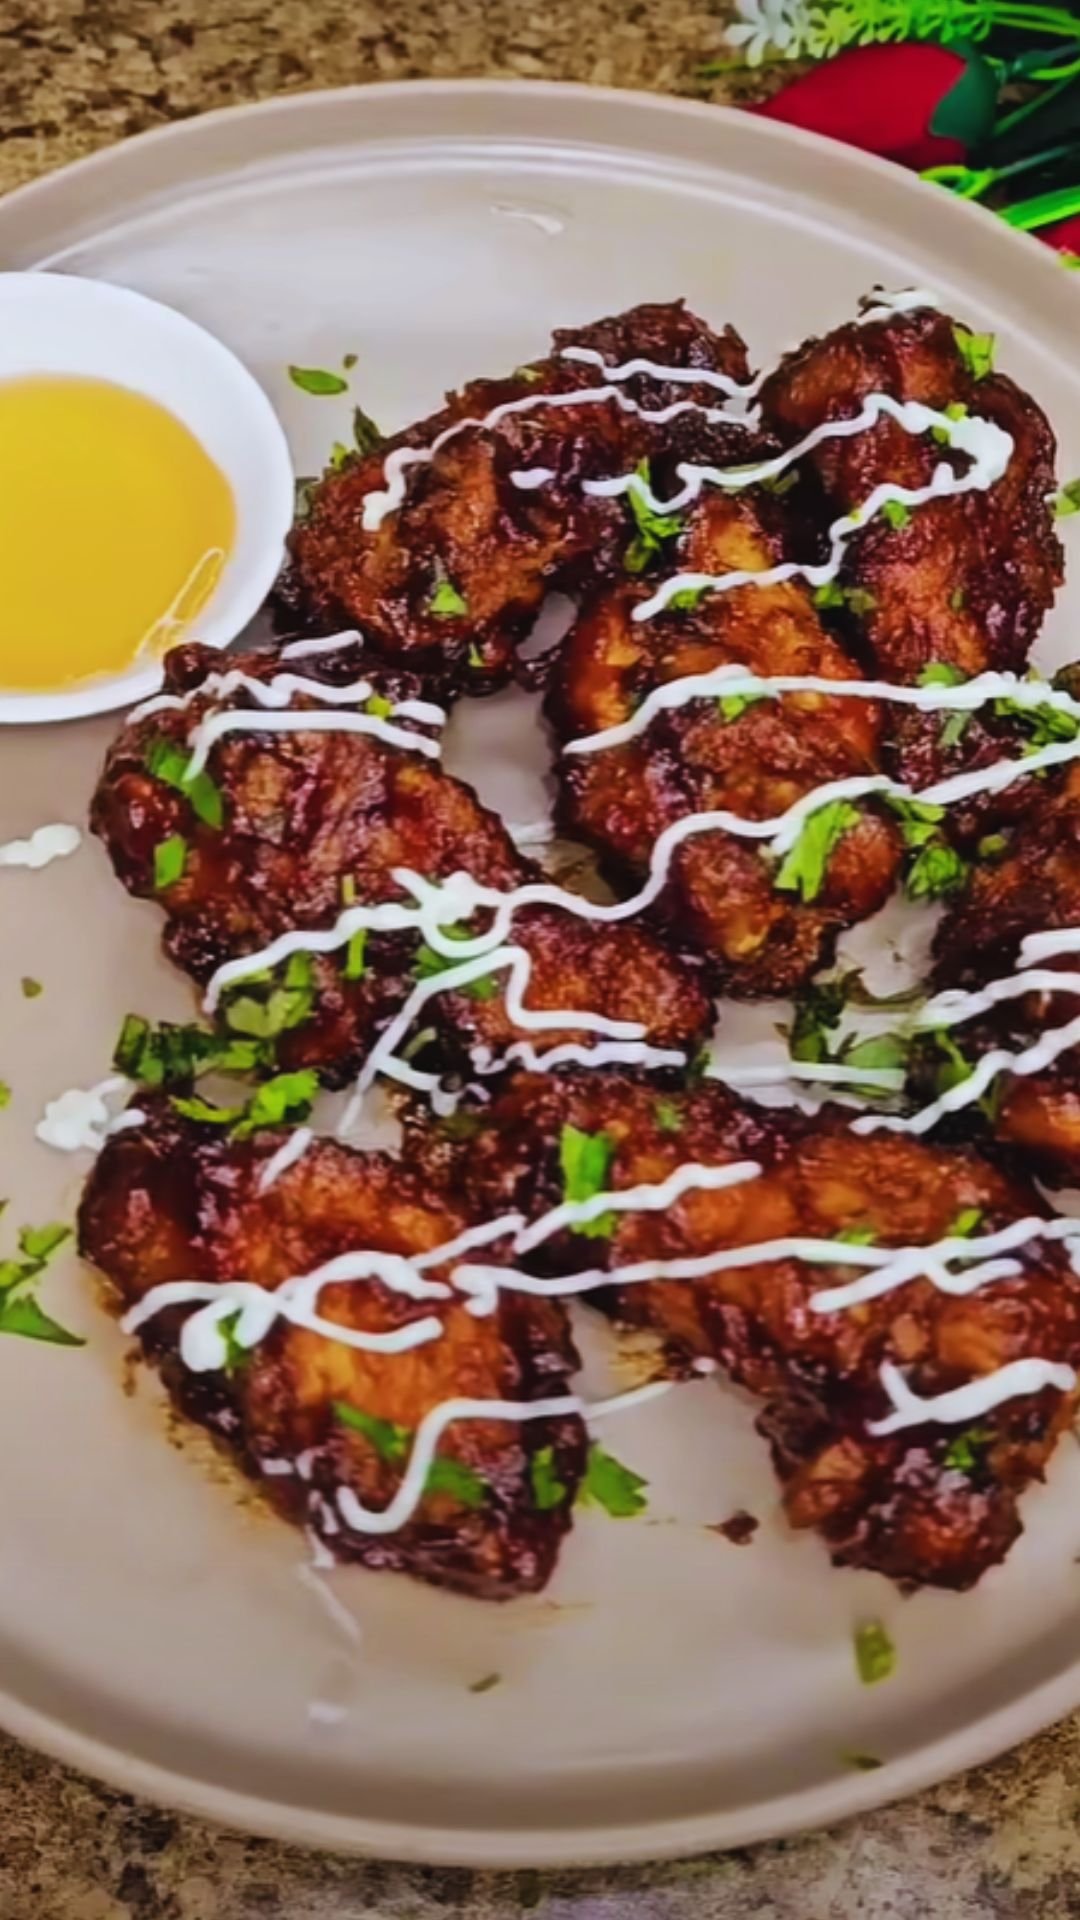
There’s something magical about the first bite of authentic Jamaican jerk chicken. The smoky heat, the complex blend of spices, and that perfect balance of sweet and spicy that makes your taste buds dance – it’s a culinary experience that transports you straight to the Caribbean islands. I’ve been perfecting my jerk chicken recipe for years, and today I’m sharing everything I’ve learned about creating this incredible dish using three different cooking methods: air fryer, oven, or grill.
What makes jerk chicken so special isn’t just the bold flavors – it’s the versatility. Whether you’re cooking for a weeknight dinner or hosting a summer barbecue, this recipe adapts beautifully to whatever equipment you have available. I’ll walk you through each cooking method step-by-step, share my secrets for the perfect marinade, and help you troubleshoot any challenges along the way.
Understanding Jamaican Jerk Seasoning
Jerk Seasoning: A traditional Jamaican spice blend that combines scotch bonnet peppers, allspice berries, thyme, garlic, and ginger to create a complex flavor profile that’s simultaneously hot, sweet, and aromatic.
Scotch Bonnet Peppers: Small, bonnet-shaped peppers that are the heart of authentic jerk seasoning, delivering intense heat with fruity undertones.
Allspice (Pimento): Known locally as pimento, these berries provide the distinctive warm, sweet-spicy flavor that defines jerk seasoning.
Wet vs. Dry Jerk: Wet jerk uses a marinade base with oil and citrus, while dry jerk relies on spice rubs; wet marinades penetrate deeper and create more tender meat.
The foundation of exceptional jerk chicken lies in understanding these key ingredients. I’ve found that using fresh scotch bonnet peppers makes an enormous difference in flavor complexity, though habaneros work as a substitute. The allspice berries should be freshly ground whenever possible – trust me, the pre-ground stuff doesn’t compare.
Essential Ingredients for Perfect Jerk Chicken
My jerk chicken marinade has evolved over countless batches, and I’ve discovered that quality ingredients make all the difference. Here’s what you’ll need:
For the Jerk Marinade:
- 2 scotch bonnet peppers (or 1-2 habaneros), seeds removed for less heat
- 6 green onions, roughly chopped
- 4 garlic cloves, minced
- 2 tablespoons fresh ginger, grated
- 3 tablespoons soy sauce
- 2 tablespoons brown sugar
- 2 tablespoons lime juice
- 2 tablespoons olive oil
- 1 tablespoon ground allspice
- 2 teaspoons dried thyme
- 1 teaspoon ground cinnamon
- 1 teaspoon ground nutmeg
- 1 teaspoon salt
- 1/2 teaspoon black pepper
For the Chicken:
- 3-4 pounds chicken pieces (thighs, drumsticks, or breasts)
- Additional lime wedges for serving
- Fresh thyme sprigs for garnish
I always recommend using chicken thighs and drumsticks because they stay juicier during cooking and handle the bold flavors better than breasts. However, if you prefer white meat, I’ll show you how to adjust the cooking times.
Marinade Preparation and Timing
Creating the perfect jerk marinade is an art form that I’ve refined through years of experimentation. The key is building layers of flavor that complement rather than compete with each other.
Start by handling your peppers carefully – I learned this the hard way! Always wear gloves when working with scotch bonnets or habaneros. Remove the seeds if you want less heat, but keep a few if you’re feeling brave. I typically remove about half the seeds for a moderate heat level.
In a food processor or blender, combine the peppers, green onions, garlic, and ginger. Pulse until finely chopped. Add the remaining wet ingredients – soy sauce, brown sugar, lime juice, and olive oil – and blend until smooth. Finally, add all the dried spices and blend once more.
The marinade should have a consistency similar to a thick salad dressing. If it’s too thick, add a tablespoon of water or additional lime juice. If it’s too thin, add a bit more brown sugar.
Marinating Timeline:
- Minimum: 2 hours (for quick weeknight meals)
- Optimal: 4-6 hours (for best flavor penetration)
- Maximum: 24 hours (for deepest flavor, but longer can make meat mushy)
I place the chicken and marinade in a zip-lock bag, removing as much air as possible. This ensures every piece gets coated evenly. Turn the bag every few hours if you’re doing a long marinade.
Air Fryer Method: Quick and Crispy Perfection
The air fryer has become my go-to method for jerk chicken on busy weeknights. It delivers crispy skin and juicy meat in record time while keeping the heat out of my kitchen during summer months.
Step-by-Step Air Fryer Instructions:
- Preheat your air fryer to 380°F (193°C) for 5 minutes.
- Remove chicken from marinade, letting excess drip off. Don’t pat completely dry – you want some marinade clinging to the meat for flavor.
- Arrange chicken pieces in the air fryer basket, skin-side down first. Don’t overcrowd; cook in batches if necessary.
- Cook for 12 minutes, then flip each piece carefully using tongs.
- Continue cooking for 10-15 minutes more, depending on size. Check internal temperature with a meat thermometer.
- Final crisping: If you want extra-crispy skin, increase temperature to 400°F (204°C) for the last 3-4 minutes.
The air fryer method typically takes 22-27 minutes total, making it the fastest option. I love how the circulating air creates incredibly crispy skin while keeping the meat moist. Just be sure to check the internal temperature – it should reach 165°F (74°C) in the thickest part.
Oven Method: Consistent Results Every Time
When I’m cooking for a crowd or want hands-off preparation, the oven is my preferred method. It provides even heat distribution and allows me to cook large batches without constant attention.
Step-by-Step Oven Instructions:
- Preheat oven to 425°F (218°C). Line a baking sheet with foil and place a wire rack on top for better air circulation.
- Remove chicken from marinade and arrange on the wire rack, skin-side up.
- Bake for 35-45 minutes, depending on piece size. Larger thighs and drumsticks need the full 45 minutes.
- Optional broiling: For extra crispy skin, broil for 2-3 minutes at the end, watching carefully to prevent burning.
- Rest for 5 minutes before serving to allow juices to redistribute.
The oven method is forgiving and produces consistently juicy results. I sometimes add vegetables like bell peppers and onions to the same pan for a complete meal.
Grilling Method: Authentic Smoky Flavor
Nothing beats the authentic smoky flavor that comes from grilling jerk chicken over live coals. This method requires the most attention but delivers the most traditional results.
Step-by-Step Grilling Instructions:
- Prepare your grill for medium-high heat (about 375-400°F/190-204°C). If using charcoal, arrange coals for indirect cooking.
- Clean and oil grates thoroughly to prevent sticking.
- Start skin-side down over direct heat for 5-6 minutes to get good grill marks.
- Flip and move to indirect heat (or reduce gas grill temperature to medium-low).
- Continue cooking for 20-25 minutes, flipping every 8-10 minutes and basting with reserved marinade.
- Final searing: Move back to direct heat for 2-3 minutes per side for extra char.
Grilling requires active management to prevent flare-ups from the sugary marinade. Keep a spray bottle of water nearby for emergencies, and don’t walk away from the grill.
Cooking Temperature and Timing Guide
Getting the timing right is crucial for perfect jerk chicken. I’ve created this comprehensive guide based on different cooking methods and chicken cuts:
| Cooking Method | Chicken Cut | Temperature | Cooking Time | Internal Temp |
|---|---|---|---|---|
| Air Fryer | Thighs | 380°F (193°C) | 22-25 minutes | 165°F (74°C) |
| Air Fryer | Drumsticks | 380°F (193°C) | 20-22 minutes | 165°F (74°C) |
| Air Fryer | Breasts | 380°F (193°C) | 18-20 minutes | 165°F (74°C) |
| Oven | Thighs | 425°F (218°C) | 40-45 minutes | 165°F (74°C) |
| Oven | Drumsticks | 425°F (218°C) | 35-40 minutes | 165°F (74°C) |
| Oven | Breasts | 425°F (218°C) | 25-30 minutes | 165°F (74°C) |
| Grill | Thighs | 375°F (190°C) | 25-30 minutes | 165°F (74°C) |
| Grill | Drumsticks | 375°F (190°C) | 20-25 minutes | 165°F (74°C) |
| Grill | Breasts | 375°F (190°C) | 15-20 minutes | 165°F (74°C) |
Remember, these times are guidelines. Always use a meat thermometer to ensure food safety. The internal temperature should reach 165°F (74°C) in the thickest part of the meat.
Nutritional Information and Health Benefits
Jerk chicken isn’t just delicious – it’s also packed with nutritional benefits. Here’s what makes this dish a healthy choice:
| Nutrient | Per 4 oz Serving | Daily Value % |
|---|---|---|
| Calories | 245 | 12% |
| Protein | 28g | 56% |
| Fat | 12g | 18% |
| Carbohydrates | 6g | 2% |
| Fiber | 1g | 4% |
| Sodium | 580mg | 25% |
| Iron | 1.2mg | 7% |
| Vitamin C | 15mg | 17% |
| Calcium | 25mg | 3% |
Health Benefits:
- High Protein Content: Supports muscle maintenance and growth
- Capsaicin from Peppers: May boost metabolism and provide anti-inflammatory benefits
- Antioxidants from Spices: Allspice and other spices provide beneficial compounds
- Low Carbohydrate: Fits well into low-carb and keto diets
The spices in jerk seasoning offer more than just flavor. Allspice contains eugenol, which has antimicrobial properties, while the capsaicin in scotch bonnet peppers may help with pain relief and cardiovascular health.
Side Dishes and Serving Suggestions
I’ve discovered that the right side dishes can elevate jerk chicken from good to extraordinary. The key is balancing the heat and intensity of the chicken with cooling, complementary flavors.
Traditional Caribbean Sides:
- Rice and Peas: The classic pairing with coconut rice and kidney beans
- Festival: Sweet fried dumplings that balance the spice
- Plantains: Grilled or fried for natural sweetness
- Coleslaw: Cooling crunch with lime dressing
Modern Accompaniments:
- Coconut Rice: Fragrant jasmine rice cooked in coconut milk
- Grilled Pineapple: Caramelized sweetness that complements the spice
- Mango Salsa: Fresh, fruity contrast to the heat
- Roasted Sweet Potatoes: Earthy sweetness that pairs beautifully
Cooling Beverages:
- Coconut Water: Natural and refreshing
- Fresh Fruit Juices: Mango, pineapple, or passion fruit
- Iced Herbal Teas: Mint or hibiscus work wonderfully
- Sparkling Water with Lime: Simple and cleansing
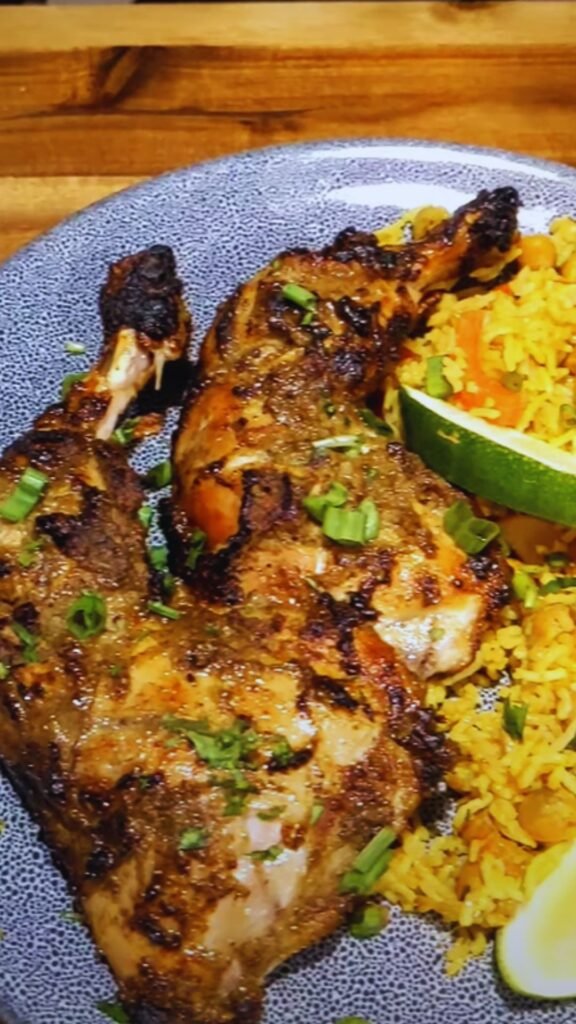
I always serve jerk chicken with plenty of fresh lime wedges and chopped cilantro for guests to add as desired. The acidity cuts through the richness and adds brightness to each bite.
Troubleshooting Common Issues
Over the years, I’ve encountered and solved numerous jerk chicken challenges. Here are the most common issues and my solutions:
Problem: Chicken is too spicy
- Solution: Remove all pepper seeds before marinating, or substitute with milder peppers like poblanos
- Prevention: Always taste your marinade before adding to chicken
Problem: Skin isn’t crispy enough
- Solution: Pat chicken dry before cooking and finish with high heat
- Air Fryer: Increase to 400°F for last few minutes
- Oven: Use broiler for 2-3 minutes
- Grill: Move to direct high heat for final searing
Problem: Meat is dry
- Solution: Don’t overcook; use meat thermometer for accuracy
- Prevention: Choose thighs and drumsticks over breasts; they’re more forgiving
Problem: Marinade burns during cooking
- Solution: Reduce cooking temperature and increase time
- Prevention: Wipe off excess marinade before cooking
Problem: Uneven cooking
- Solution: Ensure pieces are similar size; cook larger pieces longer
- Prevention: Pound thicker pieces to even thickness
Problem: Not enough jerk flavor
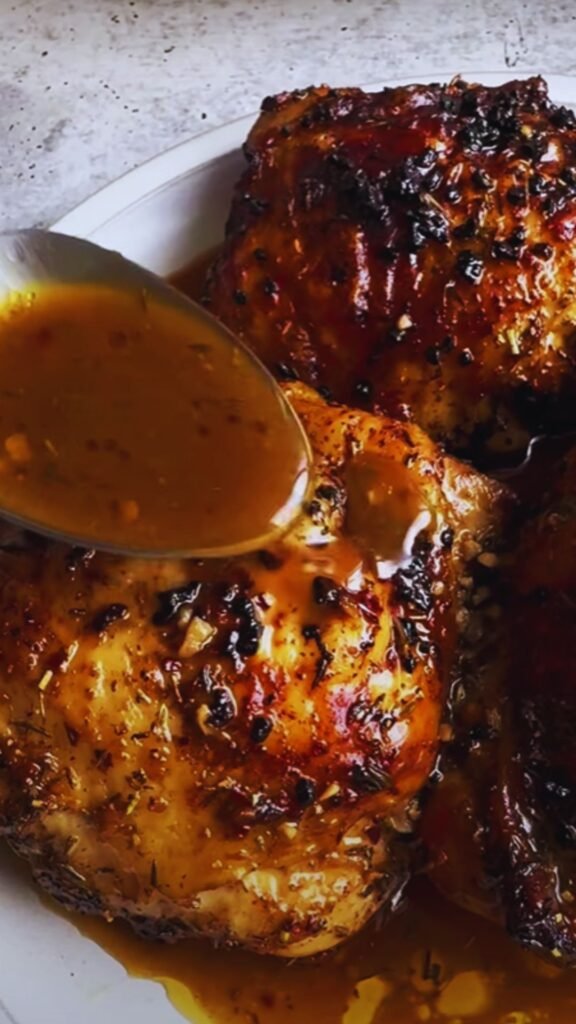
- Solution: Marinate longer (up to 24 hours) and reserve some marinade as sauce
- Prevention: Don’t be afraid to use enough spice blend
Storage and Reheating Tips
Proper storage ensures your jerk chicken stays delicious for days. I’ve perfected these methods through plenty of trial and error:
Refrigerator Storage:
- Store in airtight containers for up to 4 days
- Separate pieces with parchment paper to prevent sticking
- Keep marinade separate if saving for sauce
Freezer Storage:
- Freeze cooked chicken for up to 3 months
- Wrap individual pieces in plastic wrap, then aluminum foil
- Label with cooking method and date
Reheating Methods:
- Oven: 350°F for 10-15 minutes (best for maintaining texture)
- Air Fryer: 350°F for 5-7 minutes (quickest method)
- Microwave: 50% power for 2-3 minutes (convenient but may soften skin)
- Grill: Medium heat for 5-8 minutes (great for refreshing smoky flavor)
I never recommend reheating in the microwave at full power – it makes the meat rubbery and destroys the crispy skin you worked so hard to achieve.
Frequently Asked Questions
Q: Can I use boneless chicken for this recipe? A: Absolutely! Boneless chicken works well, but reduce cooking times by about 25%. Boneless thighs are my favorite because they stay juicier than breasts. Just be extra careful not to overcook them.
Q: How can I make this recipe less spicy for kids? A: Replace scotch bonnet peppers with bell peppers or use just a small amount of mild jalapeño. You can also increase the brown sugar slightly to balance any remaining heat. I often make a mild version for my family by using only the aromatic spices.
Q: Can I prepare the marinade in advance? A: Yes! The marinade actually improves with time. I make large batches and store them in the refrigerator for up to a week or freeze portions for up to 3 months. Just thaw overnight before using.
Q: What’s the best substitute for scotch bonnet peppers? A: Habanero peppers are the closest substitute in both heat level and flavor profile. If you can’t find those, use 2-3 jalapeños plus a pinch of cayenne pepper. The flavor won’t be exactly the same, but it’ll still be delicious.
Q: Can I use this marinade on other proteins? A: Definitely! I’ve used it successfully on pork, beef, shrimp, and even tofu. Adjust marinating times accordingly – seafood needs only 30 minutes, while beef can handle overnight marinating.
Q: How do I know when the chicken is done without a thermometer? A: While I always recommend using a thermometer for food safety, you can check by piercing the thickest part with a knife. The juices should run clear, not pink, and the meat should feel firm to the touch.
Q: Can I make this recipe in a slow cooker? A: While it’s possible, I don’t recommend it for this recipe. The slow cooker won’t give you the crispy skin that makes jerk chicken special. If you must use one, sear the chicken first in a skillet, then transfer to the slow cooker on low for 4-6 hours.
Q: Why is my jerk chicken bitter? A: Bitterness usually comes from burned spices or over-charring. Make sure your cooking temperature isn’t too high, and wipe off excess marinade before cooking. Also, check that your spices are fresh – old spices can develop bitter notes.
Creating authentic Jamaican jerk chicken is more than just following a recipe – it’s about understanding the balance of flavors and adapting techniques to your equipment and preferences. Whether you choose the quick convenience of an air fryer, the reliability of an oven, or the traditional smoky flavor of a grill, the key is patience and attention to detail.
I encourage you to experiment with the spice levels and find what works best for your taste buds. Start with less heat and build up – you can always add more spice, but you can’t take it away. Most importantly, don’t be afraid to make this recipe your own. Some of my best jerk chicken variations came from happy accidents and bold experiments.
The beauty of jerk chicken lies in its versatility and the way it brings people together. Whether you’re cooking for a quiet family dinner or a lively backyard gathering, this dish never fails to impress and satisfy. Take your time with the marinade, choose your cooking method based on your schedule and equipment, and most importantly, enjoy the incredible flavors of the Caribbean right in your own kitchen.