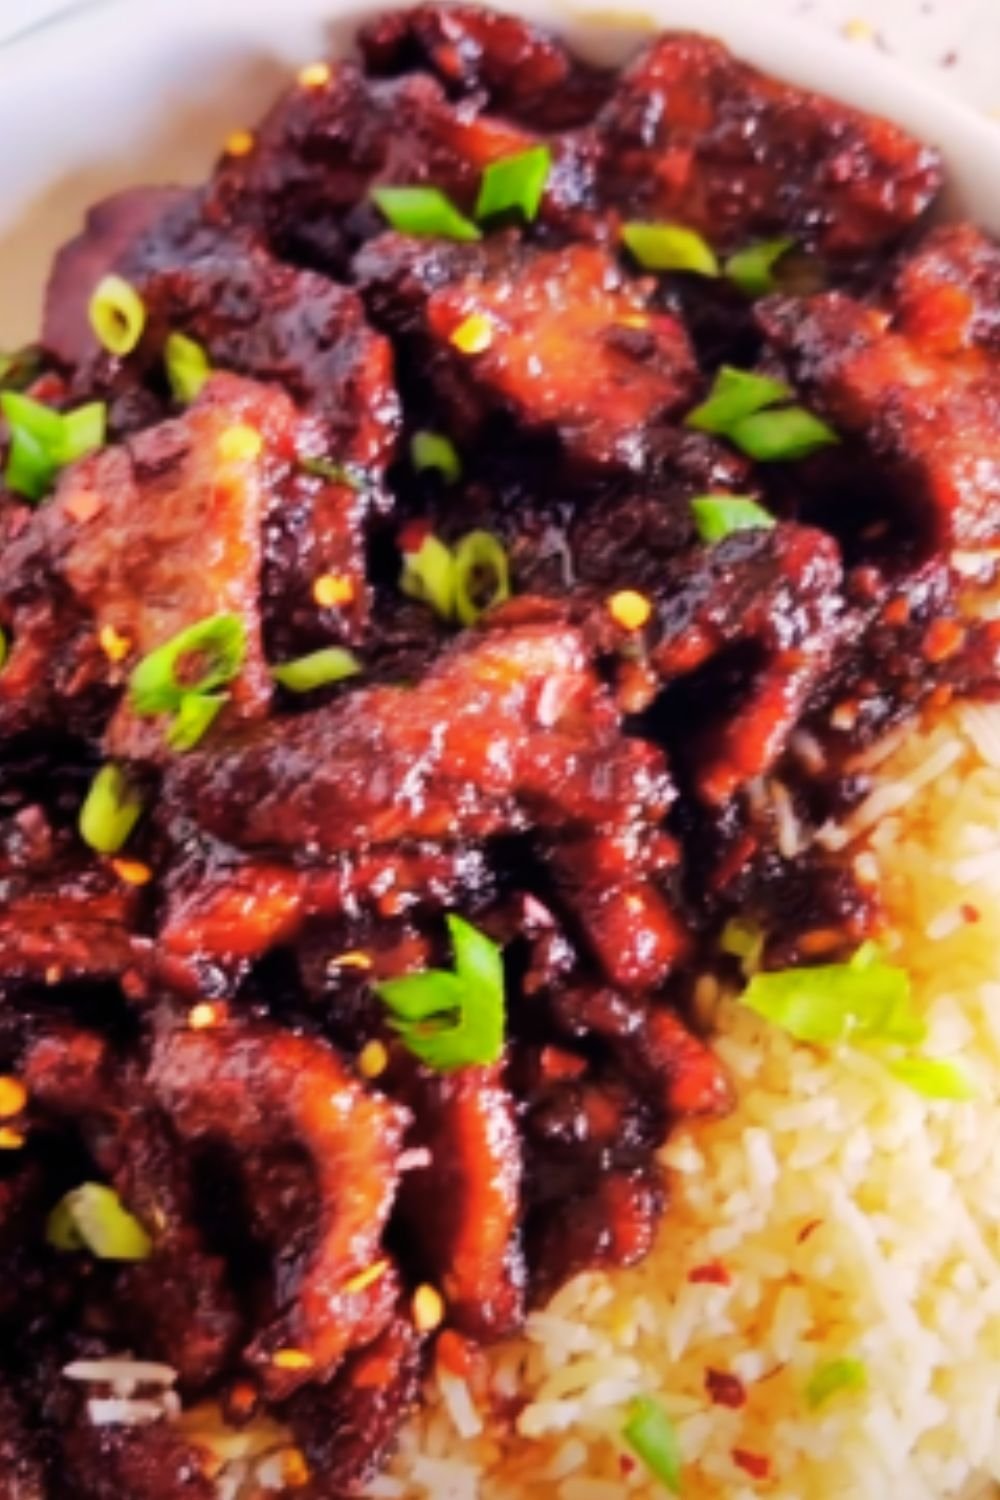
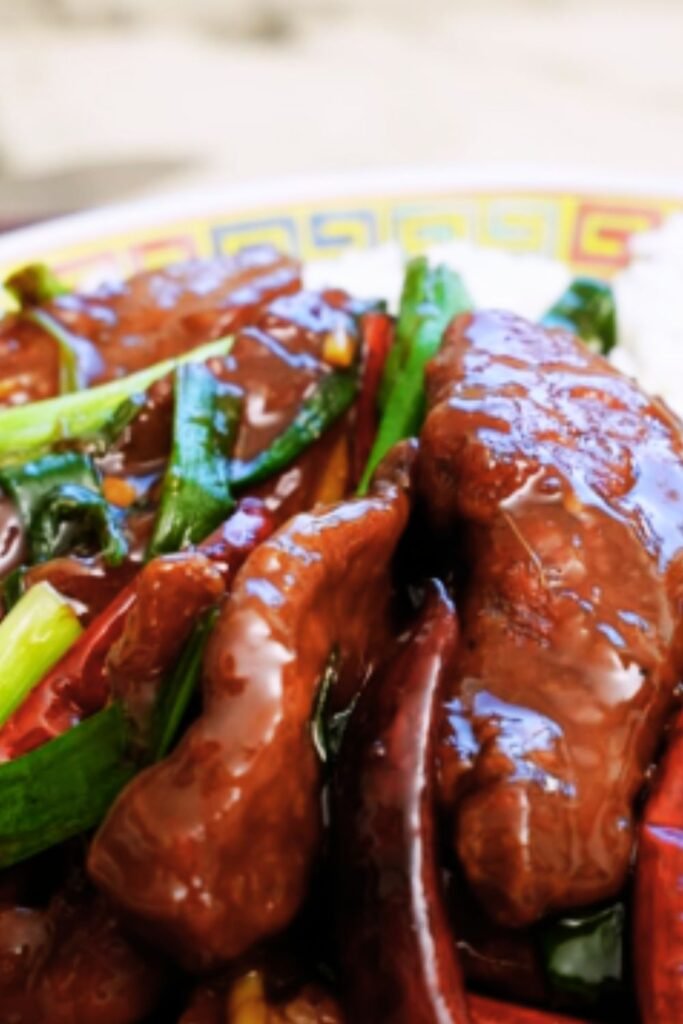
Have you ever craved that mouthwatering Mongolian Beef from PF Chang’s but didn’t want to leave the comfort of your home? Well, you’re in luck! I’ve spent years perfecting this copycat recipe, and I’m thrilled to share it with you today. This Easy Mongolian Beef recipe captures all the flavors you love—tender slices of beef coated in a sweet and savory sauce with just the right amount of heat. The best part? You can whip it up in under 30 minutes, making it perfect for busy weeknights when the craving hits.
What is Mongolian Beef?
Despite its name, Mongolian Beef isn’t actually a traditional Mongolian dish. It’s an American-Chinese creation that has become a staple in Chinese-American restaurants across the United States. The dish features thinly sliced beef, typically flank steak, that’s been velveted (a Chinese cooking technique that keeps meat tender), then quickly stir-fried and tossed in a rich, glossy sauce made with soy sauce, brown sugar, garlic, and ginger.
At PF Chang’s, their version has achieved cult status for its perfect balance of sweet and savory flavors with tender, melt-in-your-mouth beef. My recipe mimics those exact flavors but simplifies the process so you can easily recreate it at home without any special equipment or hard-to-find ingredients.
Why You’ll Love This Recipe
- Quick and Easy – Ready in under 30 minutes from start to finish
- Restaurant-Quality – Tastes just like (or dare I say, better than) PF Chang’s version
- Budget-Friendly – Much cheaper than takeout for the whole family
- Versatile – Easily customizable with your favorite vegetables
- Crowd-Pleaser – Even picky eaters love this dish
Ingredients You’ll Need
For the Beef:
- 1½ pounds flank steak (or sirloin)
- ¼ cup cornstarch
- ½ teaspoon salt
- ¼ teaspoon black pepper
- 3 tablespoons vegetable oil (divided)
For the Sauce:
- ½ cup low-sodium soy sauce
- ½ cup brown sugar (packed)
- ¼ cup water
- 2 tablespoons rice vinegar
- 1 tablespoon sesame oil
- 1 tablespoon hoisin sauce
- 2 teaspoons sriracha (optional, for heat)
Aromatics:
- 5 cloves garlic, minced
- 2 tablespoons fresh ginger, grated
- 6 green onions, divided (white parts minced, green parts sliced for garnish)
- 1 teaspoon red pepper flakes (adjust to taste)
For Serving:
- 2 tablespoons sesame seeds
- Steamed rice
- Steamed broccoli (optional)
Specialized Equipment Needed
Don’t worry, this recipe doesn’t require any fancy tools. You’ll just need:
- A sharp knife for slicing the beef thinly
- A large wok or non-stick skillet
- A medium bowl for the sauce
- A large plate lined with paper towels
The Secret to Perfect Mongolian Beef
The key to restaurant-quality Mongolian Beef lies in three critical techniques:
- Slice Against the Grain – This breaks up the muscle fibers and makes the beef more tender
- Cornstarch Coating – Creates a protective layer that prevents overcooking and helps the sauce cling to the meat
- High Heat, Fast Cooking – Ensures the beef stays tender while developing a beautiful sear
Step-by-Step Instructions
Preparing the Beef
- Place your flank steak in the freezer for 15-20 minutes (this makes it easier to slice thinly).
- Remove the steak and slice AGAINST the grain into ¼-inch thin strips.
- In a large bowl, toss the beef strips with cornstarch, salt, and pepper until evenly coated.
- Set aside and let the meat come to room temperature while preparing the sauce.
Making the Sauce
- In a medium bowl, whisk together soy sauce, brown sugar, water, rice vinegar, sesame oil, hoisin sauce, and sriracha (if using).
- Make sure the sugar is fully dissolved. Set aside.
Cooking the Dish
- Heat 2 tablespoons of vegetable oil in a large wok or skillet over high heat until shimmering.
- Add the beef in batches (don’t overcrowd the pan) and sear for 1-2 minutes per side until just browned. The beef doesn’t need to be fully cooked through at this stage.
- Transfer the beef to a plate lined with paper towels.
- In the same wok, add the remaining 1 tablespoon of oil.
- Add minced garlic, grated ginger, white parts of green onions, and red pepper flakes. Stir-fry for 30 seconds until fragrant.
- Pour in the sauce mixture and bring to a simmer.
- Once the sauce begins to thicken (about 2-3 minutes), return the beef to the wok.
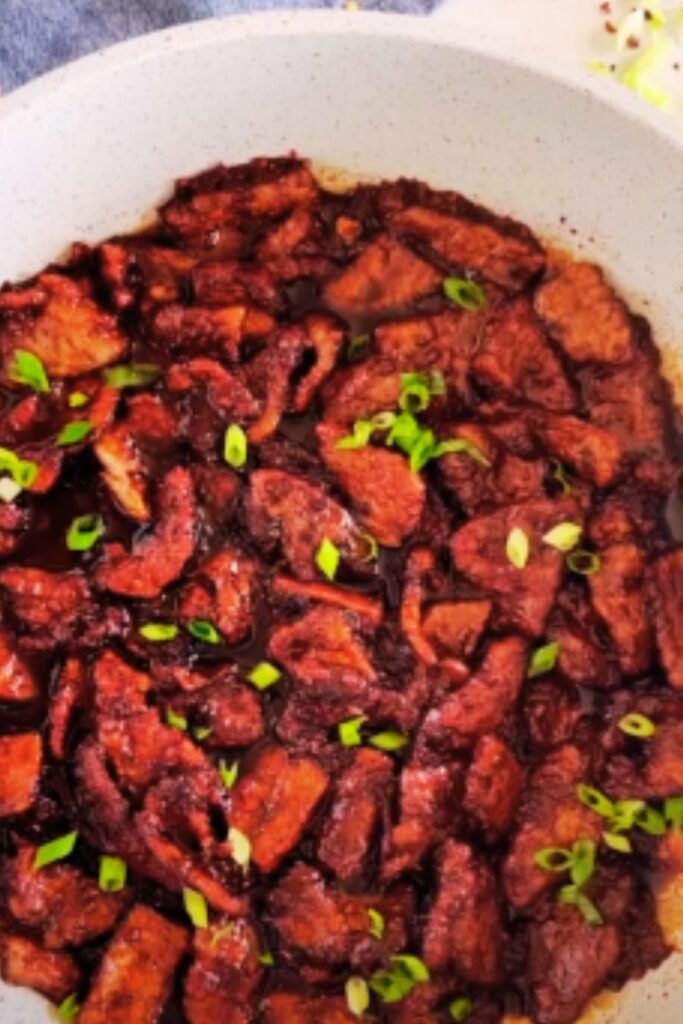
- Toss everything together until the beef is well-coated and the sauce has thickened enough to cling to the meat (about 2 minutes).
Serving
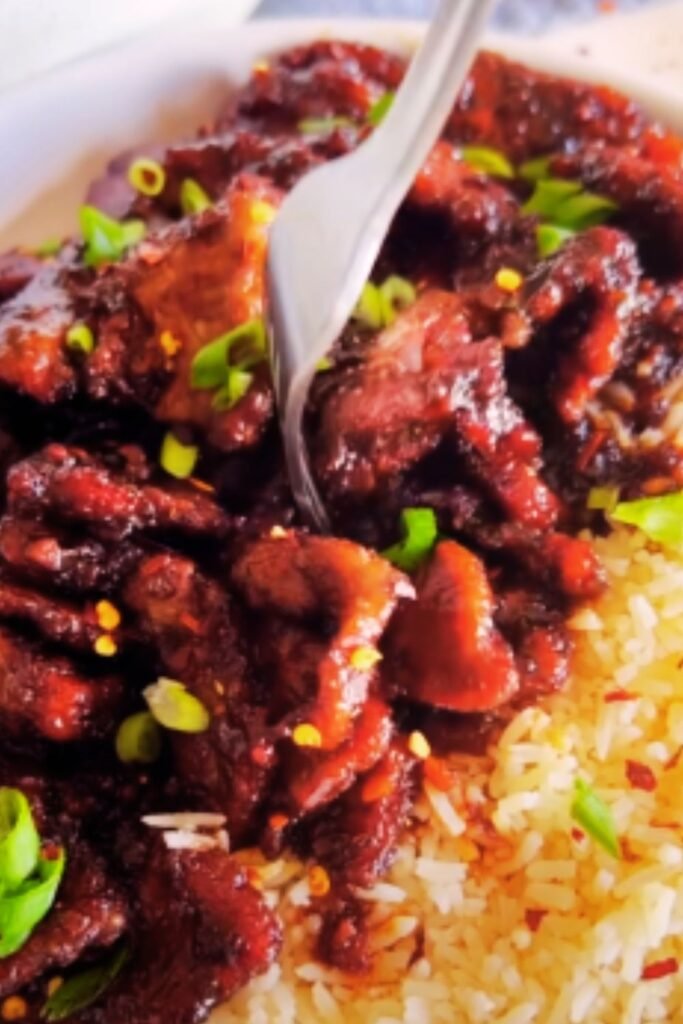
- Sprinkle with sesame seeds and the green parts of the green onions.
- Serve immediately over steamed rice with a side of steamed broccoli if desired.
Nutritional Information
For those watching their macros, here’s the nutritional breakdown per serving (recipe makes 4 servings):
| Nutrient | Amount per Serving |
|---|---|
| Calories | 456 |
| Protein | 32g |
| Carbohydrates | 29g |
| Fat | 24g |
| Fiber | 1g |
| Sugar | 24g |
| Sodium | 912mg |
Note: This does not include rice or additional sides.
Storage and Reheating Tips
Mongolian Beef stores beautifully, making it perfect for meal prep:
- Refrigeration: Store in an airtight container for up to 3 days.
- Freezing: Can be frozen for up to 2 months. Freeze the beef and sauce separately from any rice for best results.
- Reheating: Microwave with a damp paper towel over the top to prevent drying out, or reheat in a skillet with a splash of water to revive the sauce.
Common Mistakes to Avoid
- Slicing the beef too thick – This will result in chewy, tough meat.
- Skipping the cornstarch – The cornstarch coating is crucial for texture and for thickening the sauce.
- Overcooking the beef – It only needs a quick sear; it will continue cooking in the sauce.
- Not using high enough heat – A hot wok is essential for proper searing without steaming the meat.
- Oversalting – Remember that soy sauce and hoisin both contain salt, so taste before adding more.
Variations to Try
Spicier Mongolian Beef
- Add 1-2 dried chilis to the oil before adding the aromatics
- Increase red pepper flakes to 2 teaspoons
- Add 1 tablespoon of chili oil to the sauce
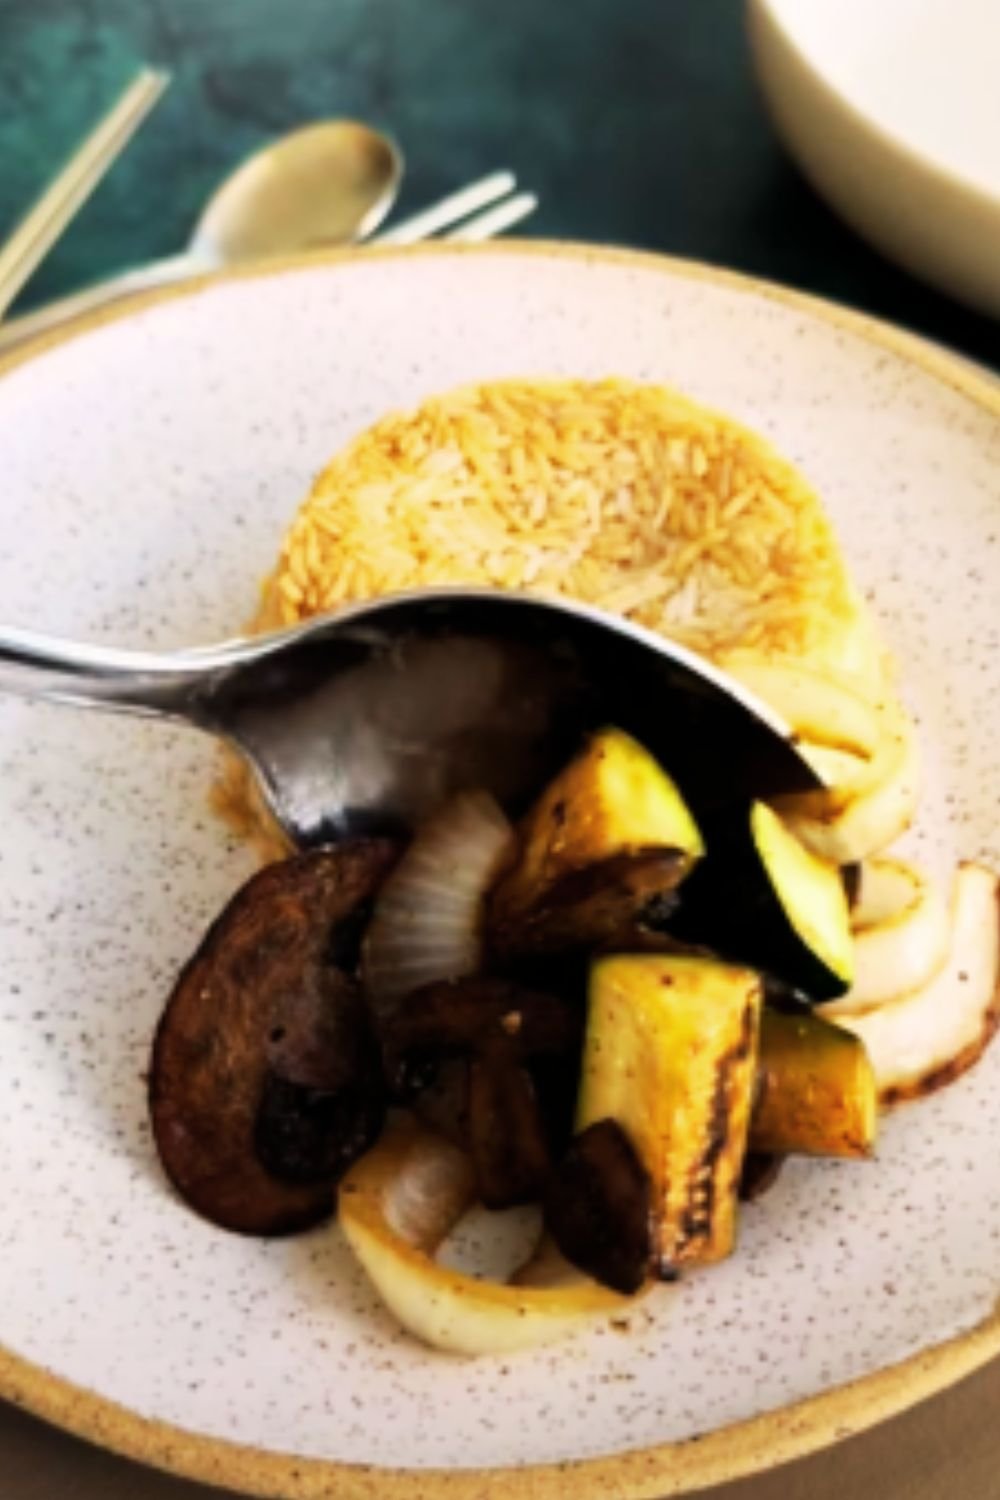
Vegetable-Loaded Version
- Add 1 sliced bell pepper
- Include 1 cup sliced mushrooms
- Toss in 1 cup snow peas
- Add 1 small sliced onion
Lighter Version
- Use coconut aminos instead of soy sauce
- Reduce brown sugar to ¼ cup or substitute with monk fruit sweetener
- Use lean sirloin instead of flank steak
Food Pairings and Serving Suggestions
Mongolian Beef pairs wonderfully with:
- Steamed jasmine or basmati rice
- Cauliflower rice (for a low-carb option)
- Vegetable stir-fry with bell peppers, snap peas, and carrots
- Hot and sour soup as a starter
- Crispy spring rolls on the side
- Cucumber salad for a refreshing contrast
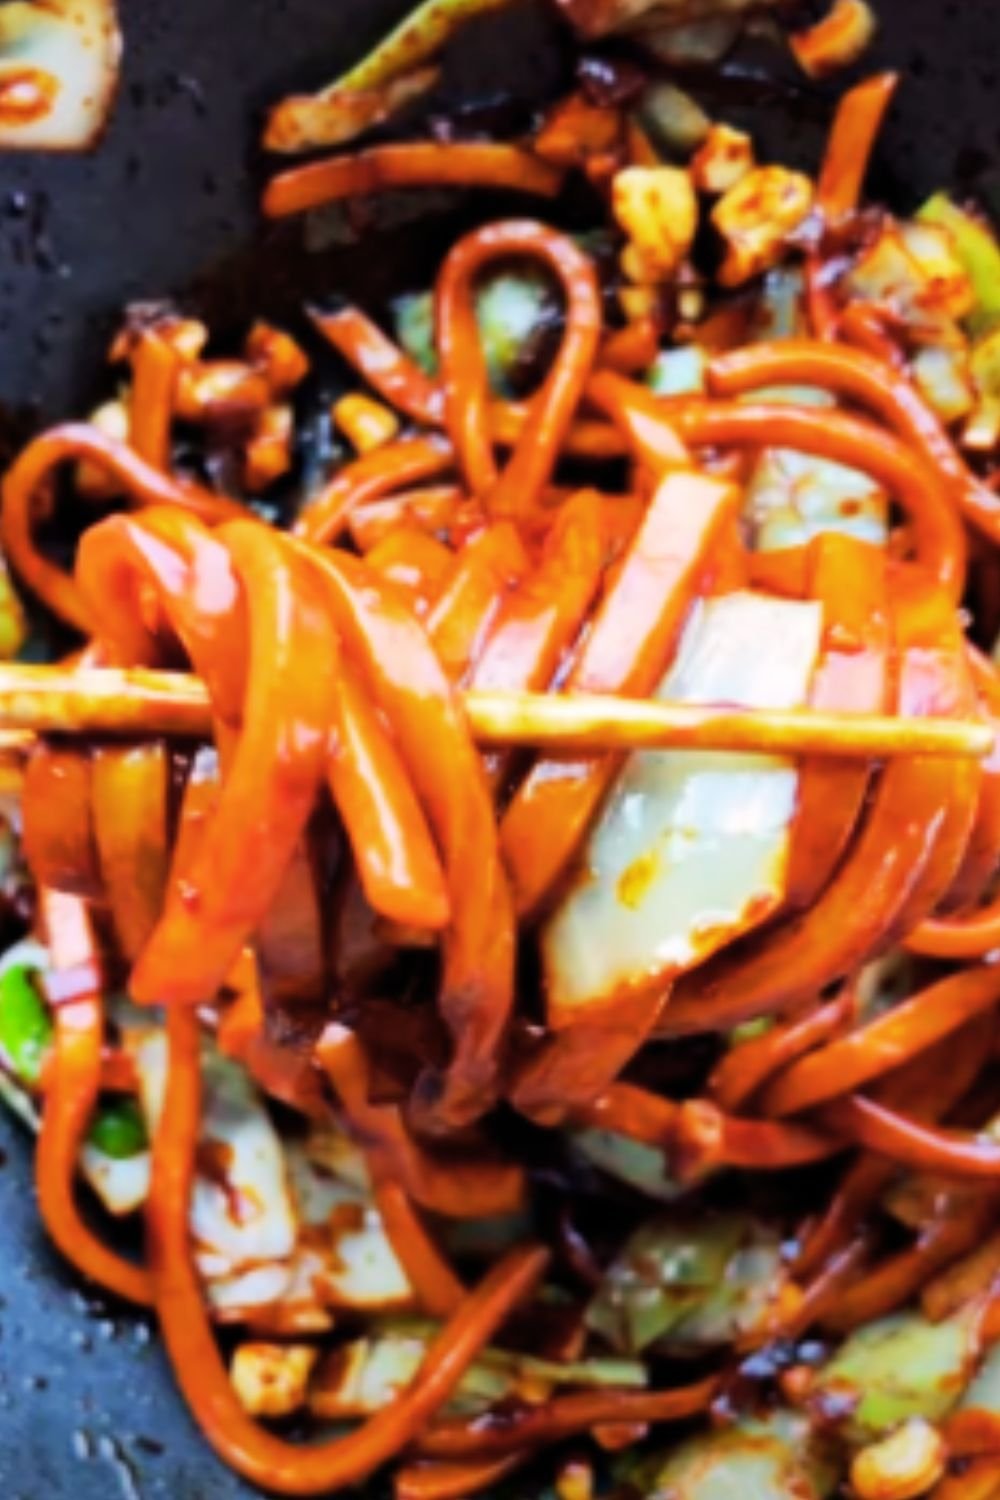
- Garlic noodles instead of rice
- Sparkling water with lime (refreshing and helps cleanse the palate)
Professional Chef’s Tips
After years of perfecting this recipe, I’ve gathered some pro tips that make all the difference:
- Velvet the beef: For ultra-tender meat, mix 1 tablespoon of baking soda with 2 tablespoons of water, coat the sliced beef, and let sit for 15 minutes before rinsing thoroughly. Then proceed with the cornstarch coating.
- Toast your sesame seeds: Dry toast them in a pan until golden for enhanced nutty flavor.
- Sauce consistency: If your sauce is too thin, mix 1 teaspoon cornstarch with 1 tablespoon cold water and stir it in. If too thick, add a tablespoon of water at a time.
- Infuse your oil: Before cooking the beef, add a star anise pod and a small piece of cinnamon stick to the hot oil for 30 seconds, then remove. This adds complex background notes to the dish.
- Rest your beef: After cooking the beef but before adding it back to the sauce, let it rest for 5 minutes. This helps it retain juices and stay tender.
Comparing Homemade vs. Restaurant Versions
| Aspect | Homemade Version | PF Chang’s Version |
|---|---|---|
| Cost | $12-15 total ($3-4 per serving) | $18-22 per serving |
| Cooking Time | 25-30 minutes | N/A (15-20 minute wait time) |
| Sodium Content | Controllable (use low-sodium soy sauce) | Higher (estimated 1500mg+ per serving) |
| Customization | Fully customizable to taste | Limited modifications available |
| Portion Size | As much as you want | Fixed portion |
| Freshness | Made minutes before eating | Unknown preparation time |
| Sugar Content | Adjustable | Higher (estimated 30g+ per serving) |
Frequently Asked Questions
Q: Can I use a different cut of beef? A: Yes! Flank steak is traditional, but sirloin, skirt steak, or flat iron steak work well too. The key is slicing thinly against the grain.
Q: How do I make this gluten-free? A: Substitute tamari or coconut aminos for soy sauce and ensure your hoisin sauce is certified gluten-free.
Q: My sauce isn’t thickening. What went wrong? A: Make sure to simmer the sauce for at least 3-4 minutes. If it’s still too thin, add a cornstarch slurry (1 teaspoon cornstarch mixed with 1 tablespoon cold water).
Q: Can I make this in advance for a party? A: Yes! Cook the beef and make the sauce separately up to a day ahead. When ready to serve, reheat the sauce, add the beef, and finish cooking for 2-3 minutes.
Q: How spicy is this recipe? A: As written, it has a mild-to-medium heat. Adjust the red pepper flakes and sriracha to your preference.
Q: Can I make this in a slow cooker? A: This isn’t ideal for a slow cooker as the beef would become too soft. The quick stir-fry method is best for maintaining the proper texture.
Q: What can I substitute for rice vinegar? A: Apple cider vinegar or white wine vinegar work well as substitutes, though the flavor profile will be slightly different.
Q: Is Mongolian Beef actually from Mongolia? A: No, despite its name, Mongolian Beef is an American creation inspired by Chinese cooking techniques.
The History Behind Mongolian Beef
While the name suggests origins in Mongolia, this dish has little connection to traditional Mongolian cuisine. It’s believed to have been created in Chinese-American restaurants in the 1970s, possibly inspired by the Taiwanese dish “Mongolian barbecue” which itself isn’t truly Mongolian either!
The name likely came from the style of cooking—high heat, quick stir-frying—that somewhat resembles the cooking style of Mongolian nomads who traditionally cooked quickly over hot fires.
PF Chang’s popularized their version in the 1990s, turning it into one of the most recognized Chinese-American dishes in the United States. Their secret was creating the perfect balance of sweet and savory flavors with incredibly tender beef, which we’ve recreated in this recipe.
Why This Recipe Works
The science behind this recipe is fascinating. The cornstarch serves three purposes:
- It creates a protective coating that prevents the beef from overcooking
- It helps create a beautiful sear on the outside of the beef
- It thickens the sauce as it cooks
The high sugar content in the sauce facilitates caramelization, creating that rich, complex flavor that makes Mongolian Beef so addictive. The combination of aromatics (garlic, ginger, green onions) creates a flavor base that’s impossibly delicious.
By cooking in batches and using high heat, we’re able to sear the meat properly rather than steaming it, which would result in tough, gray beef instead of tender, caramelized goodness.
In Conclusion
This Easy Mongolian Beef recipe is my pride and joy—a dish I’ve perfected over countless attempts to match the addictive flavors of PF Chang’s iconic version. With simple ingredients and straightforward techniques, you can create a restaurant-quality meal in your own kitchen for a fraction of the cost.
The beauty of this recipe lies in its balance: tender beef, sweet and savory sauce with just a hint of heat, all ready in less than 30 minutes. It’s perfect for weeknight dinners, special occasions, or any time you’re craving those iconic flavors without leaving home.
Give it a try, and I’m confident it will become a regular in your meal rotation. And don’t be afraid to make it your own—add vegetables, adjust the spice level, or serve it over noodles instead of rice. Cooking should be fun and adaptable to your tastes!
If you try this recipe, I’d love to hear how it turned out for you. Happy cooking!