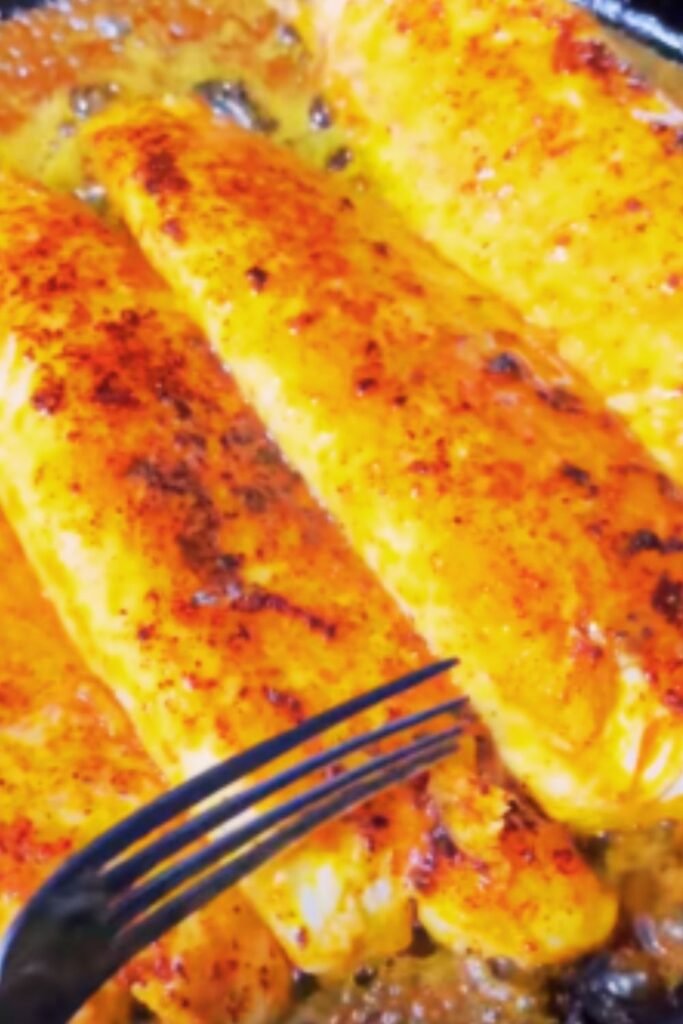
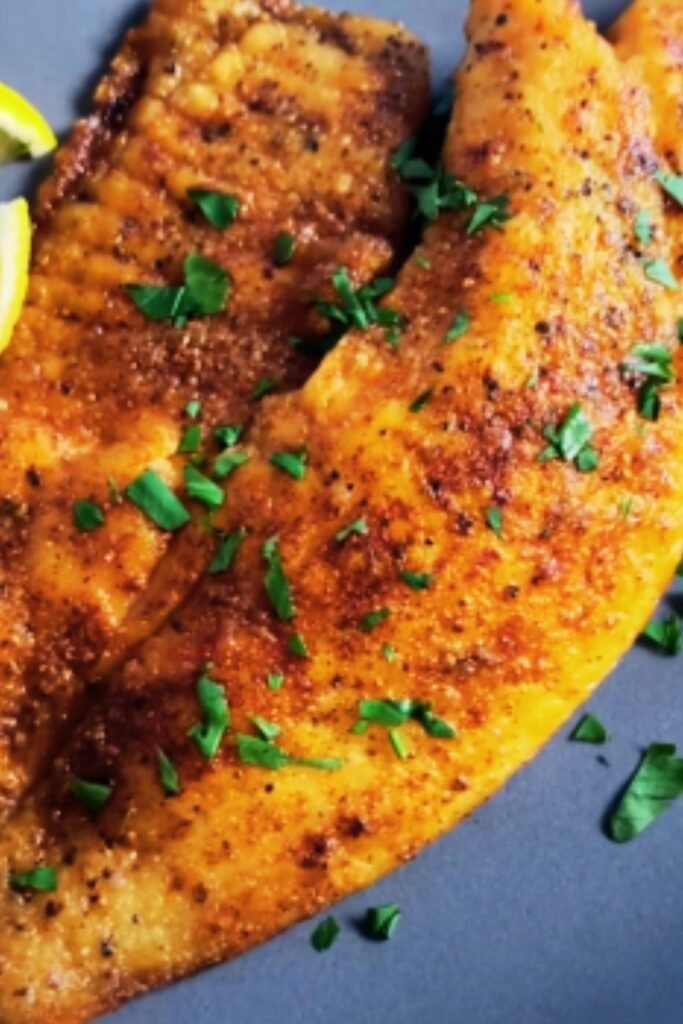
There’s something magical about a perfectly pan-fried piece of fish that’s crispy on the outside, flaky on the inside, and swimming in a pool of luscious lemon butter sauce. As someone who’s cooked more tilapia fillets than I can count, I’m thrilled to share my absolute favorite method for creating restaurant-quality Pan Fried Lemon Butter Tilapia right in your own kitchen. This dish has been my reliable weeknight savior for years—ready in just 15 minutes but impressive enough for company.
Tilapia is often overlooked in favor of fancier fish varieties, but I’ve discovered it’s actually the perfect blank canvas for bold flavors. Its mild taste and firm texture make it incredibly versatile while its affordability makes it practical for regular family meals. When paired with a bright, zesty lemon butter sauce, this humble fish transforms into something truly spectacular.
Why You’ll Love This Recipe
Before we dive into the nitty-gritty details, let me tell you why this recipe has earned a permanent spot in my weeknight rotation:
- Quick and effortless: From fridge to table in 15 minutes flat
- Budget-friendly: Tilapia is one of the most affordable fish options
- Family-approved: The mild flavor and crispy texture win over even picky eaters
- Versatile: Pairs beautifully with nearly any side dish
- Impressive results: Tastes like something from an upscale seafood restaurant
- Healthy protein: Lean and nutritious without sacrificing flavor
Ingredients You’ll Need
The beauty of this recipe lies in its simplicity. You probably already have most of these ingredients in your kitchen:
- 4 tilapia fillets (about 4-6 oz each), patted dry
- 3 tablespoons all-purpose flour
- 1 teaspoon garlic powder
- 1 teaspoon paprika (regular or smoked)
- ½ teaspoon salt
- ¼ teaspoon black pepper
- 2 tablespoons olive oil
- 3 tablespoons unsalted butter, divided
- 3 cloves garlic, minced
- Juice of 2 lemons (about ¼ cup)
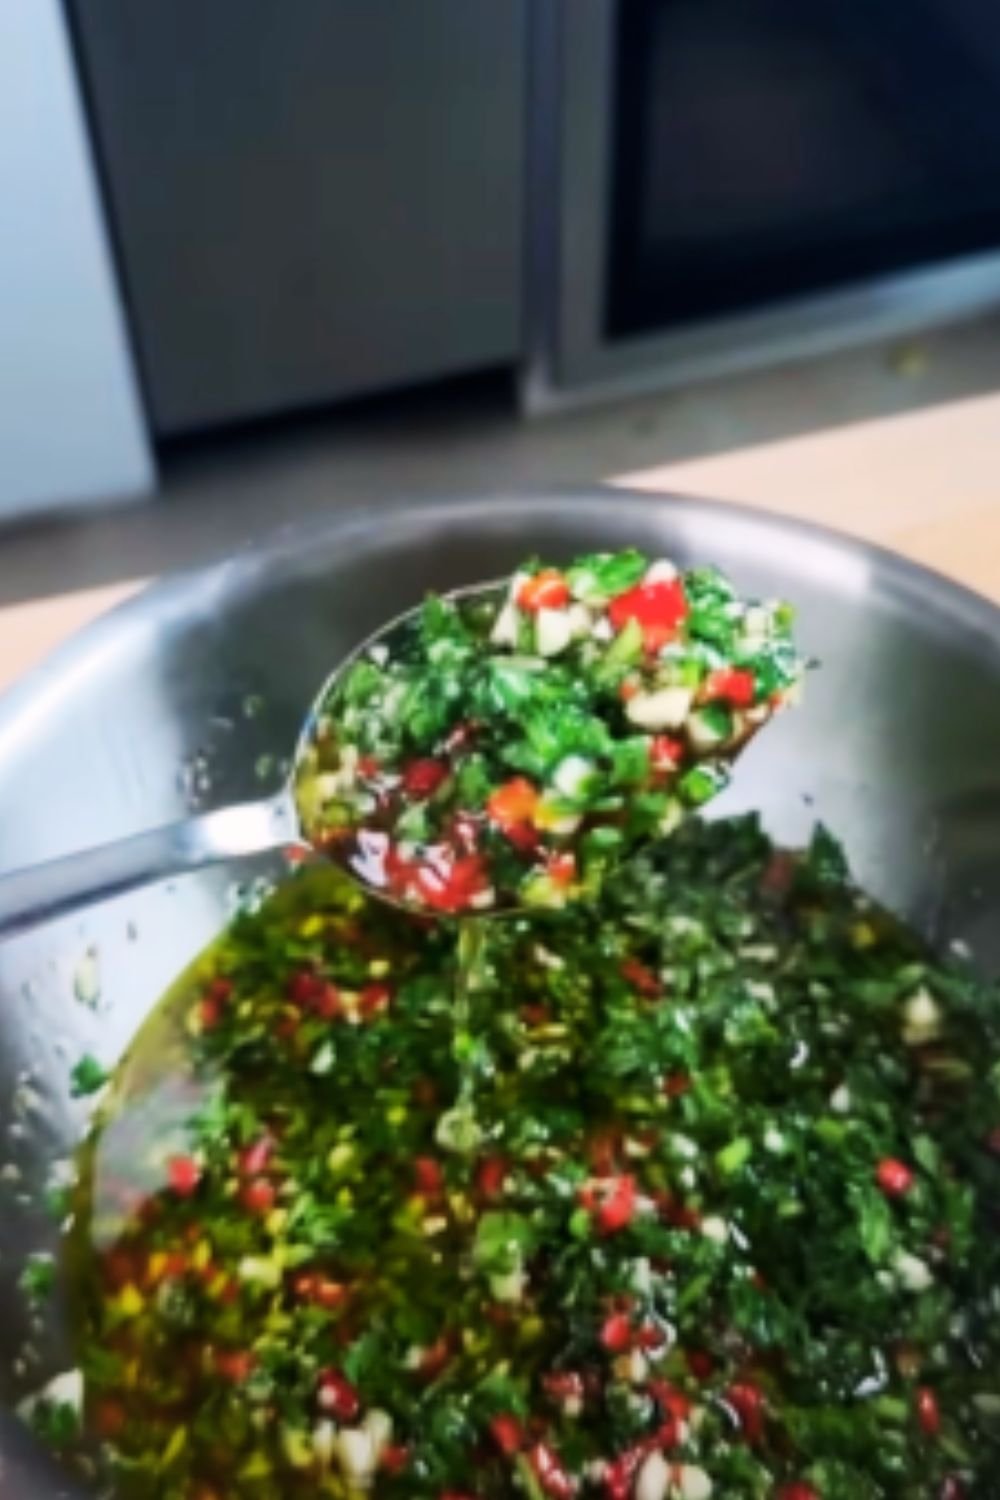
- 2 tablespoons fresh parsley, chopped
- Lemon wedges for serving
Essential Equipment
You don’t need fancy kitchen gadgets for this recipe—just a few basics:
- Large non-stick skillet or cast iron pan
- Fish spatula or thin metal spatula
- Paper towels for patting fish dry
- Small bowl for flour mixture
- Microplane or zester (optional but nice for lemon zest)
Step-by-Step Instructions
I’ve perfected this technique through countless test runs, and I’m excited to share every little detail that makes this recipe foolproof.
1. Prepare the Fish
The first rule of perfectly crispy fish: start with dry fillets. This is non-negotiable!
- Remove tilapia fillets from packaging and place on a layer of paper towels
- Pat both sides very thoroughly with additional paper towels until completely dry
- Allow to sit at room temperature for 5 minutes (this helps them cook more evenly)
2. Create Your Dredging Mixture
While the fish is resting, prepare your seasoned flour:
- In a shallow dish, combine flour, garlic powder, paprika, salt, and pepper
- Mix thoroughly with a fork to ensure even distribution of spices
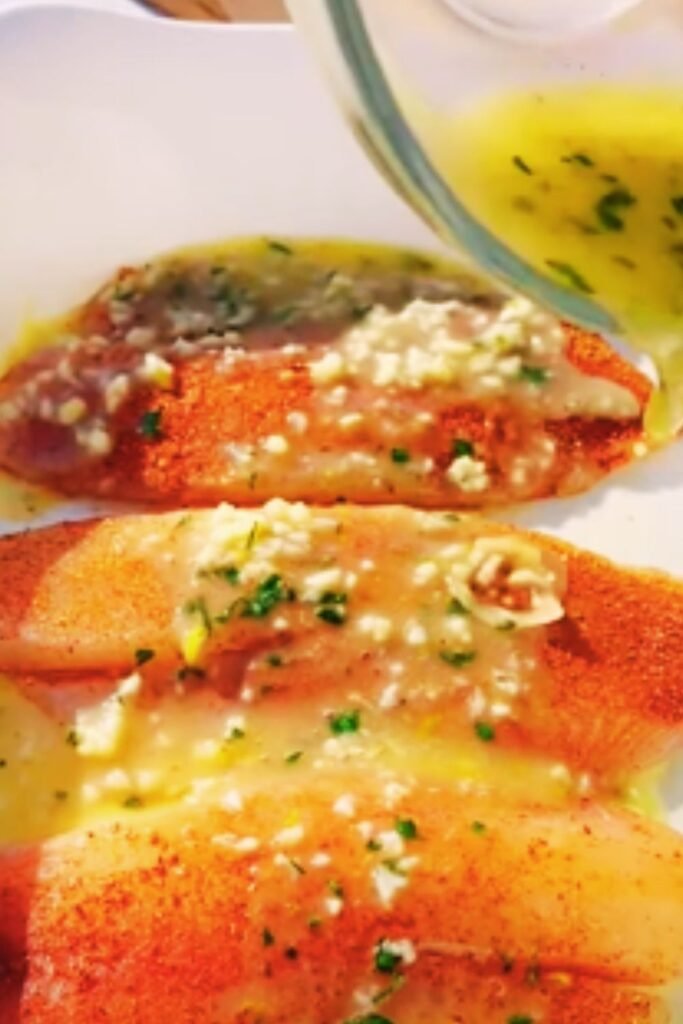
3. Dredge the Fillets
This light coating creates the perfect crispy exterior:
- Working with one fillet at a time, dredge each piece of fish in the flour mixture
- Shake off any excess flour (too much will burn in the pan)
- Place dredged fillets on a clean plate or cutting board
4. Pan Fry to Perfection
The key to golden-brown perfection is getting your pan temperature just right:
- Heat a large non-stick skillet over medium-high heat
- Add olive oil and 1 tablespoon of butter
- When butter is melted and mixture is hot but not smoking, add fish fillets
- Cook for 3-4 minutes without moving them (resist the urge to peek!)
- Carefully flip using a thin spatula
- Cook for another 2-3 minutes until golden brown and fish flakes easily
PRO TIP: Don’t overcrowd the pan! Depending on your skillet size, you may need to cook in batches. Overcrowding leads to steaming instead of frying, which prevents that beautiful golden crust from forming.
5. Create the Lemon Butter Sauce
This sauce is what elevates simple fried fish to a memorably delicious meal:
- Remove cooked fish to a warm plate and cover loosely with foil
- Reduce heat to medium-low
- In the same pan, add remaining 2 tablespoons butter and minced garlic
- Sauté garlic for 30 seconds until fragrant (but not browned)
- Add lemon juice and stir, scraping up any browned bits from the pan
- Simmer for 1-2 minutes until slightly reduced
- Stir in half of the chopped parsley
6. Serve and Garnish
Presentation makes all the difference in turning a simple meal into something special:
- Place tilapia fillets on plates or a serving platter
- Spoon the warm lemon butter sauce generously over each fillet
- Sprinkle with remaining parsley and serve with lemon wedges
- Enjoy immediately while hot and crispy!
The Science Behind Perfect Pan-Fried Fish
After years of experimenting with fish recipes, I’ve learned there’s actual science behind achieving that ideal texture. Here’s what you need to know:
Why Drying the Fish Matters
When moisture meets hot oil, it creates steam. Steam prevents proper browning and that coveted crispy exterior. By thoroughly drying your tilapia, you’re setting yourself up for success from the start.
The Role of Flour Dredging
The thin flour coating serves multiple purposes:
- Creates a barrier between the moisture in the fish and the hot oil
- Provides a surface that can brown beautifully
- Helps seasonings adhere evenly to the fish
- Protects the delicate fish from drying out
Pan Temperature Is Crucial
Too hot: The exterior burns before the interior cooks Too cool: The fish absorbs oil and becomes greasy
The perfect temperature creates immediate sizzling when the fish hits the pan, forming a seal that keeps moisture in while creating that golden exterior.
Nutritional Information
For those tracking their nutrition, here’s a breakdown of what you can expect per serving (one fillet with sauce):
| Nutrient | Amount |
|---|---|
| Calories | 240 |
| Protein | 28g |
| Fat | 12g |
| Saturated Fat | 5g |
| Carbohydrates | 6g |
| Fiber | 0.5g |
| Sugar | 0.5g |
| Sodium | 380mg |
| Calcium | 15mg |
| Iron | 1.5mg |
| Vitamin C | 12mg |
| Vitamin A | 250IU |
| Potassium | 380mg |
Common Mistakes to Avoid
In my fish-cooking journey, I’ve made every mistake possible. Learn from my experiences:
- Flipping too early: Wait until you see golden brown edges before attempting to flip
- Using a cold pan: Always preheat your pan properly for that immediate sear
- Choosing frozen fish: Fresh is always best; if using frozen, thaw completely and pat extremely dry
- Seasoning too lightly: Fish needs proper seasoning to shine
- Overcooking: Tilapia cooks quickly—when it flakes easily with a fork, it’s done
Variations to Try
Once you’ve mastered the basic recipe, get creative with these delicious variations:
Herb-Crusted Version
Add 1 tablespoon each of finely chopped fresh herbs (dill, thyme, and parsley) to your flour mixture for an aromatic twist.
Spicy Cajun Style
Replace the paprika with 1-2 teaspoons of Cajun seasoning for a kick of heat that pairs beautifully with the lemon butter.
Mediterranean Inspired
Add 1 teaspoon dried oregano to the flour mixture and finish the sauce with 2 tablespoons of capers and a handful of halved cherry tomatoes.
Parmesan Crusted
Mix 3 tablespoons of finely grated Parmesan cheese into your flour mixture for a savory, cheesy crust.
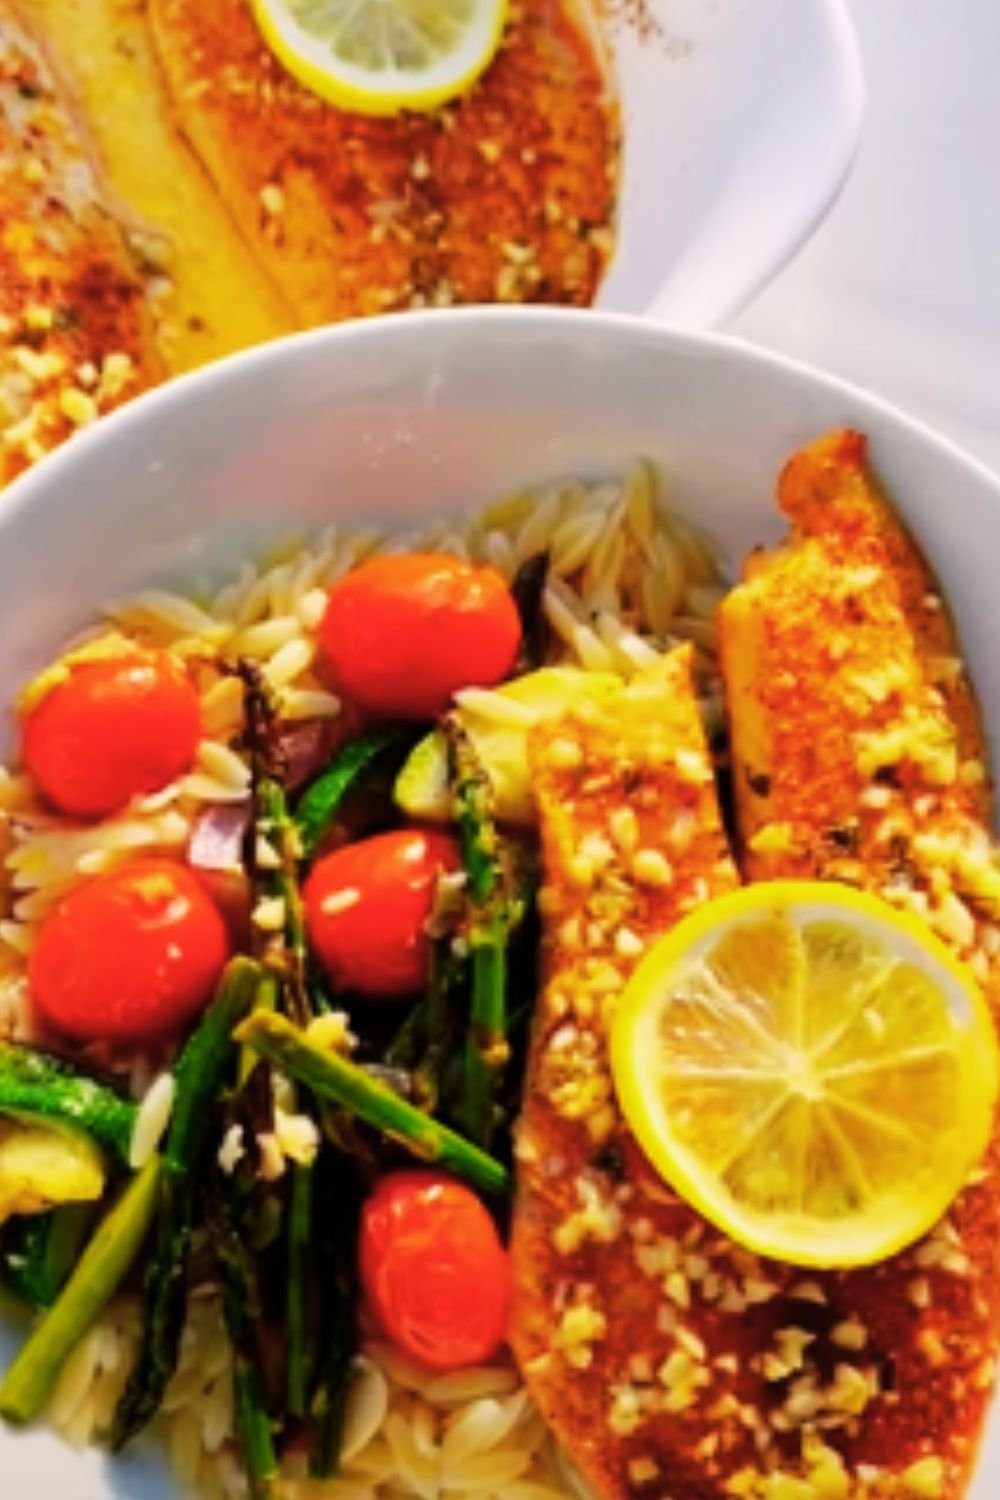
Perfect Side Dish Pairings
In my kitchen, what accompanies this tilapia is just as important as the fish itself. Here are my favorite side dishes that complement the lemon butter tilapia perfectly:
Vegetable Options
- Roasted asparagus with lemon zest
- Garlic sautéed spinach
- Steamed broccoli with a squeeze of lemon
- Green beans almondine
- Roasted Brussels sprouts with balsamic glaze
Starch Companions
- Lemon herb rice pilaf
- Garlic mashed potatoes
- Crusty artisan bread for sauce-sopping
- Angel hair pasta tossed with olive oil and herbs
- Parmesan risotto
Make-Ahead and Storage Tips
While this dish is best enjoyed fresh from the pan, life happens, and sometimes you need options:
Can You Make It Ahead?
The honest truth: this dish is at its absolute peak when served immediately after cooking. However, you can prep ahead by:
- Mixing the flour and seasonings up to 3 days in advance
- Mincing the garlic and chopping parsley up to 24 hours ahead
- Measuring all ingredients and having them ready to go (mise en place)
Storing Leftovers
If you do have leftovers:
- Let cool completely
- Store fish and sauce separately in airtight containers
- Refrigerate for up to 2 days
Reheating Method
For the best texture when reheating:
- Preheat oven to 275°F
- Place fish on a baking sheet
- Cover loosely with foil
- Warm for 10-15 minutes until just heated through
- Gently rewarm sauce in microwave or stovetop
- Pour over fish just before serving
Serving Suggestions for Special Occasions
When I’m serving this dish for guests, I like to elevate the presentation:
- Arrange fillets on a large white platter with a rim to contain the sauce
- Garnish with thin lemon slices, fresh herb sprigs, and a sprinkle of flaky sea salt
- Serve additional lemon butter sauce in a small pitcher for guests to add as desired
- Add a colorful side like roasted rainbow carrots or purple cauliflower for visual impact
- Include a small side salad with peppery arugula and a light vinaigrette
Why Tilapia?
I often get asked why I choose tilapia for this recipe. Here’s my reasoning:
Sustainability
When farm-raised in controlled environments, tilapia is one of the most sustainable seafood choices. It grows quickly, eats a primarily vegetarian diet, and generally has a lower environmental impact than many other fish options.
Affordability
Let’s be practical—fish can be expensive! Tilapia gives you that wonderful seafood experience at a much more budget-friendly price point, making it accessible for regular family meals.
Versatility
Its mild flavor adapts beautifully to countless seasonings and sauces, making it the perfect blank canvas for experimenting with different flavor profiles.
Availability
You can find tilapia in virtually any grocery store, making this recipe convenient no matter where you live.
Frequently Asked Questions
Over the years, I’ve received many questions about this recipe. Here are the most common ones:
Q: Can I use frozen tilapia fillets? Yes, but thaw them completely in the refrigerator overnight and pat them extremely dry before cooking. Fresh is always preferable for texture, but frozen works in a pinch.
Q: What if I don’t have fresh lemons? In an emergency, bottled lemon juice can work, but reduce the amount to 2-3 tablespoons as it’s more concentrated. The dish really shines with fresh lemons, though, so I highly recommend using them when possible.
Q: Is there a dairy-free alternative to butter? Absolutely! Use olive oil or a high-quality dairy-free butter substitute. The flavor will be slightly different but still delicious.
Q: Can I make this with other types of fish? Yes! This recipe works beautifully with other mild white fish like flounder, sole, or cod. Adjust cooking times as needed—thicker fillets will require longer cooking.
Q: Why is my fish sticking to the pan? This usually happens when: 1) The pan wasn’t hot enough before adding the fish, 2) You tried to flip too early before a crust formed, or 3) Your non-stick pan has lost its coating. Make sure your pan is properly preheated and don’t force the flip—the fish will release naturally when a crust has formed.
Q: How do I know when the fish is done? Tilapia is cooked when it flakes easily with a fork and the internal temperature reaches 145°F (63°C). The flesh should be opaque and not translucent.
Q: Can I add wine to the sauce? Absolutely! Replace half the lemon juice with a dry white wine like Sauvignon Blanc or Pinot Grigio for a more complex flavor.
A Chef’s Final Thoughts
After preparing this dish countless times, I’ve come to appreciate how the simplest recipes often deliver the most satisfaction. This Pan Fried Lemon Butter Tilapia represents everything I love about home cooking—it transforms affordable ingredients into something special through technique rather than complexity.
What I find most rewarding about this recipe is how it can turn a regular Tuesday dinner into something memorable without requiring hours in the kitchen. It’s proof that with a little attention to detail—thoroughly drying your fish, properly heating your pan, and creating a simple but flavorful sauce—everyday cooking can feel like a small celebration.
If you’re new to cooking fish at home, consider this recipe your gateway to seafood success. Master this technique, and you’ll gain the confidence to explore more adventurous fish preparations. And if you’re already a seafood cooking pro, I hope the specific tips and variations offered here add something new to your repertoire.
Remember that cooking is both science and art—understanding the why behind techniques allows you to adapt recipes to make them your own. So while I’ve shared my version of the perfect Pan Fried Lemon Butter Tilapia, I encourage you to experiment and adapt it to your preferences. That’s how great recipes evolve and how we make them truly our own.
Happy cooking!