Have you ever found yourself craving the rich, creamy decadence of a Boston cream pie but didn’t want to commit to baking an entire cake? I’ve been there too! That’s why I’m thrilled to share my recipe for Boston Cream Pie Cookies – a perfectly portioned dessert that captures all the magic of the classic Boston cream pie in a convenient cookie form.
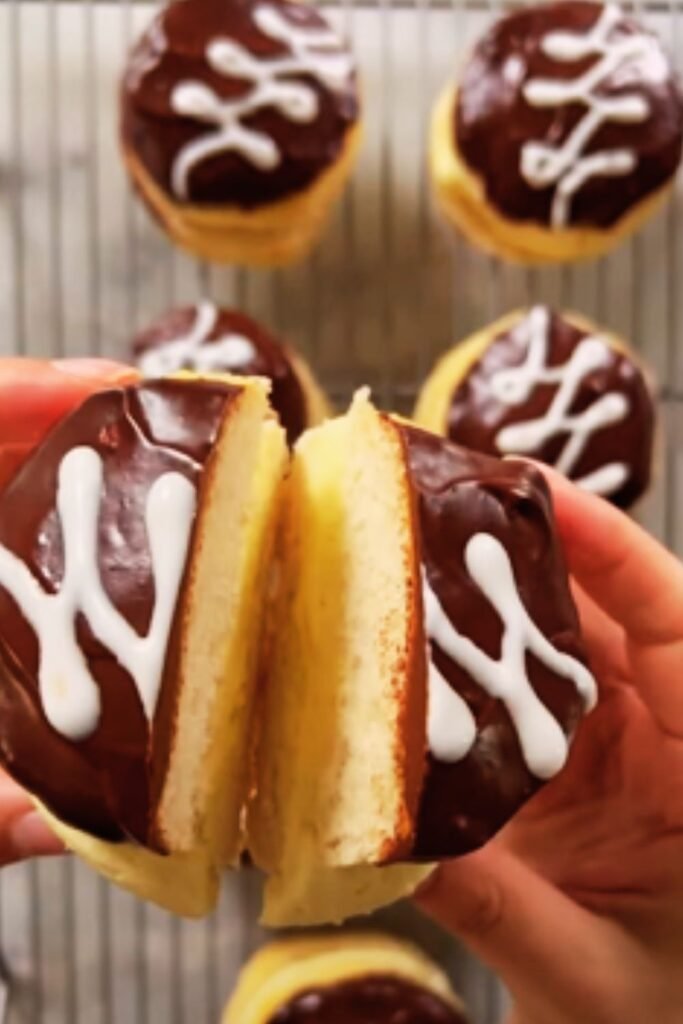
As someone who’s experimented with countless cookie recipes over the years, I can confidently say these Boston Cream Pie Cookies have become one of my most requested treats at family gatherings and potlucks. The combination of soft vanilla cookies, silky pastry cream, and glossy chocolate ganache creates a harmonious dessert experience that’s simply irresistible.
The History Behind Boston Cream Pie
Before diving into the cookie version, let’s take a moment to appreciate the dessert that inspired it. Despite its name, Boston cream pie is actually a cake, not a pie. This iconic American dessert originated in the 19th century at Boston’s Parker House Hotel (now the Omni Parker House). The hotel’s French chef created this revolutionary dessert by layering sponge cake with pastry cream and topping it with chocolate glaze.
What made it so revolutionary? At the time, most cakes were unfilled or made with fruit preserves. Using pastry cream as a filling was an innovative approach that quickly captured the hearts (and taste buds) of Americans. It became so beloved that in 1996, Boston cream pie was designated as the official dessert of Massachusetts.
Why You’ll Love These Boston Cream Pie Cookies
I’ve transformed the classic cake into cookie form for several compelling reasons:
- Portability: Unlike cake slices that can be messy to transport, these cookies can be packed in lunches or taken to gatherings with ease.
- Portion control: Sometimes you just want a taste of something sweet without committing to a full slice of cake.
- Freezer-friendly: The cookies freeze beautifully, meaning you can always have a stash of these treats on hand.
- Crowd-pleaser: In my experience, these cookies disappear faster than the traditional cake at parties!
- Customizable size: You can make them as big or small as you’d like to suit any occasion.
Ingredient Breakdown
Let’s explore the key ingredients that make these cookies special:
| Component | Ingredients | Purpose | Substitution Options |
|---|---|---|---|
| Cookie Base | All-purpose flour | Structure | Measure-for-measure gluten-free flour blend |
| Unsalted butter | Moisture & flavor | Coconut oil (will change flavor slightly) | |
| Granulated sugar | Sweetness | Cane sugar or coconut sugar (darker color) | |
| Eggs | Structure & binding | Flax eggs (1 tbsp ground flax + 3 tbsp water per egg) | |
| Vanilla extract | Flavor | Vanilla bean paste for more intense flavor | |
| Baking powder | Leavening | No substitution recommended | |
| Salt | Flavor enhancement | No substitution recommended | |
| Custard Filling | Milk | Base | Plant-based milk (preferably full-fat oat milk) |
| Egg yolks | Thickening & richness | No ideal substitute for authentic taste | |
| Granulated sugar | Sweetness | Same as cookie base | |
| Cornstarch | Thickening | Arrowroot powder | |
| Vanilla extract | Flavor | Same as cookie base | |
| Salt | Flavor enhancement | Same as cookie base | |
| Chocolate Topping | Semi-sweet chocolate | Chocolate flavor | Dark chocolate or milk chocolate based on preference |
| Heavy cream | Smooth texture | Coconut cream for dairy-free option | |
| Light corn syrup | Shine & stability | Honey or maple syrup (will affect flavor) | |
| Vanilla extract | Flavor depth | Same as cookie base |
Equipment You’ll Need
Before getting started, make sure you have these kitchen tools on hand:
- Stand mixer or hand mixer
- 3 medium mixing bowls
- Whisk
- Rubber spatula
- Cookie scoop (2 tablespoon capacity)
- Baking sheets
- Parchment paper or silicone baking mats
- Small saucepan
- Fine mesh strainer
- Piping bag with round tip or plastic sandwich bag
- Microwave-safe bowl
- Measuring cups and spoons
- Cooling rack
- Small offset spatula
The Perfect Boston Cream Pie Cookie Recipe
Cookie Base
Ingredients:
- 2¾ cups all-purpose flour
- 1 teaspoon baking powder
- ½ teaspoon salt
- 1 cup (2 sticks) unsalted butter, softened
- 1½ cups granulated sugar
- 2 large eggs, room temperature
- 2 teaspoons vanilla extract
Instructions:
- Preheat your oven to 350°F (175°C) and line baking sheets with parchment paper or silicone mats.
- In a medium bowl, whisk together the flour, baking powder, and salt. Set aside.
- In the bowl of a stand mixer fitted with the paddle attachment (or using a hand mixer), cream together the butter and sugar until light and fluffy, about 3-4 minutes.
- Add the eggs one at a time, beating well after each addition. Scrape down the sides of the bowl as needed.
- Beat in the vanilla extract.
- Gradually add the dry ingredients to the wet ingredients, mixing on low speed until just combined. Don’t overmix!
- Using a 2-tablespoon cookie scoop, portion the dough onto the prepared baking sheets, leaving about 2 inches between each cookie.
- Slightly flatten each cookie with the palm of your hand. These cookies won’t spread much, so this helps them bake evenly.
- Bake for 10-12 minutes, or until the edges are just set and the centers are still soft. They should not brown much – we want them to stay pale like vanilla cake.
- Allow the cookies to cool on the baking sheets for 5 minutes before transferring to a wire rack to cool completely.
Custard Filling
Ingredients:
- 1 cup whole milk
- 4 large egg yolks
- ⅓ cup granulated sugar
- 3 tablespoons cornstarch
- ¼ teaspoon salt
- 1 teaspoon vanilla extract
- 2 tablespoons unsalted butter, cold and cubed
Instructions:
- In a medium saucepan, heat the milk over medium heat until it just begins to simmer. Remove from heat.
- In a medium bowl, whisk together the egg yolks, sugar, cornstarch, and salt until smooth and pale yellow.
- Slowly pour about half of the hot milk into the egg mixture, whisking constantly to temper the eggs.
- Pour the tempered egg mixture back into the saucepan with the remaining milk.
- Return the saucepan to medium heat and cook, whisking constantly, until the mixture thickens and begins to bubble, about 2-3 minutes.
- Continue to cook for an additional minute, still whisking.
- Remove from heat and stir in the vanilla extract and cold butter cubes until fully incorporated.
- Strain the custard through a fine-mesh sieve into a clean bowl to remove any lumps.
- Press plastic wrap directly onto the surface of the custard to prevent a skin from forming.
- Refrigerate until completely chilled and set, at least 2 hours or overnight.
Chocolate Ganache Topping
Ingredients:
- 6 ounces semi-sweet chocolate, finely chopped
- ⅓ cup heavy cream
- 1 tablespoon light corn syrup
- ½ teaspoon vanilla extract
Instructions:
- Place the chopped chocolate in a heat-safe bowl.
- In a small saucepan, heat the heavy cream until it just begins to simmer.
- Pour the hot cream over the chocolate and let it sit for 1 minute.
- Gently stir until the chocolate is completely melted and the mixture is smooth.
- Stir in the corn syrup and vanilla extract.
- Allow the ganache to cool slightly before using, until it’s thick enough to spread but still pourable.
Assembly
- Once the cookies are completely cooled, use a small knife or the handle of a spoon to create a small indentation in the center of each cookie. Don’t go all the way through – we’re just creating a little well for the filling.
- Transfer the chilled custard to a piping bag fitted with a round tip (or use a plastic sandwich bag with a corner snipped off).
- Pipe about 1-2 teaspoons of custard filling into the center of each cookie.
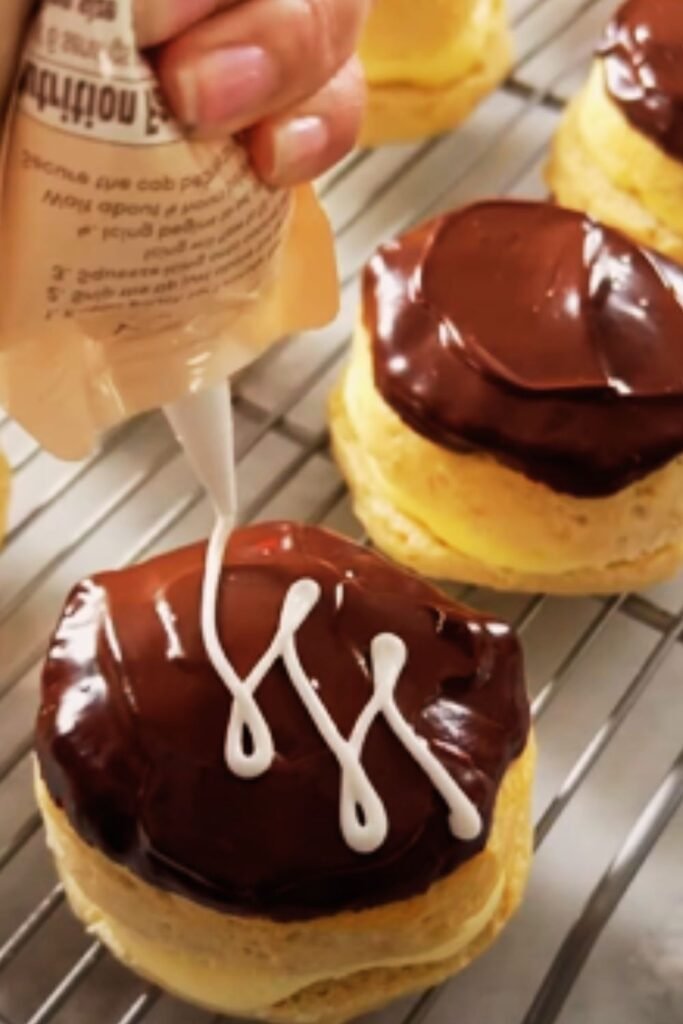
- Using a small offset spatula or the back of a spoon, spread a thin layer of chocolate ganache over the top of each cookie, covering the custard filling.
- Allow the chocolate to set before serving.
Storage and Make-Ahead Tips
In my years of making these cookies, I’ve discovered some helpful tips for making them ahead and storing them properly:
Short-term storage:
- Store assembled cookies in an airtight container in the refrigerator for up to 3 days.
- Layer them with parchment paper to prevent sticking.
Make-ahead options:
- The cookie base can be made up to 3 days in advance and stored in an airtight container at room temperature.
- The custard filling can be made up to 2 days in advance and stored in the refrigerator.
- For best results, add the chocolate ganache the day you plan to serve the cookies.
Freezing instructions:
- Unfilled cookies can be frozen for up to 3 months in a freezer-safe container.
- Thaw at room temperature before filling and topping.
- I don’t recommend freezing the assembled cookies as the textures can change upon thawing.
Troubleshooting Common Issues
| Problem | Possible Cause | Solution |
|---|---|---|
| Cookies spreading too much | Butter too warm | Chill dough for 30 minutes before baking |
| Cookies too dry | Overbaking | Remove from oven when edges are just set |
| Custard too thin | Insufficient cooking time | Cook until visibly thickened and bubbling |
| Custard lumpy | Eggs cooked too quickly | Strain through fine-mesh sieve |
| Ganache too thick | Cooled too much | Gently rewarm over a double boiler |
| Ganache too thin | Not cooled enough | Allow to cool longer or refrigerate briefly |
| Cookies softening quickly | High humidity | Store in refrigerator with parchment between layers |
Variations to Try
After perfecting the basic recipe, I began experimenting with these delicious variations:
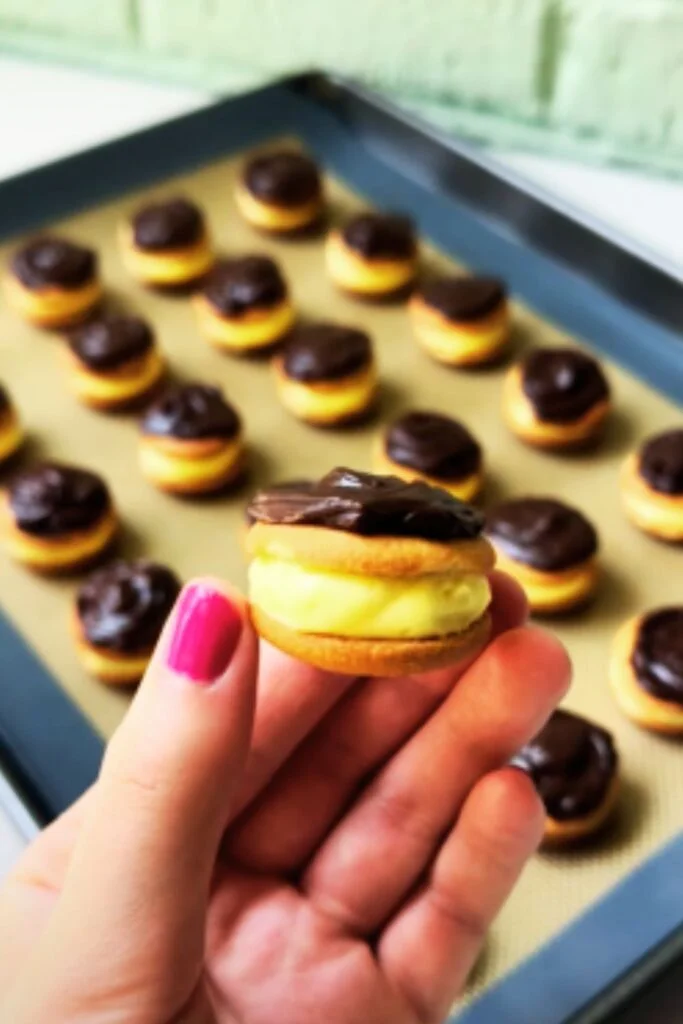
Mini Boston Cream Pie Cookie Sandwiches
Use a smaller cookie scoop (1 tablespoon) to make bite-sized cookies. Sandwich custard between two cookies and dip the top in chocolate ganache.
Boston Cream Pie Thumbprint Cookies
Instead of creating an indentation after baking, make thumbprint cookies by pressing your thumb into the center of each cookie before baking.
Chocolate Cookie Base
Replace ¼ cup of the flour with unsweetened cocoa powder for a chocolate-on-chocolate experience.
Coffee-Infused Ganache
Add 1 teaspoon of instant espresso powder to the hot cream before pouring it over the chocolate.
Orange-Scented Boston Cream
Add 1 teaspoon of orange zest to the cookie dough and a drop of orange extract to the custard for a citrusy twist.
Serving Suggestions
These cookies are delightful on their own, but here are some of my favorite ways to elevate them for special occasions:
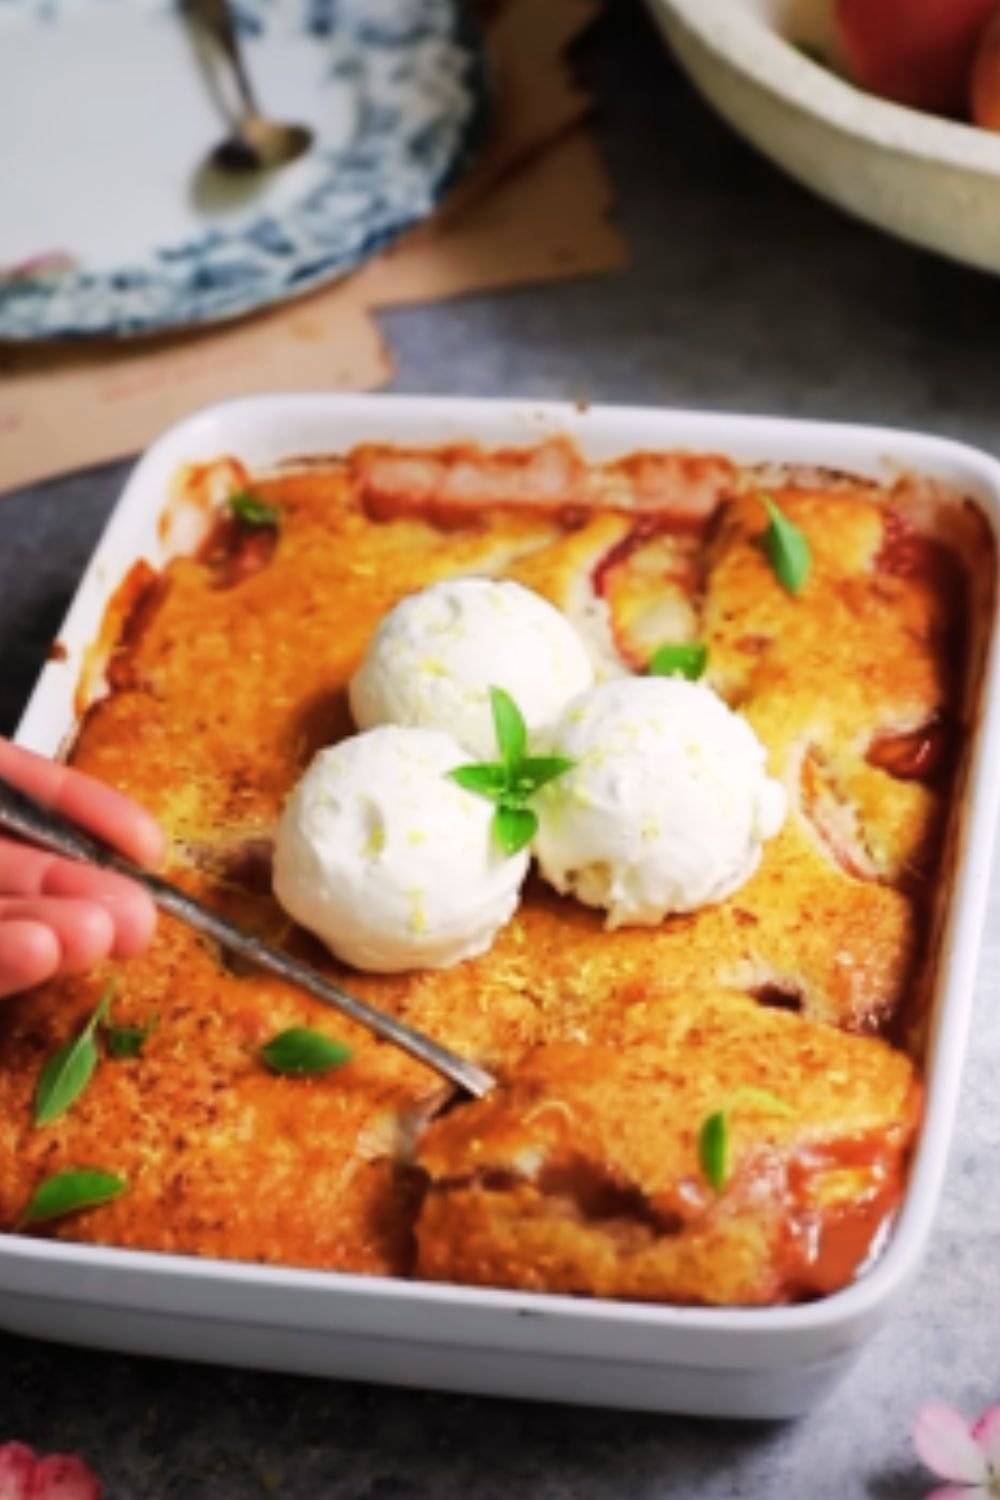
- Serve with a scoop of vanilla ice cream for an indulgent dessert.
- Pair with hot coffee or tea for an afternoon treat.
- Arrange on a platter with fresh berries for a beautiful dessert spread.
- Dust with a light sprinkle of powdered sugar just before serving for an elegant touch.
- For kid-friendly gatherings, serve with cold milk and colorful paper straws.
- Create a dessert board with these cookies as the centerpiece, surrounded by fresh fruit, nuts, and chocolate-covered strawberries.
Nutritional Information
While these cookies are definitely a treat, it’s helpful to know what you’re indulging in:
| Nutrient | Amount per Cookie | % Daily Value* |
|---|---|---|
| Calories | 245 | – |
| Total Fat | 12g | 15% |
| – Saturated Fat | 7g | 35% |
| Cholesterol | 65mg | 22% |
| Sodium | 95mg | 4% |
| Total Carbohydrate | 31g | 11% |
| – Dietary Fiber | <1g | 3% |
| – Total Sugars | 20g | – |
| Protein | 3g | 6% |
*Based on a 2,000 calorie diet. Values are approximate.
Why These Cookies Stand Out
What makes these Boston Cream Pie Cookies special compared to other cookie recipes? I think it comes down to the perfect balance of textures and flavors:
- The cookie base is soft and cake-like, mimicking the traditional sponge cake.
- The custard filling is rich and creamy without being overly sweet.
- The chocolate ganache provides a decadent finish that ties everything together.
Most importantly, they bring the joy of Boston cream pie to a convenient, handheld format that’s perfect for any occasion.
Frequently Asked Questions
Q: Can I make these cookies gluten-free? Yes! I’ve successfully made these with a measure-for-measure gluten-free flour blend. The texture is slightly different, but still delicious.
Q: How can I make the custard filling dairy-free? You can substitute the whole milk with full-fat coconut milk or oat milk. The texture may be slightly different, but it will still work well.
Q: My custard turned out lumpy. What happened? The most common cause is that the eggs began to cook when added to the hot milk. Next time, be sure to temper the eggs by slowly adding the hot milk while whisking constantly. Also, straining the finished custard through a fine-mesh sieve will remove any lumps.
Q: Can I make these cookies in advance for a party? Absolutely! I recommend making the components ahead of time and assembling them the day of your event. The cookie bases can be baked 2-3 days in advance, and the custard can be made 1-2 days ahead.
Q: How do I know when the cookies are done baking? The cookies should be set around the edges but still soft in the center. They shouldn’t brown much – we want them to stay pale like traditional Boston cream pie cake.
Q: Can I skip the corn syrup in the ganache? Yes. The corn syrup helps give the ganache a beautiful shine and prevents it from becoming too firm, but you can omit it or substitute with a tablespoon of honey or maple syrup.
Q: My chocolate ganache is too thick to spread. What should I do? If your ganache has cooled too much, gently rewarm it by placing the bowl over a pot of simmering water (double-boiler method) and stirring until it reaches your desired consistency.
Q: How many cookies does this recipe make? Using a 2-tablespoon cookie scoop, this recipe yields approximately 24 cookies. If you make them smaller, you’ll get more.

The Joy of Sharing
One of my favorite things about these Boston Cream Pie Cookies is watching people’s reactions when they take their first bite. There’s something magical about transforming a beloved classic dessert into an unexpected format. The surprise and delight on their faces makes all the effort worthwhile.
I first created these cookies for my grandfather’s 80th birthday. Boston cream pie was his favorite dessert, but we needed something easier to serve at his party. These cookies were such a hit that they’ve become a family tradition, and I hope they’ll become one for your family too.
Whether you’re an experienced baker or just getting started, these Boston Cream Pie Cookies are accessible and impressive. The components can be broken down and made in stages, making this an approachable project even for busy bakers.
So go ahead – preheat that oven, gather your ingredients, and prepare to create a dessert that perfectly balances nostalgia and innovation. Your taste buds (and anyone lucky enough to share these cookies with you) will thank you!