Have you ever found yourself craving the complex, aromatic flavors of Thai cuisine but felt intimidated by the prospect of recreating these dishes at home? I certainly did, until I discovered the delightful simplicity behind authentic red Thai curry. After countless attempts and consultations with Thai cooking experts, I’ve perfected a recipe that brings restaurant-quality Thai red curry right to your dining table.
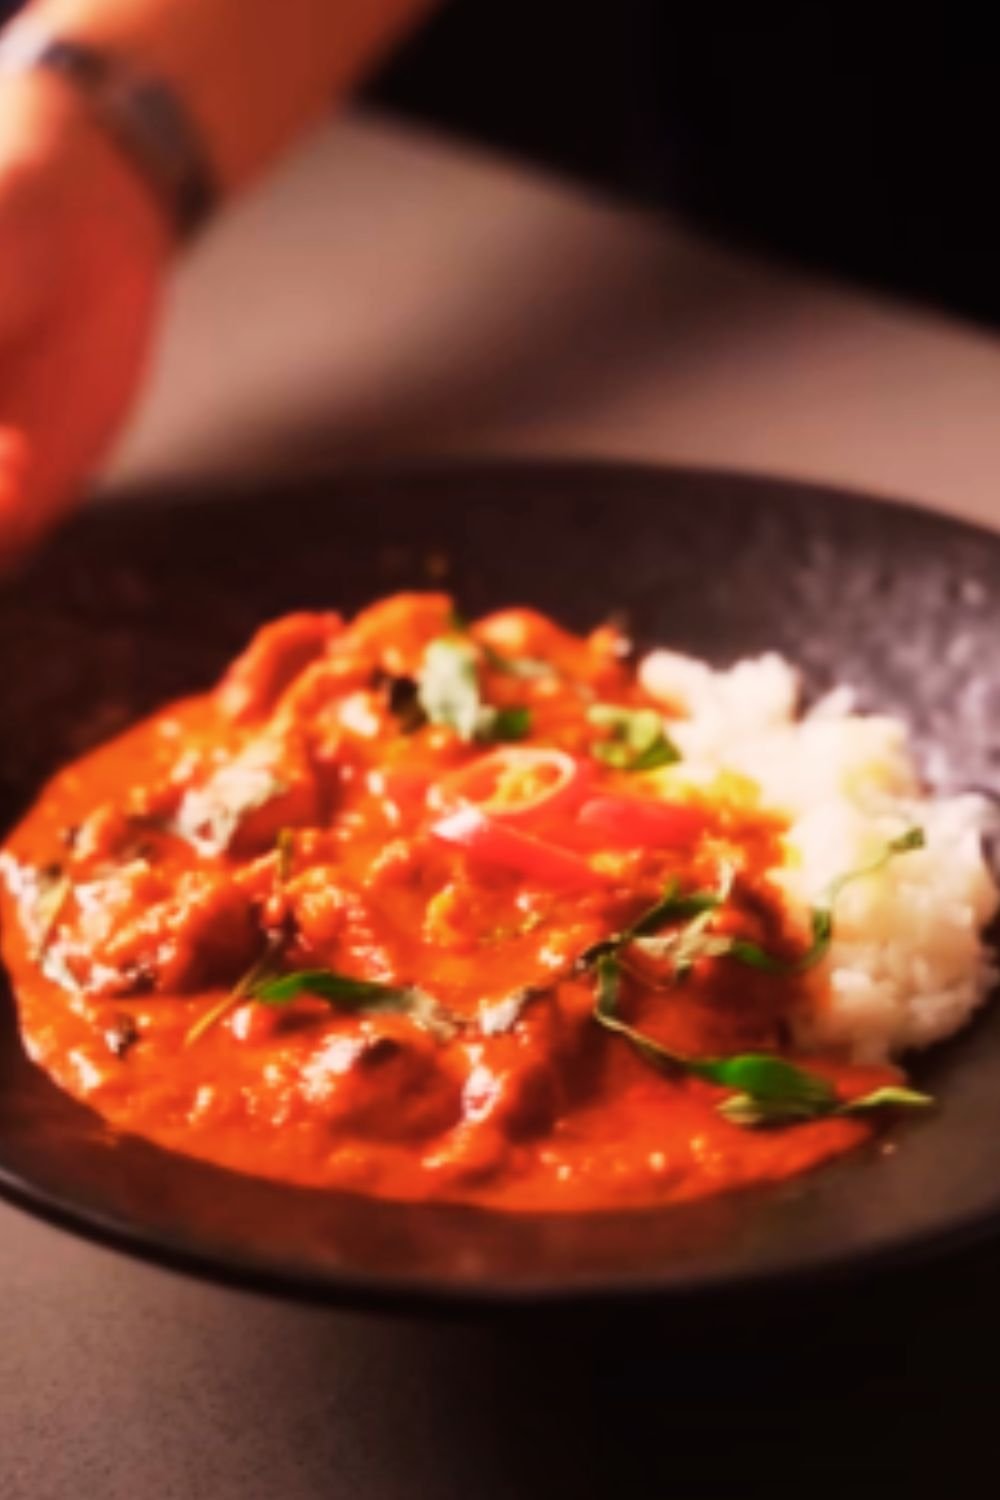
Thai red curry, known locally as “Kaeng Phet,” is a harmonious blend of spicy, sweet, and savory notes that dance on your palate. What sets this curry apart is its vibrant red color, derived from red chili peppers, and its rich, coconut milk base that tempers the heat while adding luxurious creaminess.
Today, I’ll guide you through creating this culinary masterpiece step by step, sharing insider tips and techniques I’ve gathered over years of experimentation. Whether you’re a novice cook or a seasoned chef looking to expand your repertoire, this recipe is designed to help you succeed.
The History and Cultural Significance of Thai Red Curry
Before diving into the cooking process, I believe understanding the cultural context enriches the cooking experience. Thai red curry has roots that stretch back centuries in Thailand’s culinary history. Originally, Thai curries were much drier than the versions we’re familiar with today, as coconut milk wasn’t always readily available in all regions of Thailand.
The introduction of Portuguese and Indian influences in the 17th century transformed Thai curry into the coconut-based dish we recognize today. Red curry is traditionally considered one of the spicier varieties in the Thai curry spectrum, sitting between the milder yellow curry and the fiery green curry.
In Thai households, curry making is often a communal activity, with family recipes passed down through generations. The mortar and pestle rhythm of crushing spices becomes almost meditative, connecting the cook to centuries of tradition with each aromatic release.
Essential Ingredients: The Building Blocks of Authentic Flavor
The soul of Thai red curry lies in its paste, a concentrated mixture of herbs, spices, and aromatics. While store-bought pastes offer convenience, nothing compares to the fragrant complexity of homemade curry paste. Here’s what you’ll need for both the paste and the complete curry:
For the Red Curry Paste:
- 15 dried red chilies, deseeded and soaked
- 2 tablespoons lemongrass, finely chopped (from about 2 stalks)
- 1 tablespoon galangal, minced (or ginger as a substitute)
- 1 tablespoon kaffir lime zest (or regular lime zest with a touch of extra lemongrass)
- 5 cloves garlic, minced
- 1 shallot, finely diced
- 1 teaspoon coriander seeds, toasted and ground
- 1/2 teaspoon cumin seeds, toasted and ground
- 1 teaspoon shrimp paste (omit for vegetarian version)
- 1/2 teaspoon white peppercorns, ground
- 1 teaspoon salt
For the Curry:
- 2 tablespoons vegetable oil
- 3-4 tablespoons red curry paste (homemade or store-bought)
- 2 cans (13.5 oz each) full-fat coconut milk
- 1 pound protein of choice (chicken thighs, shrimp, tofu, or beef)
- 2 tablespoons fish sauce (or soy sauce for vegetarian version)
- 2 tablespoons palm sugar (or brown sugar)
- 4-5 kaffir lime leaves, torn
- 1 red bell pepper, sliced
- 1 cup bamboo shoots, drained
- 1 cup Thai eggplant or regular eggplant, cubed
- 1/2 cup Thai basil leaves
- 1-2 red chilies, sliced (optional for extra heat)
- Juice of 1 lime
Key Ingredient Definitions and Substitutions
Understanding each ingredient’s role helps when making substitutions or adjustments:
Lemongrass : A fragrant, citrusy stalk that forms the backbone of Thai curry paste. If unavailable, lemon zest with a touch of ginger can approximate the flavor, though it won’t be identical.
Galangal : Similar to ginger but with a sharper, more citrusy flavor. Ginger makes an acceptable substitute but use slightly less as it’s more pungent.
Kaffir Lime Leaves : These glossy leaves provide a distinct citrus aroma different from regular lime. If unavailable, try using lime zest with a bay leaf for complexity.
Shrimp Paste : This fermented ingredient adds umami depth. For vegetarians, try miso paste or simply omit.
Fish Sauce : The salty element that brings everything together. Vegetarians can substitute with soy sauce mixed with a touch of mushroom powder for umami depth.
Palm Sugar : A less refined sugar with caramel notes. Brown sugar or coconut sugar works well as alternatives.
Thai Basil : More anise-flavored than Italian basil. In a pinch, regular basil can work, but add a small pinch of anise seed to the curry for authenticity.
Equipment You’ll Need
Creating an authentic Thai red curry doesn’t require specialized equipment, but these tools will make your cooking process smoother:
- A good mortar and pestle (ideal for paste-making, but a food processor works too)
- A heavy-bottomed wok or large skillet
- A sharp knife for ingredient preparation
- Measuring spoons and cups
- Wooden spoon or spatula for stirring
- Small bowls for preparing ingredients
Homemade Red Curry Paste: The Secret to Superior Flavor
If you’re opting to make your own curry paste (which I highly recommend), follow these steps:
- Soak dried chilies in warm water for 15-20 minutes until soft, then drain well
- Toast coriander and cumin seeds in a dry pan until fragrant, then grind
- Add all paste ingredients to a mortar and pestle or food processor
- Pound or pulse until a smooth paste forms (this may take 10-15 minutes with a mortar and pestle)
- If using a food processor, you may need to add 1-2 tablespoons of water to help things along
The paste can be stored in an airtight container in the refrigerator for up to 2 weeks, or frozen in tablespoon portions for up to 3 months.
Nutritional Profile of Thai Red Curry
Before diving into the cooking process, let’s explore the nutritional aspects of this dish. Thai curries balance proteins, fats, and carbohydrates while incorporating numerous health-promoting ingredients:
| Nutrient | Amount (per serving) | Health Benefits |
|---|---|---|
| Calories | 450-550 (with rice) | Energy source for daily activities |
| Protein | 25-30g | Muscle building and repair |
| Fat | 30-35g | Primarily from coconut milk, provides satiety |
| Carbohydrates | 35-40g | Energy source, mostly from rice and vegetables |
| Fiber | 5-7g | Digestive health, sustained energy |
| Vitamin C | 60-80% DV | Immune support from bell peppers and chilies |
| Vitamin A | 40-50% DV | Eye health from red chilies and vegetables |
| Iron | 15-20% DV | Blood health, particularly from proteins |
| Potassium | 10-15% DV | Electrolyte balance from vegetables |
Chilies contain capsaicin, which has anti-inflammatory properties, while lemongrass and galangal have been used traditionally for digestive support. The combination of spices in curry paste provides antioxidants that help fight oxidative stress.
Step-by-Step Cooking Process
Now that we’ve covered the ingredients and their benefits, let’s cook the perfect red Thai curry:
- Prepare your protein: Cut chicken, beef, or tofu into bite-sized pieces. If using shrimp, peel and devein but keep whole.
- Heat the wok: Place your wok or skillet over medium heat and add vegetable oil.
- Bloom the paste: Add curry paste to the hot oil and stir constantly for 2-3 minutes until fragrant. This crucial step awakens the aromatics and spices.
- Add coconut cream: For extra richness, use the thick cream from the top of an unshaken can of coconut milk. Stir this with the paste until the oil separates and appears reddish (about 3-5 minutes).
- Add protein: Add your chosen protein and stir to coat with the curry mixture. For chicken or beef, cook for 2-3 minutes until the outside changes color.
- Add remaining coconut milk: Pour in the rest of the coconut milk and bring to a gentle simmer.
- Season the curry: Add fish sauce, palm sugar, and torn kaffir lime leaves. Stir well to combine.
- Cook protein through: Simmer until your protein is fully cooked (about 5-8 minutes for chicken, 2-3 minutes for shrimp, 5 minutes for tofu).
- Add vegetables: Add bell peppers, bamboo shoots, and eggplant. Simmer for another 3-4 minutes until vegetables are tender-crisp.
- Finish with aromatics: Turn off the heat and stir in Thai basil leaves, sliced chilies (if using), and lime juice.
- Rest before serving: Allow the curry to rest for 5 minutes before serving, which allows flavors to meld.
Common Mistakes to Avoid
Through my many attempts at perfecting this recipe, I’ve identified several pitfalls that can affect your results:
- Not blooming the paste: Frying the paste in oil releases essential flavors. Skipping this step results in a flat-tasting curry.
- Using light coconut milk: The full-fat version creates that luxurious mouthfeel that defines a good curry.
- Adding all vegetables at once: Different vegetables have different cooking times. Add denser vegetables first.
- Boiling the curry: A gentle simmer preserves the delicate flavors and prevents coconut milk from separating.
- Skipping the resting period: Those final 5 minutes of resting allow the flavors to integrate fully.
- Over-stirring after adding coconut milk: This can cause the coconut milk to split. Stir gently and infrequently after adding it.
Serving Suggestions and Accompaniments
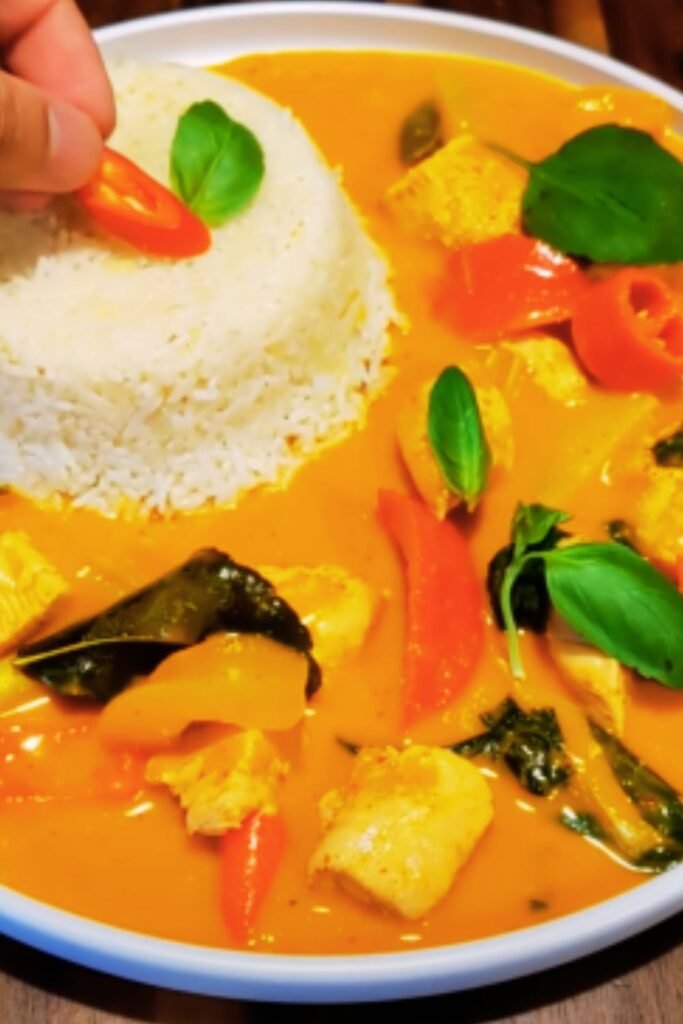
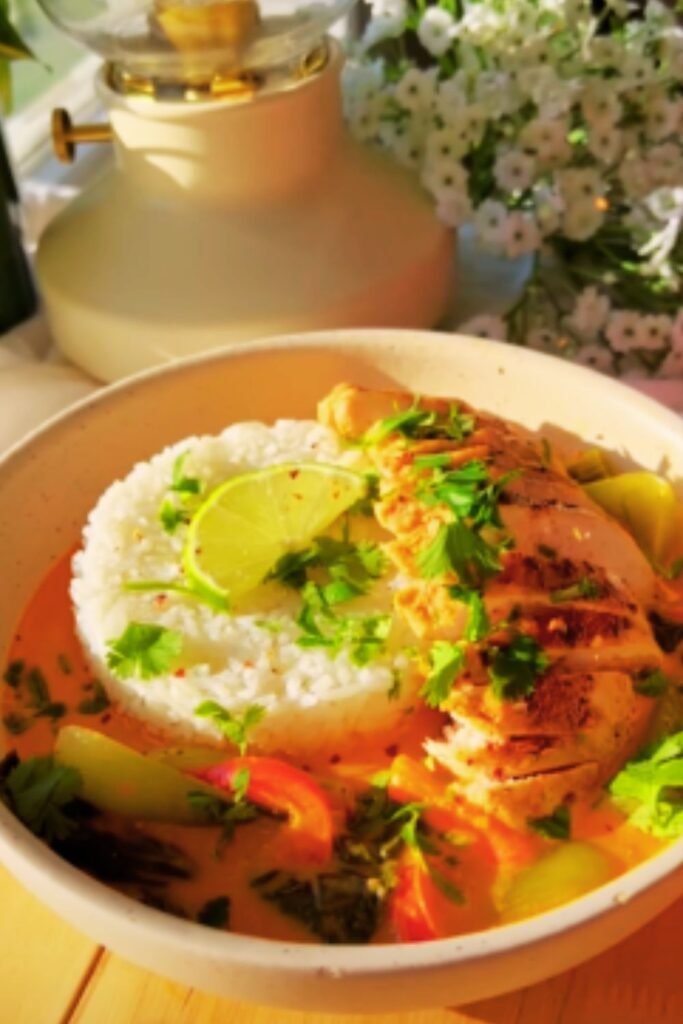
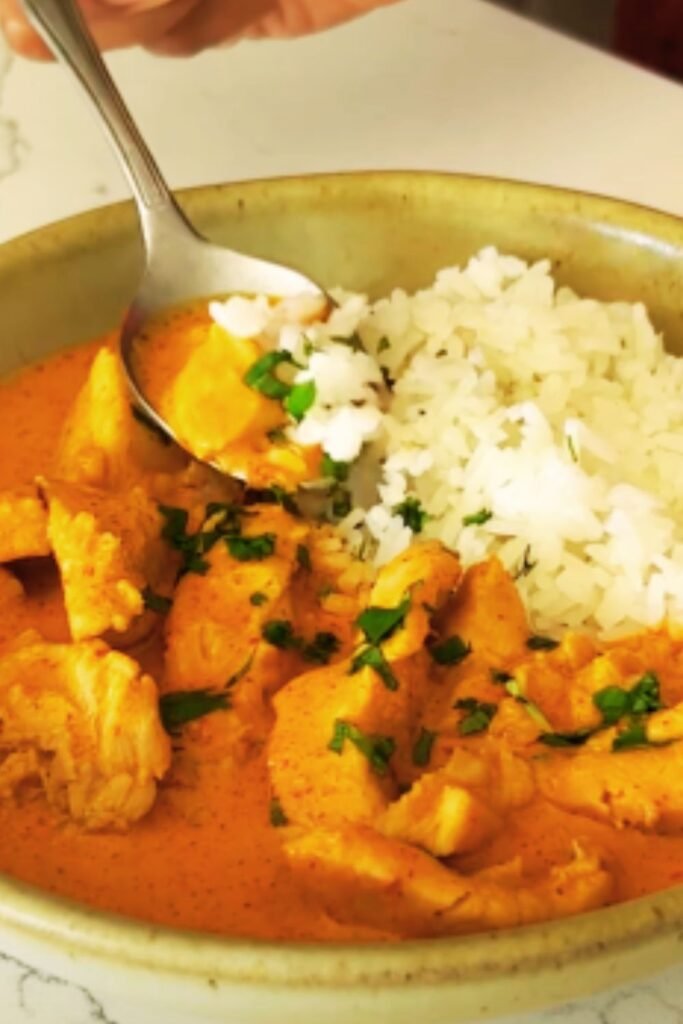
The traditional way to enjoy Thai red curry is with jasmine rice, which provides the perfect neutral canvas for the complex curry flavors. Here are some serving suggestions:
- Serve over steamed jasmine rice or brown rice for a healthier option
- Offer lime wedges on the side for additional brightness
- A small dish of sliced chilies in fish sauce allows diners to adjust heat levels
- Fresh cucumber slices provide cooling contrast
- A simple papaya salad makes an excellent starter or side
- For a complete meal, serve with coconut rice and a light soup
For a modern twist, try serving your curry with:
- Roti canai (Malaysian flatbread) for dipping
- Zucchini noodles for a low-carb option
- Quinoa instead of rice for added protein
- A side of pickled vegetables for brightness and contrast
Adapting the Recipe for Dietary Restrictions
One of the beauties of Thai curry is its adaptability. Here’s how to modify the recipe for common dietary needs:
Vegetarian/Vegan:
- Replace shrimp paste with miso paste
- Substitute fish sauce with soy sauce or tamari
- Use tofu, tempeh, or a mix of mushrooms as protein
- Ensure your curry paste doesn’t contain hidden animal products if store-bought
Gluten-Free:
- Verify that your fish sauce is gluten-free (most are)
- Use tamari instead of soy sauce if making vegetarian adjustments
- Check store-bought curry paste ingredients carefully
Low-Carb:
- Serve with cauliflower rice instead of jasmine rice
- Increase the protein portion slightly
- Add extra low-carb vegetables like bell peppers, zucchini, and spinach
Reducing Spice Levels:
- Use fewer dried chilies in homemade paste
- Reduce the amount of paste used in the curry
- Add a bit more coconut milk and sugar to balance heat
- Serve with cooling accompaniments like cucumber or plain yogurt
Storage and Reheating
Like many curries, Thai red curry often tastes even better the next day as the flavors continue to develop. Here’s how to properly store and reheat:
- Refrigerate in an airtight container for up to 3 days
- For freezing, omit the vegetables and herbs, adding fresh ones when reheating
- Freeze in portion-sized containers for up to 3 months
- Thaw overnight in the refrigerator before reheating
- Reheat gently on the stovetop over medium-low heat
- Add a splash of coconut milk if the curry has thickened too much
- Stir in fresh Thai basil and a squeeze of lime just before serving
Regional Variations of Thai Red Curry
Thailand’s diverse culinary landscape means that red curry can vary significantly by region:
- Central Thailand: The version most familiar internationally, with a balanced sweet-spicy profile
- Southern Thailand: Typically spicier with more turmeric and sometimes includes pineapple
- Northern Thailand: Often less coconut milk and more ginger, sometimes with added tomatoes
- Northeastern (Isan): Frequently includes more fermented flavors and local vegetables
I’ve predominantly focused on the Central Thai style in this recipe, as it’s the most approachable for home cooks while maintaining authenticity.
Frequently Asked Questions
Q: Can I make Thai red curry in advance for a dinner party?
A: Absolutely! In fact, making it a day ahead allows flavors to develop further. Just reheat gently and add fresh herbs right before serving.
Q: My curry is too spicy! How can I fix it?
A: Add more coconut milk, a bit more palm sugar, or serve with cooling sides like cucumber. A squeeze of lime can also help balance the heat.
Q: Can I use a food processor instead of a mortar and pestle for the paste?
A: Yes, though the texture and aromatic release won’t be quite the same. If using a food processor, freeze the aromatic ingredients for 15 minutes first to help preserve volatile oils.
Q: Why did my coconut milk separate or curdle?
A: This usually happens from high heat or over-stirring. Keep your curry at a gentle simmer and stir minimally after adding coconut milk.
Q: Can I make this curry with green curry paste instead?
A: Yes! The cooking method remains the same, though green curry typically pairs better with chicken or seafood rather than beef.
Q: How can I tell if my curry paste has gone bad?
A: Fresh curry paste should have a vibrant color and strong aroma. If it smells off, has developed mold, or has darkened significantly, it’s time to make a new batch.
Q: Why doesn’t my curry taste like the restaurant version?
A: Restaurant curries often include more oil, sugar, and salt than home recipes. They may also use specialized ingredients like grachai (wild ginger) or pea eggplants that are harder to find in Western markets.
Final Thoughts: The Joy of Thai Cooking
My journey with Thai cuisine has taught me that authentic flavors don’t require professional training—just quality ingredients and attention to technique. This red curry recipe has become a staple in my household, adapting to whatever protein and vegetables are on hand while maintaining its essential character.
The beauty of cooking Thai food at home lies in personalization. As you become comfortable with the basic process, don’t hesitate to adjust spice levels, sweetness, and acidity to your preference. Soon, you’ll develop your own signature version that might even surpass your favorite restaurant’s offering.
Remember that Thai cooking embraces the principle of balance—sweet, salty, sour, and spicy elements working in harmony. Trust your palate as you cook, tasting and adjusting until you achieve your perfect balance.
I hope this guide inspires you to bring the vibrant flavors of Thailand into your kitchen. There’s something deeply satisfying about creating such complex flavors from scratch, connecting with a culinary tradition that spans centuries while making it uniquely your own. Happy cooking!