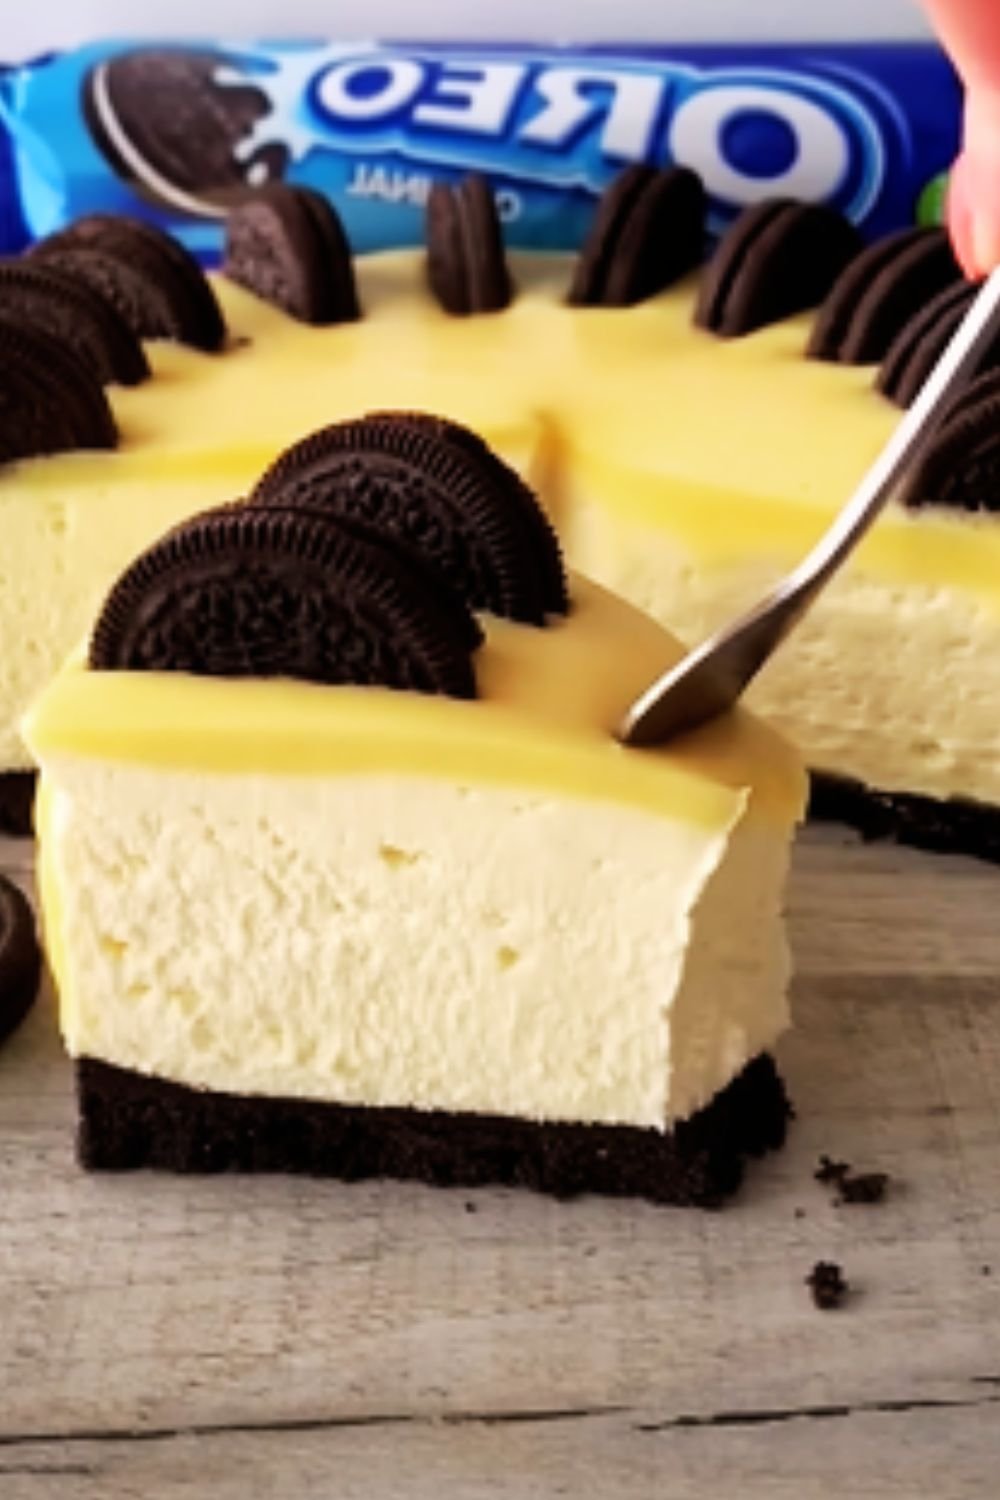
There’s something magical about the combination of crispy chocolate cookies and creamy cheesecake that makes Oreo cheesecake an irresistible dessert. I’ve been perfecting this recipe for years, tweaking ingredients and methods until I created what my family now calls “the ultimate” version. This isn’t just any Oreo cheesecake—it’s a towering masterpiece of velvety smooth cream cheese filling studded with chunks of America’s favorite cookie, all resting on a chocolate cookie crust that adds the perfect textural contrast.
When I first attempted making an Oreo cheesecake, I encountered several challenges that I’ve now mastered. From preventing cracks to achieving that perfect balance between sweet and tangy, I’m sharing all my secrets with you today. Whether you’re a seasoned baker or trying your hand at cheesecake for the first time, this recipe will guide you to success.
The History Behind This Beloved Dessert
Before diving into the recipe, I find it fascinating to explore how this delectable dessert came to be. Cheesecake itself dates back to ancient Greece, where it was served to athletes during the first Olympic games in 776 BC. However, the modern cream cheese version we know today emerged in America in the late 1800s.
Oreo cookies entered the scene much later, making their debut in 1912. These iconic sandwich cookies quickly captured America’s heart, becoming the best-selling cookie of the 20th century. It was only a matter of time before someone had the brilliant idea to combine these cookies with cheesecake, creating a match made in dessert heaven.
The Oreo cheesecake as we know it today became popular in the 1990s, appearing on restaurant menus and in bakeries across the country. Since then, countless variations have emerged, but the classic combination of chocolate cookie crust, vanilla cheesecake, and chunks of Oreo cookies remains the gold standard.
Essential Ingredients for the Perfect Oreo Cheesecake
Creating a truly memorable Oreo cheesecake requires quality ingredients. Here’s what you’ll need:
For the Crust:
- 24 Oreo cookies, finely crushed (about 2 cups)
- 4 tablespoons unsalted butter, melted
- Pinch of salt
For the Filling:
- 32 ounces (4 packages) cream cheese, room temperature
- 1¼ cups granulated sugar
- ¾ cup sour cream, room temperature
- 2 teaspoons vanilla extract
- ¼ teaspoon salt
- 4 large eggs, room temperature
- 20 Oreo cookies, roughly chopped
For the Topping:
- 1 cup heavy whipping cream
- 2 tablespoons powdered sugar
- ½ teaspoon vanilla extract
- 6-8 Oreo cookies for decoration
The quality of your cream cheese makes a significant difference in this recipe. I recommend using a full-fat, block-style cream cheese rather than the spreadable kind that comes in tubs. Philadelphia cream cheese has consistently given me the best results, but any quality brand will work.
The Science Behind a Crack-Free Cheesecake
Before we get to the step-by-step instructions, let’s talk about the science of cheesecake. Understanding why cheesecakes crack can help you avoid this common pitfall.
Cheesecakes primarily crack for three reasons:
- Air bubbles: Overmixing incorporates too much air into the batter, which expands during baking and then collapses, causing cracks.
- Rapid temperature changes: Sudden cooling causes the cheesecake to contract too quickly, resulting in cracks.
- Overbaking: When a cheesecake is baked too long, it becomes dry and prone to cracking as it cools.
To prevent these issues, I’ll show you techniques like the water bath method, gradual cooling, and proper mixing that ensure a smooth, crack-free surface every time.
Step-by-Step Instructions
Preparing the Perfect Oreo Crust
- Preheat your oven to 325°F (165°C).
- Prepare a 9-inch springform pan by wrapping the outside with a double layer of heavy-duty aluminum foil. This prevents water from seeping in during the water bath baking.
- Place 24 Oreo cookies (filling included) in a food processor and pulse until finely crushed. Alternatively, place them in a ziplock bag and crush with a rolling pin.
- Transfer the cookie crumbs to a bowl, add the melted butter and salt, and mix until the crumbs are evenly moistened.
- Press the mixture firmly into the bottom and slightly up the sides of the springform pan. I find using the bottom of a measuring cup helps achieve an even, compact crust.
- Bake the crust for 10 minutes, then remove from the oven and allow to cool while preparing the filling. Keep the oven on.
Creating the Creamy Oreo Filling
- In the bowl of a stand mixer fitted with the paddle attachment, beat the cream cheese on medium-low speed until completely smooth, about 2 minutes. Scrape down the sides and bottom of the bowl frequently.
- Add the sugar gradually and continue beating until smooth and creamy, about 1-2 minutes.
- Add the sour cream, vanilla extract, and salt. Beat on low speed until combined.
- Add eggs one at a time, beating on low speed just until each is incorporated. It’s crucial not to overmix after adding the eggs, as this can incorporate too much air and lead to cracking.
- Gently fold in the roughly chopped Oreo cookies by hand using a rubber spatula.
- Pour the filling over the cooled crust and smooth the top with a spatula.
The Water Bath Method for Perfect Texture
- Place the foil-wrapped springform pan in a larger roasting pan.
- Place the roasting pan in the oven, then carefully pour hot water into the roasting pan until it reaches about halfway up the sides of the springform pan.
- Bake for 60-70 minutes. The cheesecake is done when the edges are set but the center still has a slight jiggle (about a 3-inch circle in the center).
- Turn off the oven, crack the door open slightly, and let the cheesecake cool in the oven for 1 hour. This gradual cooling prevents cracking.
- After an hour, remove the cheesecake from the water bath and place it on a cooling rack. Run a thin knife around the edge of the pan to prevent the cheesecake from sticking to the sides as it cools.
- Allow the cheesecake to cool completely at room temperature, about 2-3 hours.
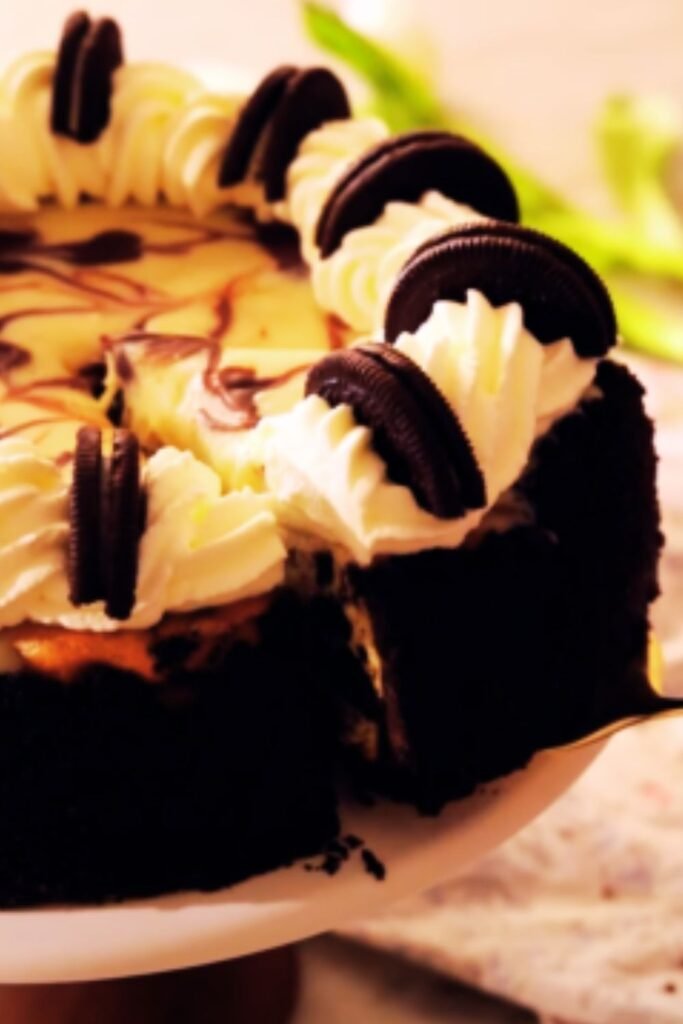
Final Touches and Decoration
- Once completely cooled, cover the cheesecake and refrigerate for at least 6 hours, preferably overnight.
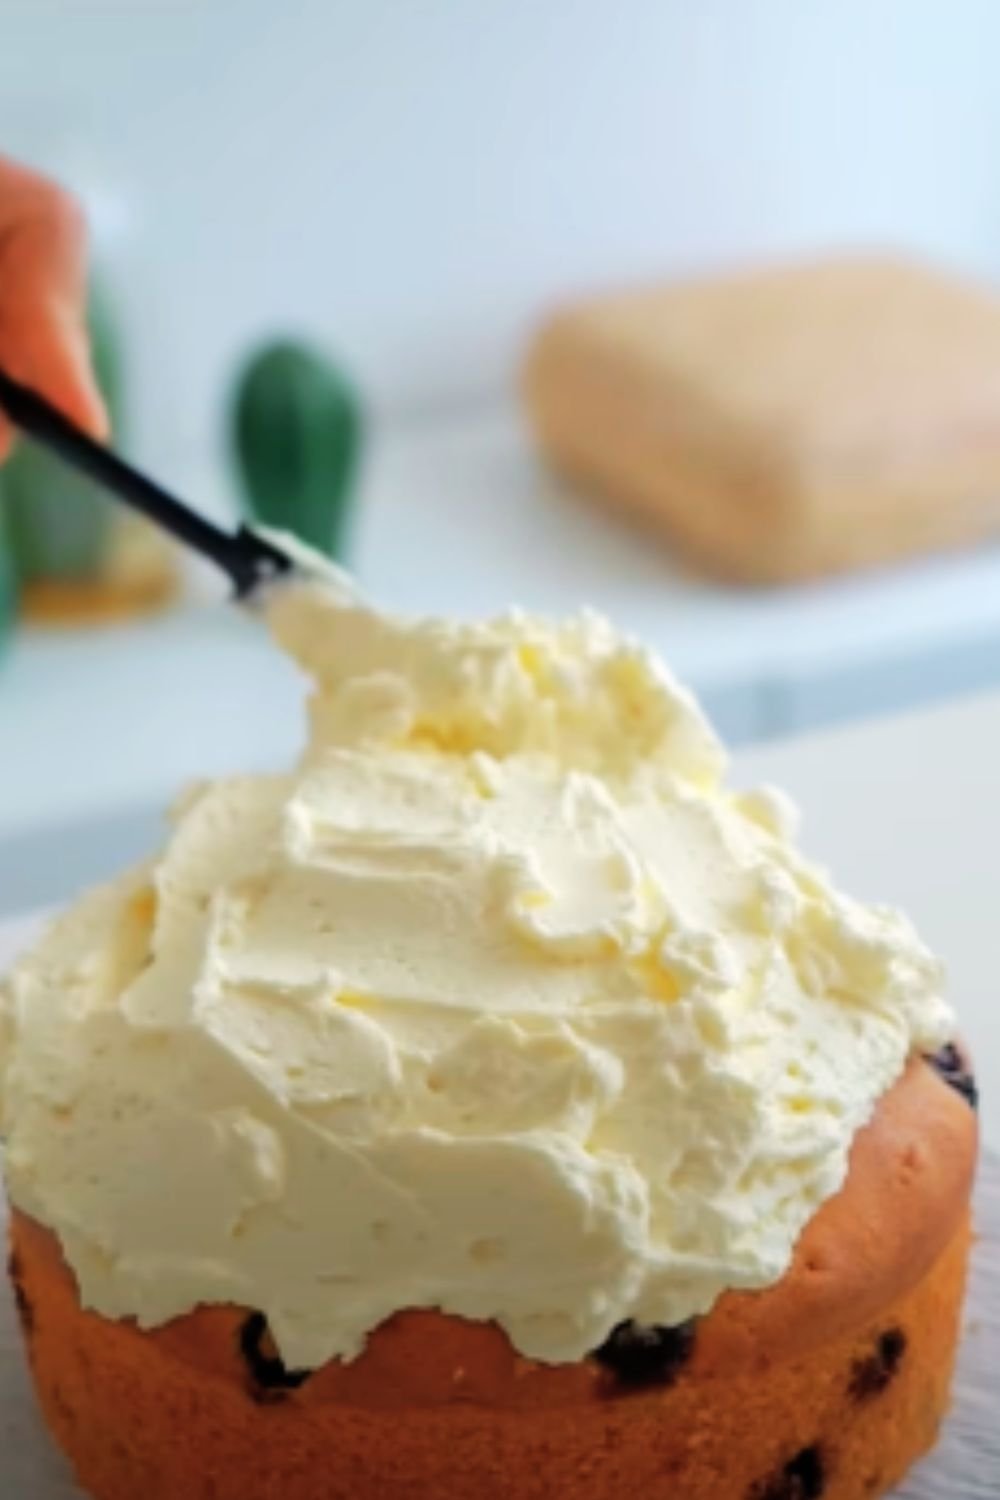
- When ready to serve, whip the heavy cream, powdered sugar, and vanilla extract until stiff peaks form.
- Remove the sides of the springform pan and transfer the cheesecake to a serving plate.
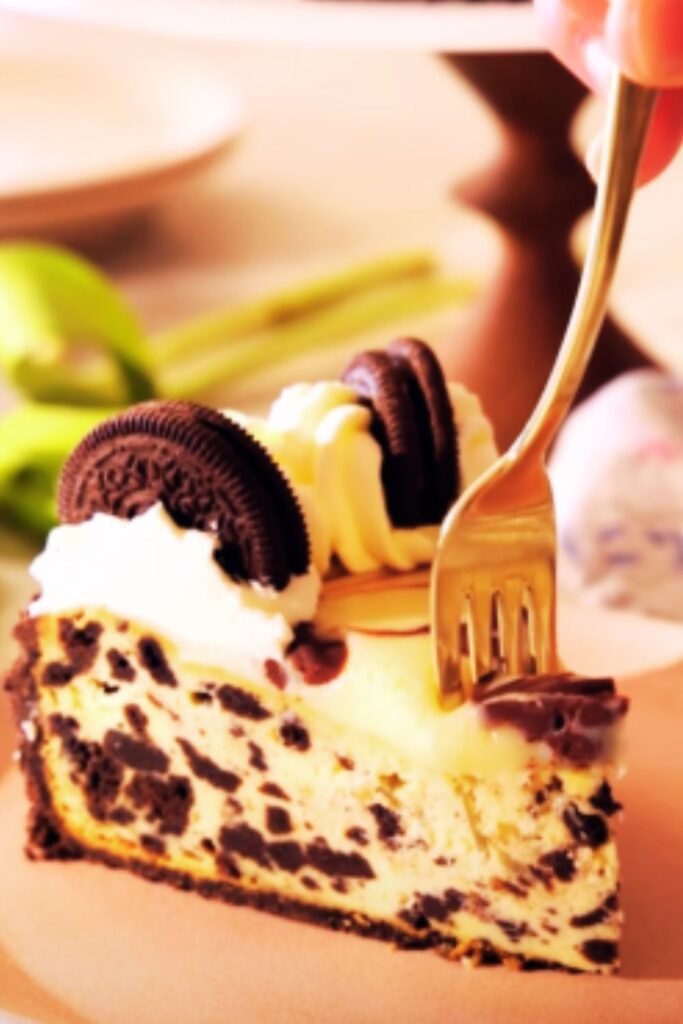
- Pipe or spread the whipped cream around the edge of the cheesecake.
- Decorate with whole or halved Oreo cookies around the edge.
- For an extra touch of decadence, drizzle with chocolate sauce if desired.
Troubleshooting Common Cheesecake Problems
Even experienced bakers encounter issues with cheesecakes occasionally. Here are solutions to common problems:
| Problem | Possible Cause | Solution |
|---|---|---|
| Cracked surface | Overbaking or sudden temperature changes | Use a water bath and cool gradually in the oven |
| Sunken center | Underbaking | Bake until the center is almost set but still jiggly |
| Soggy crust | Water leaking into the pan | Double-wrap the springform pan with heavy-duty foil |
| Lumpy filling | Cold cream cheese | Ensure all ingredients are at room temperature |
| Too dense texture | Overmixing | Mix just until ingredients are combined, especially after adding eggs |
| Browning on top | Oven temperature too high | Bake at a lower temperature (325°F instead of 350°F) |
| Sticking to the pan | Natural contraction while cooling | Run a knife around the edge immediately after baking |
| Uneven texture | Ingredients not thoroughly incorporated | Scrape down the bowl frequently while mixing |
Variations to Try
While this classic Oreo cheesecake is divine on its own, here are some variations to explore:
Flavor Twists:
- Mint Oreo: Add 1 teaspoon of peppermint extract to the filling and use Mint Oreos
- Peanut Butter Oreo: Swirl 1/2 cup of melted peanut butter into the filling before baking
- Birthday Cake: Use Birthday Cake Oreos and add 1/2 cup of rainbow sprinkles to the filling
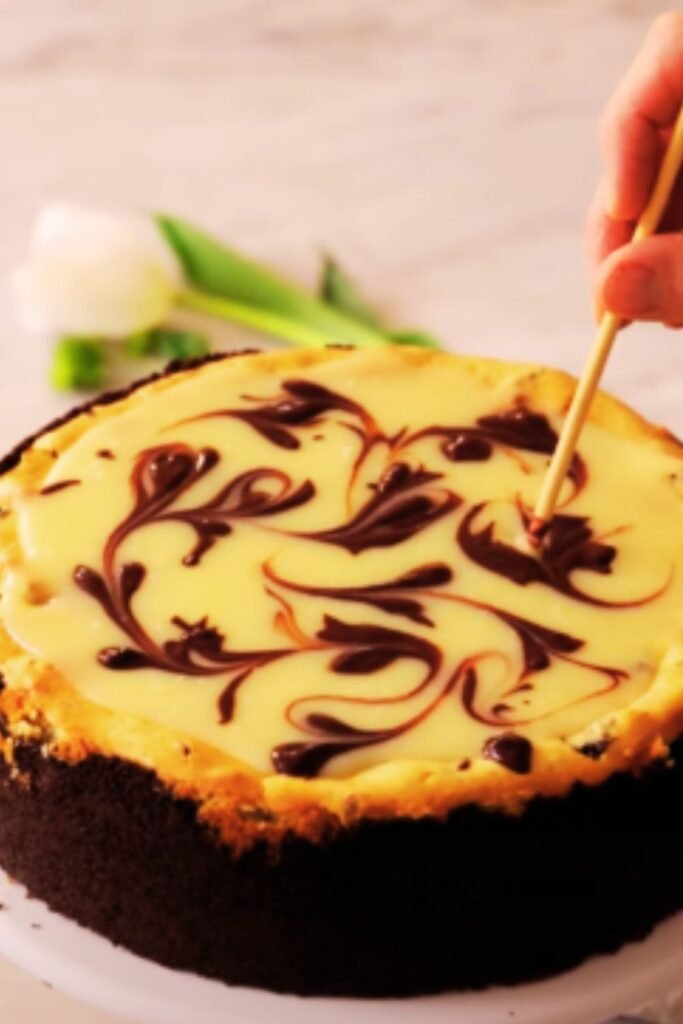
- Double Chocolate: Add 1/4 cup of cocoa powder to the filling for a chocolate-on-chocolate experience
- Coffee-Infused: Dissolve 1 tablespoon of instant espresso powder in the vanilla extract
Structural Variations:
- Mini Cheesecakes: Bake in a muffin tin with a shortened baking time (about 20-25 minutes)
- Cheesecake Bars: Use a 9×13 rectangular pan and cut into squares
- No-Bake Version: Skip the eggs and use gelatin to set the filling (perfect for summer)
- Layered Cheesecake: Create distinct layers of vanilla and chocolate cheesecake filling
Make-Ahead and Storage Tips
One of the best things about cheesecake is that it can be made well in advance. Here’s how to store it properly:
Short-Term Storage:
- Refrigerate: Cheesecake will keep in the refrigerator for up to 5 days. Cover loosely with plastic wrap or place in a cake container to prevent it from absorbing odors.
Long-Term Storage:
- Freeze: Cheesecake freezes beautifully for up to 2 months. For best results:
- Allow the cheesecake to cool completely and chill in the refrigerator overnight.
- Remove the sides of the springform pan and place the cheesecake (with the bottom of the pan) on a cardboard round.
- Freeze uncovered until firm, about 4 hours.
- Wrap tightly in a layer of plastic wrap followed by a layer of aluminum foil.
- To thaw, transfer to the refrigerator overnight.
Serving Suggestions
A slice of Oreo cheesecake is delightful on its own, but here are some accompaniments that take it to the next level:
- Fresh berries (strawberries or raspberries offer a nice tart contrast)
- Hot fudge sauce warmed and drizzled over the top
- Caramel sauce for a sweet, buttery note
- Coffee or espresso (the slight bitterness pairs wonderfully with the sweet cheesecake)
- Vanilla ice cream for an indulgent dessert duo
- Crushed Oreos sprinkled over each slice
- Mint chocolate chip ice cream (especially good with the mint variation)
- Hot chocolate with whipped cream for a cozy winter pairing
Nutritional Information
For those who like to keep track of their indulgences, here’s the approximate nutritional information per slice (based on 12 slices per cheesecake):
| Nutrient | Amount per Serving |
|---|---|
| Calories | 650 |
| Total Fat | 45g |
| Saturated Fat | 27g |
| Cholesterol | 180mg |
| Sodium | 430mg |
| Total Carbohydrates | 54g |
| Dietary Fiber | 1g |
| Sugars | 42g |
| Protein | 9g |
Remember, this is a special treat, not an everyday dessert. Savor every bite without guilt!
Equipment You’ll Need
Having the right tools makes the cheesecake-making process much smoother. Here’s what I recommend:
| Equipment | Purpose | Recommendation |
|---|---|---|
| 9-inch springform pan | Allows for easy removal of the cheesecake | Look for one with a non-stick coating |
| Stand mixer or hand mixer | For smooth, lump-free filling | A stand mixer is ideal but a powerful hand mixer works too |
| Food processor | For crushing Oreos quickly and evenly | A blender can work in a pinch |
| Large roasting pan | For the water bath | Should be at least 2 inches larger than your springform pan |
| Heavy-duty aluminum foil | To prevent water seepage | Extra-wide foil works best |
| Instant-read thermometer | To check doneness | Cheesecake is done at 150°F in the center |
| Offset spatula | For smoothing the top of the cheesecake | Also useful for removing the cheesecake from the pan base |
| Cooling rack | For proper cooling | Allows air circulation around the pan |
| Cake carrier | For storage and transport | Protects the decoration and makes transportation easier |
Frequently Asked Questions
Q: Why did my cheesecake crack even though I used a water bath?
Even with a water bath, there are other factors that can cause cracks. Make sure you’re not overmixing the batter after adding the eggs, avoid opening the oven door during baking, and ensure you’re cooling the cheesecake gradually.
Q: Can I use low-fat cream cheese or Greek yogurt instead of sour cream?
While you can use low-fat cream cheese, the texture and flavor won’t be as rich. Greek yogurt can substitute for sour cream, but it will give a slightly tangier flavor. I recommend using full-fat ingredients for the best results, especially for special occasions.
Q: Do I have to remove the cream filling from the Oreos for the crust?
No! One of the beauties of an Oreo crust is that you use the whole cookie, cream filling and all. The filling helps bind the crust together, reducing the amount of butter needed.
Q: How can I tell when my cheesecake is done without overbaking it?
The perfect cheesecake should still have a slight jiggle in the center when you gently shake the pan (about a 3-inch circle in the middle). The edges should be more set and may have puffed slightly. If you prefer to use a thermometer, the internal temperature should reach about 150°F in the center.
Q: My crust got soggy. What went wrong?
A soggy crust usually means water leaked into your springform pan during the water bath. Make sure to wrap the outside of the pan with at least two layers of heavy-duty aluminum foil, bringing it all the way up the sides. Some bakers also place the springform pan in a slightly larger cake pan before putting it in the water bath for extra protection.
Q: Can I make this cheesecake without a springform pan?
While a springform pan makes removal easiest, you can use a regular cake pan lined with parchment paper that extends up and over the sides to create handles. After chilling, you can lift the cheesecake out using these handles. The presentation won’t be quite as neat, but it will still be delicious.
Q: How far in advance can I make this cheesecake?
This cheesecake can be made up to 3 days in advance and kept in the refrigerator. If you need to make it further ahead, I recommend freezing it (see storage tips above).
Q: Can I skip the water bath?
While you can skip the water bath, it significantly increases the risk of cracking and can lead to a drier, more cake-like texture rather than the creamy consistency that makes cheesecake so special. If you must skip it, bake at a lower temperature (around 300°F) and place a pan of water on the rack below the cheesecake to add moisture to the oven.
Final Thoughts
Creating the perfect Oreo cheesecake is a labor of love, but the results are so worth it. The combination of a crisp chocolate cookie crust, creamy vanilla cheesecake, and chunks of Oreo cookies creates a dessert that’s greater than the sum of its parts. I’ve made this recipe for countless birthdays, holidays, and special occasions, and it never fails to impress.
Remember that cheesecake-making is part science, part art. Don’t be discouraged if your first attempt isn’t perfect—even professional bakers sometimes get cracks! The beauty of this dessert is that even an imperfect cheesecake is still delicious, and any visual flaws can easily be covered with whipped cream and Oreo decorations.
So go ahead, gather your ingredients, preheat that oven, and treat yourself and your loved ones to this ultimate Oreo cheesecake. I guarantee it will become a requested favorite in your recipe collection!