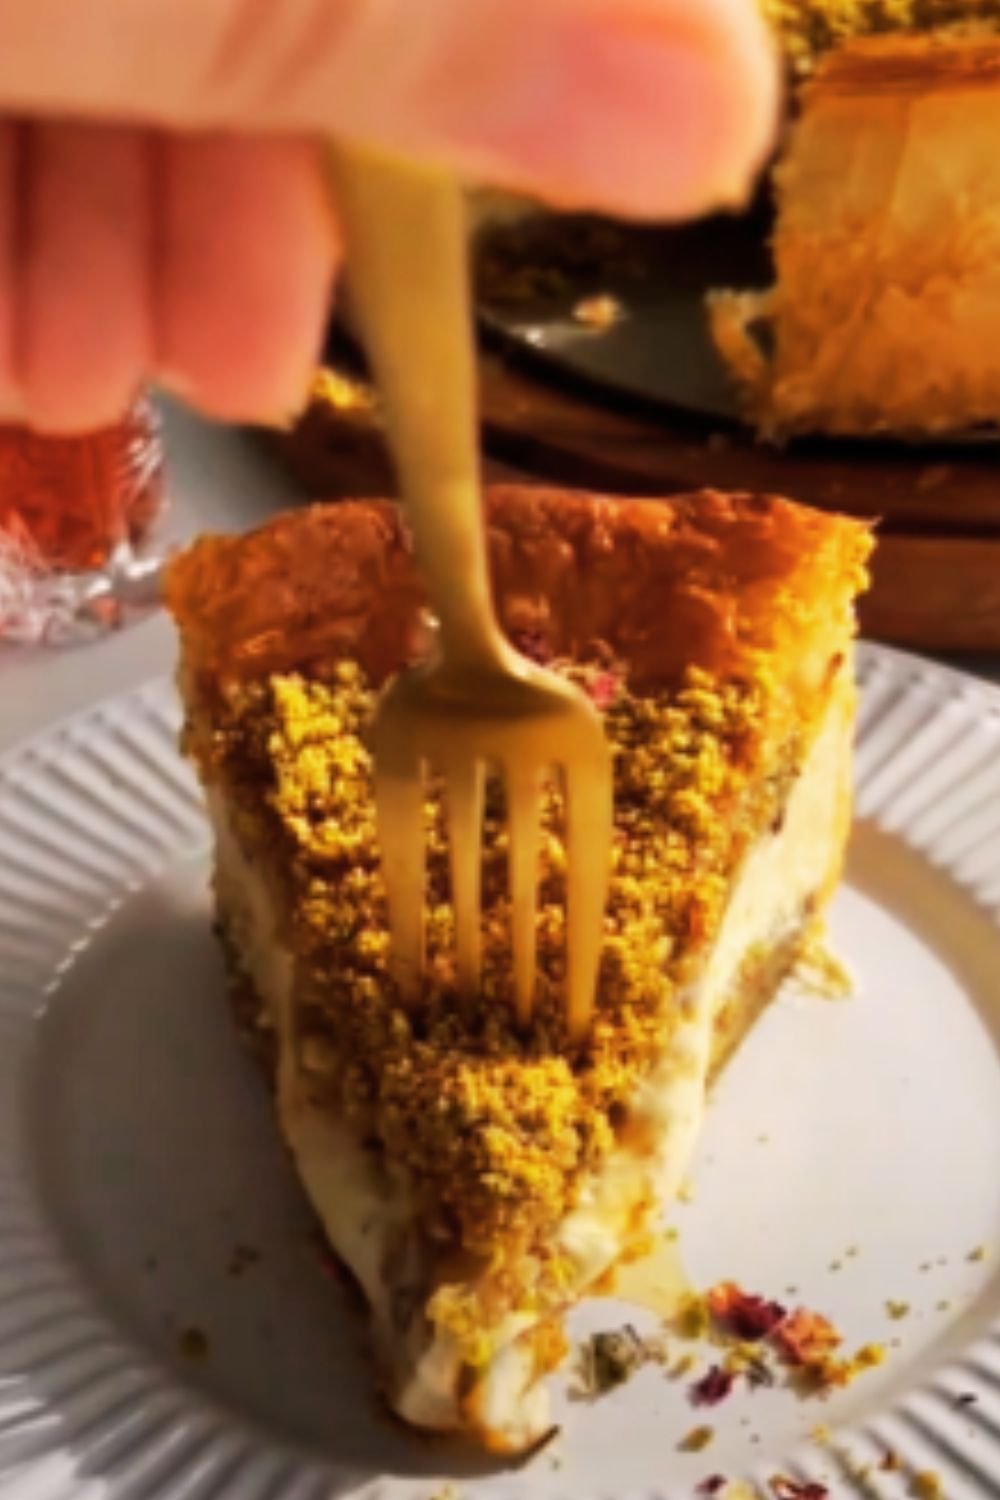
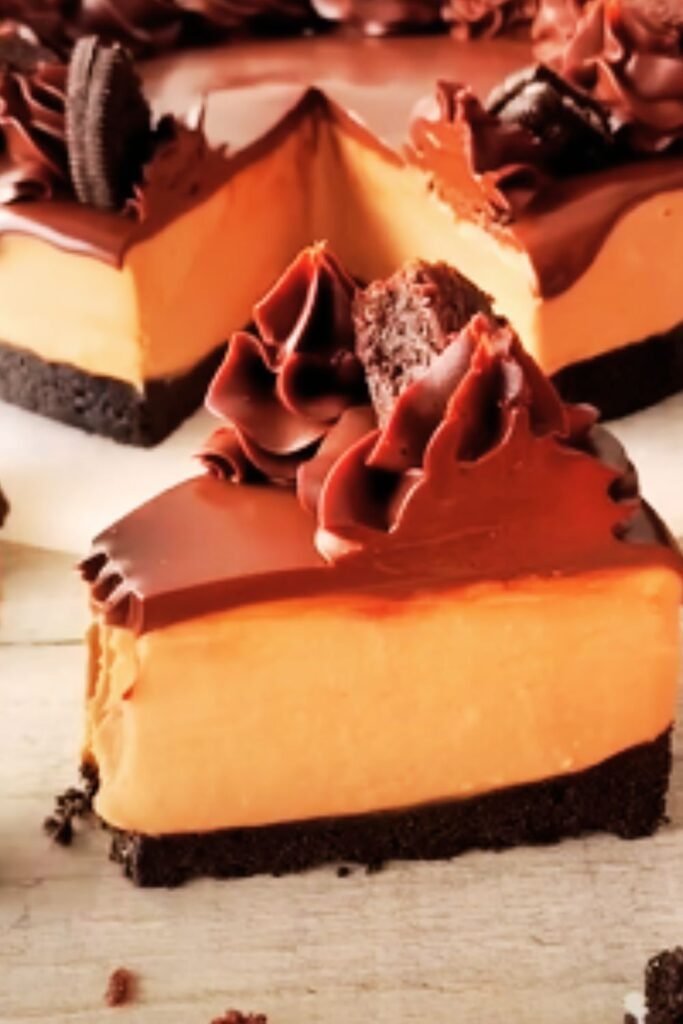
There’s something magical about the moment a fork glides through a perfectly smooth chocolate cheesecake, revealing layers of velvety richness that promise pure indulgence with every bite. I’ve spent years perfecting this silky chocolate cheesecake recipe, and today I’m excited to share all my secrets with you. This isn’t just any chocolate cheesecake—it’s the culmination of countless trials, adjustments, and happy taste testers who couldn’t believe this masterpiece came from a home kitchen.
The Journey to Cheesecake Perfection
My obsession with creating the perfect chocolate cheesecake began after a disappointing restaurant experience. I paid a premium price for what was described as “heavenly chocolate cheesecake,” only to be served something that tasted like it came from the freezer section of a grocery store. I knew I could do better, and so began my quest to create a chocolate cheesecake that would make even professional pastry chefs take notice.
The key to this recipe’s success lies in the quality of ingredients, precise temperature control, and patience. Yes, patience—perhaps the most crucial ingredient of all. Rushing a cheesecake is a recipe for disaster, but follow my methodical approach, and you’ll be rewarded with a dessert that will have everyone begging for your secret.
Why This Recipe Works
Before diving into the ingredients and method, let me explain why this particular recipe creates such a silky, dreamy texture:
- Temperature control: Room temperature ingredients blend more smoothly, eliminating lumps
- Double boiler method: Gently melting chocolate prevents burning and maintains silkiness
- Water bath baking: Creates a humid environment that prevents cracks and promotes even baking
- Slow cooling: Gradual temperature changes prevent the dreaded cheesecake collapse
Many recipes skip these critical steps, resulting in dense, cracked, or grainy cheesecakes. I’ve made all these mistakes so you don’t have to!
Essential Ingredients and Their Roles
Each ingredient in this recipe plays a specific role in creating the perfect texture and flavor balance:
| Ingredient | Role in Recipe | Recommended Type | Substitution Options |
|---|---|---|---|
| Cream Cheese | Primary structure and tanginess | Philadelphia Full-Fat | Mascarpone (for less tang) |
| Chocolate | Main flavor profile | 70% Dark Chocolate | Semisweet (for sweeter result) |
| Heavy Cream | Adds silkiness and richness | 36% Fat Content | Whipping cream (minimum 30% fat) |
| Eggs | Binding and structure | Large, free-range | No good substitution |
| Sour Cream | Moisture and subtle tang | Full-fat | Greek yogurt (strained) |
| Sugar | Sweetness and moisture | Fine Caster Sugar | Brown sugar (for caramel notes) |
| Butter | Crust binding and flavor | Unsalted European-style | Salted butter (reduce added salt) |
| Cookie crumbs | Crust base | Digestive biscuits/Graham crackers | Chocolate cookies for chocolate lovers |
| Cocoa powder | Intensifies chocolate flavor | Dutch-processed | Natural cocoa (will be more acidic) |
| Salt | Flavor enhancer | Fine sea salt | Kosher salt (use slightly more) |
| Vanilla extract | Depth of flavor | Pure extract | Vanilla bean paste for visible flecks |
Special Equipment Needed
While you can make this recipe with basic kitchen tools, a few specialized items will make the process much easier:
- Springform pan: Essential for easy removal without damaging the cheesecake
- Stand mixer or powerful hand mixer: Creates the proper emulsion for silky texture
- Digital thermometer: Helps monitor chocolate temperature for perfect melting
- Large roasting pan: Needed for the water bath technique
- Parchment paper: Prevents sticking and assists with removal
- Offset spatula: Creates that perfect smooth top
Don’t worry if you don’t have all these items—I’ll provide workarounds where possible.
The Complete Recipe
Now, let’s get into the details of making this showstopper dessert.
Ingredients for the Crust:
- 250g digestive biscuits or graham crackers
- 100g unsalted butter, melted
- 2 tablespoons cocoa powder
- 1 tablespoon granulated sugar
- ¼ teaspoon fine sea salt
Ingredients for the Filling:
- 900g full-fat cream cheese, at room temperature
- 250g granulated sugar
- 3 tablespoons all-purpose flour
- 4 large eggs, at room temperature
- 2 egg yolks, at room temperature
- 300g dark chocolate (70% cocoa solids), melted and cooled slightly
- 240ml sour cream, at room temperature
- 120ml heavy cream
- 2 teaspoons pure vanilla extract
- ¼ teaspoon fine sea salt
- 2 tablespoons cocoa powder, sifted
Ingredients for the Chocolate Ganache Topping (Optional):
- 200g dark chocolate, finely chopped
- 180ml heavy cream
- 1 tablespoon unsalted butter
- 1 teaspoon pure vanilla extract
- Pinch of fine sea salt
Method:
Prepare the Crust:
- Preheat your oven to 160°C (325°F). Wrap the outside of a 23cm (9-inch) springform pan with a double layer of heavy-duty aluminum foil, ensuring it comes at least 2 inches up the sides (this prevents water from seeping in during the water bath baking).
- Crush the digestive biscuits or graham crackers into fine crumbs using a food processor or by placing them in a sealed bag and crushing with a rolling pin.
- In a medium bowl, combine the cookie crumbs, melted butter, cocoa powder, sugar, and salt, mixing until the mixture resembles wet sand.
- Press the mixture firmly into the bottom and about 2.5cm (1 inch) up the sides of the prepared springform pan. Use the bottom of a measuring cup to compact it evenly.
- Bake the crust for 10 minutes, then remove from the oven and allow to cool while preparing the filling. Leave the oven on.
Prepare the Filling:
- Reduce the oven temperature to 150°C (300°F).
- Set up a double boiler by placing a heatproof bowl over a pan of simmering water (ensure the bowl doesn’t touch the water). Add the chocolate and stir occasionally until completely melted and smooth. Remove from heat and let cool slightly while preparing the rest of the filling.
- In the bowl of a stand mixer fitted with the paddle attachment (or using a hand mixer), beat the cream cheese on medium-low speed until completely smooth and free of lumps, about 3-4 minutes. Scrape down the sides of the bowl frequently.
- With the mixer running on low, gradually add the sugar and flour, mixing until incorporated and smooth.
- Add the eggs and egg yolks, one at a time, mixing on low speed just until each is incorporated before adding the next. Do not overmix after adding the eggs.
- Pour in the melted chocolate and mix on low speed until just combined.
- Add the sour cream, heavy cream, vanilla extract, salt, and sifted cocoa powder. Mix on low speed until just combined and smooth, stopping to scrape down the sides of the bowl as needed.
Bake the Cheesecake:
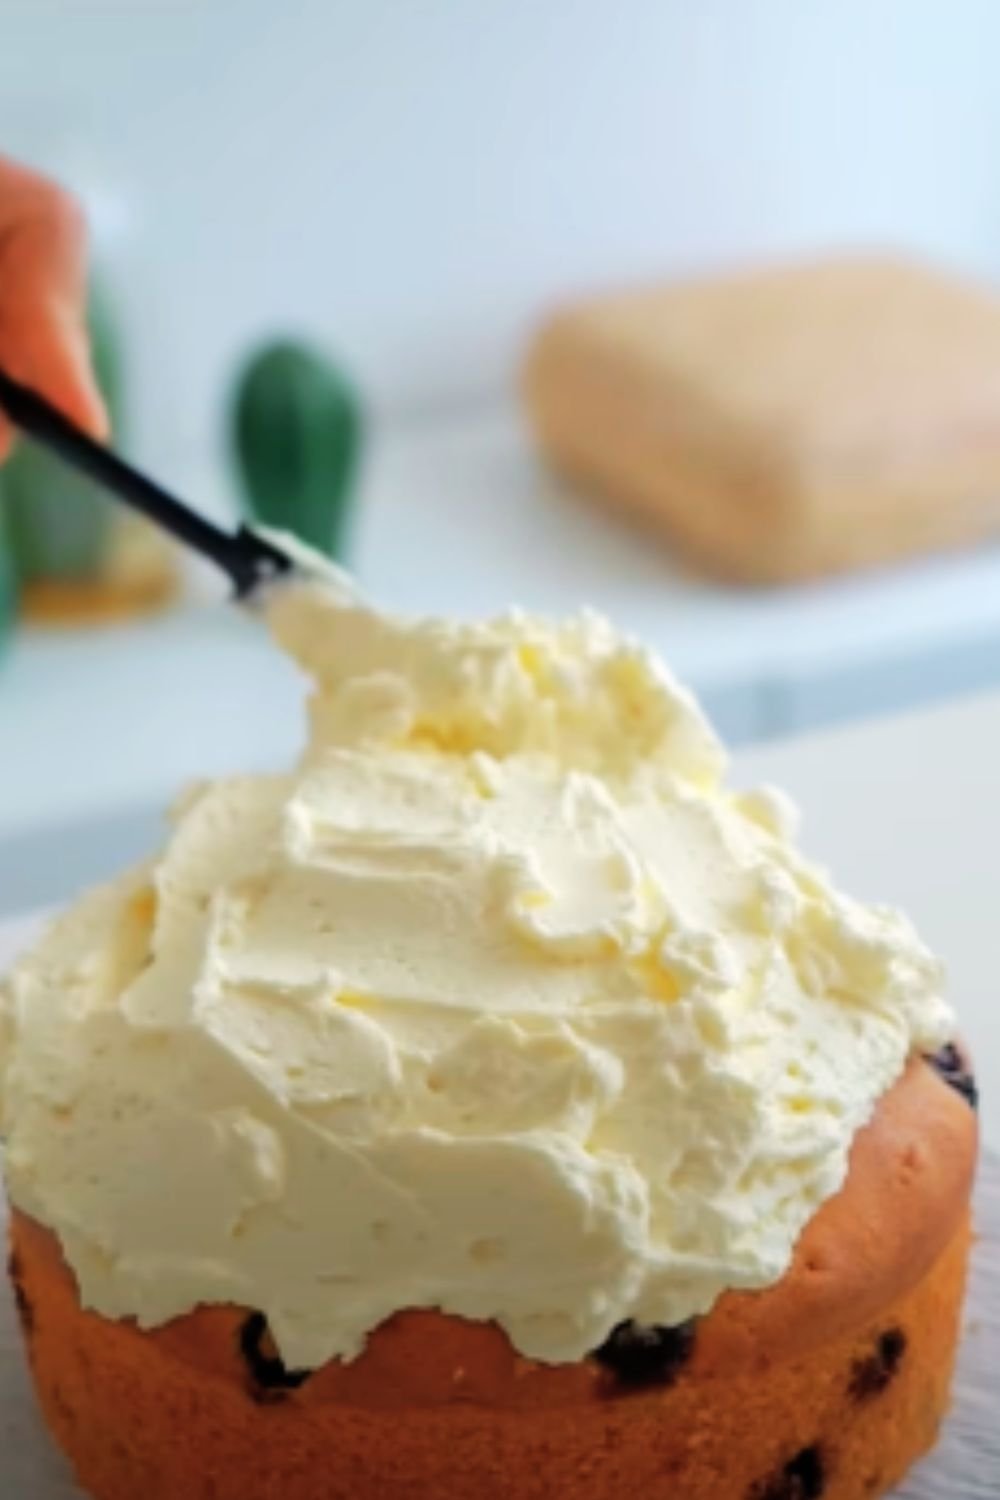
- Pour the filling into the cooled crust, smoothing the top with an offset spatula.
- Place the foil-wrapped springform pan in a larger roasting pan. Pour hot water into the roasting pan until it reaches about halfway up the sides of the springform pan.
- Carefully transfer the water bath setup to the preheated oven and bake for 75-90 minutes, until the edges of the cheesecake are set but the center still has a slight wobble when gently shaken.
- Turn off the oven, crack the door open slightly, and let the cheesecake cool in the oven for 1 hour (this prevents cracking from sudden temperature changes).
- Remove the cheesecake from the water bath and cooling oven. Run a thin knife around the edge to loosen it from the sides of the pan. Cool completely at room temperature.
- Refrigerate the cheesecake, uncovered, for at least 8 hours or overnight.
Prepare the Ganache Topping (Optional):
- Place the finely chopped chocolate in a heatproof bowl.
- In a small saucepan, heat the heavy cream just until it begins to simmer around the edges (do not let it boil).
- Pour the hot cream over the chocolate and let stand for 1 minute, then gently stir until smooth and glossy.
- Add the butter, vanilla extract, and salt, stirring until the butter is melted and the ganache is smooth.
- Allow the ganache to cool slightly until it thickens but is still pourable.
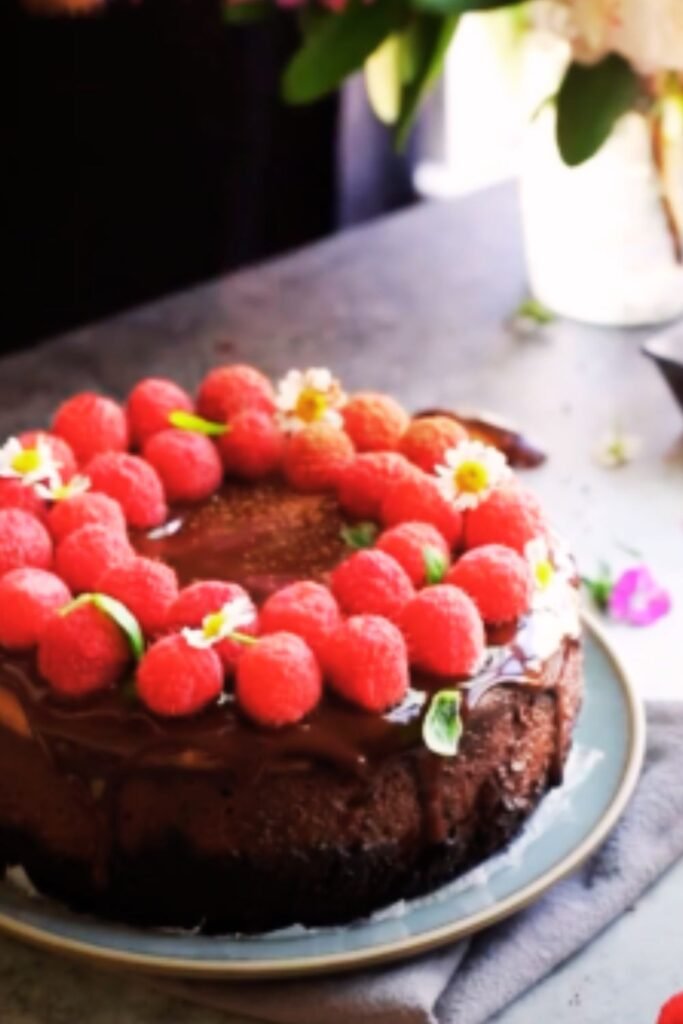
- Remove the chilled cheesecake from the springform pan and place it on a serving plate.
- Pour the ganache over the top of the cheesecake, using an offset spatula to spread it to the edges, allowing some to drip down the sides if desired.
- Refrigerate for at least 30 minutes to set the ganache before serving.
Critical Success Factors
There are several make-or-break moments in this recipe. Pay special attention to these details:
Temperature Management
Temperature control is absolutely critical for a perfect cheesecake texture:
- Room temperature ingredients: Cold cream cheese will never fully incorporate, leaving lumps in your filling. Set all refrigerated ingredients out at least 2 hours before starting.
- Melted chocolate temperature: If the chocolate is too hot when added to the filling, it can cook the eggs or cause the cream cheese to separate. Let it cool until just warm to the touch.
- Baking temperature: The relatively low oven temperature (150°C/300°F) ensures gentle, even cooking without overheating the edges before the center is done.
- Cooling process: The gradual cooling in the turned-off oven is non-negotiable! This prevents the dramatic temperature drop that causes cracking and sinking.
Mixing Technique
How you mix the ingredients is just as important as the ingredients themselves:
- Beat cream cheese alone first: This step eliminates lumps before adding other ingredients.
- Low speed after adding eggs: Overmixing incorporates air bubbles that will expand and collapse during baking.
- Frequent scraping: Ensure no unmixed cream cheese is clinging to the sides of the bowl.
- Gentle folding: When incorporating the final ingredients, use a light hand to maintain the dense, silky texture.
Water Bath Implementation
The water bath is essential for humidity and even heat distribution:
- Proper foil wrapping: Use heavy-duty foil and be meticulous about covering the entire bottom and sides of the pan to prevent water seepage.
- Water temperature: The water should be hot but not boiling when added to the roasting pan.
- Water level: Fill to about halfway up the springform pan—too little won’t provide enough humidity, too much risks seeping into the pan.
Troubleshooting Common Issues
Even experienced bakers encounter problems with cheesecakes. Here’s how to address the most common issues:
| Problem | Likely Cause | Prevention/Solution |
|---|---|---|
| Cracked top | Sudden temperature changes or overbaking | Use water bath, cool gradually in oven, don’t overbake |
| Soggy crust | Water leakage from bath | Double-wrap with heavy-duty foil, consider using a silicone wrap |
| Lumpy texture | Cold ingredients or undermixed cream cheese | Ensure room temperature ingredients, beat cream cheese thoroughly |
| Sunken center | Overbaking or overmixing | Mix gently after adding eggs, look for slight wobble when done |
| Grainy texture | Overheated chocolate or curdled mixture | Cool chocolate before adding, mix gently |
| Browning on top | Oven too hot | Lower oven temperature, position rack in middle of oven |
| Sides higher than center | Normal with cheesecakes | Slight sinking is normal – use ganache to level |
| Stuck to pan | Pan not prepared properly | Run knife around edges while still warm, use parchment |
Don’t worry if your first attempt isn’t perfect—cheesecakes improve with practice!
Make-Ahead and Storage Tips
One of the best things about this chocolate cheesecake is that it actually improves with time:
Make-Ahead Options:
- Crust: Can be prepared and baked up to 2 days ahead, wrapped tightly and stored at room temperature.
- Entire cheesecake: Best made 1-2 days before serving for optimal flavor development.
- Freezing: This cheesecake freezes beautifully for up to 2 months. Thaw overnight in the refrigerator before serving.
Storage Guidelines:
- Refrigeration: Store covered in the refrigerator for up to 1 week.
- Serving temperature: For the best texture and flavor, remove from the refrigerator 20-30 minutes before serving.
- Slicing tip: Dip a large, sharp knife in hot water and wipe dry between each cut for clean slices.
Serving Suggestions and Variations
This chocolate cheesecake is stunning on its own, but here are some ways to customize and serve it:
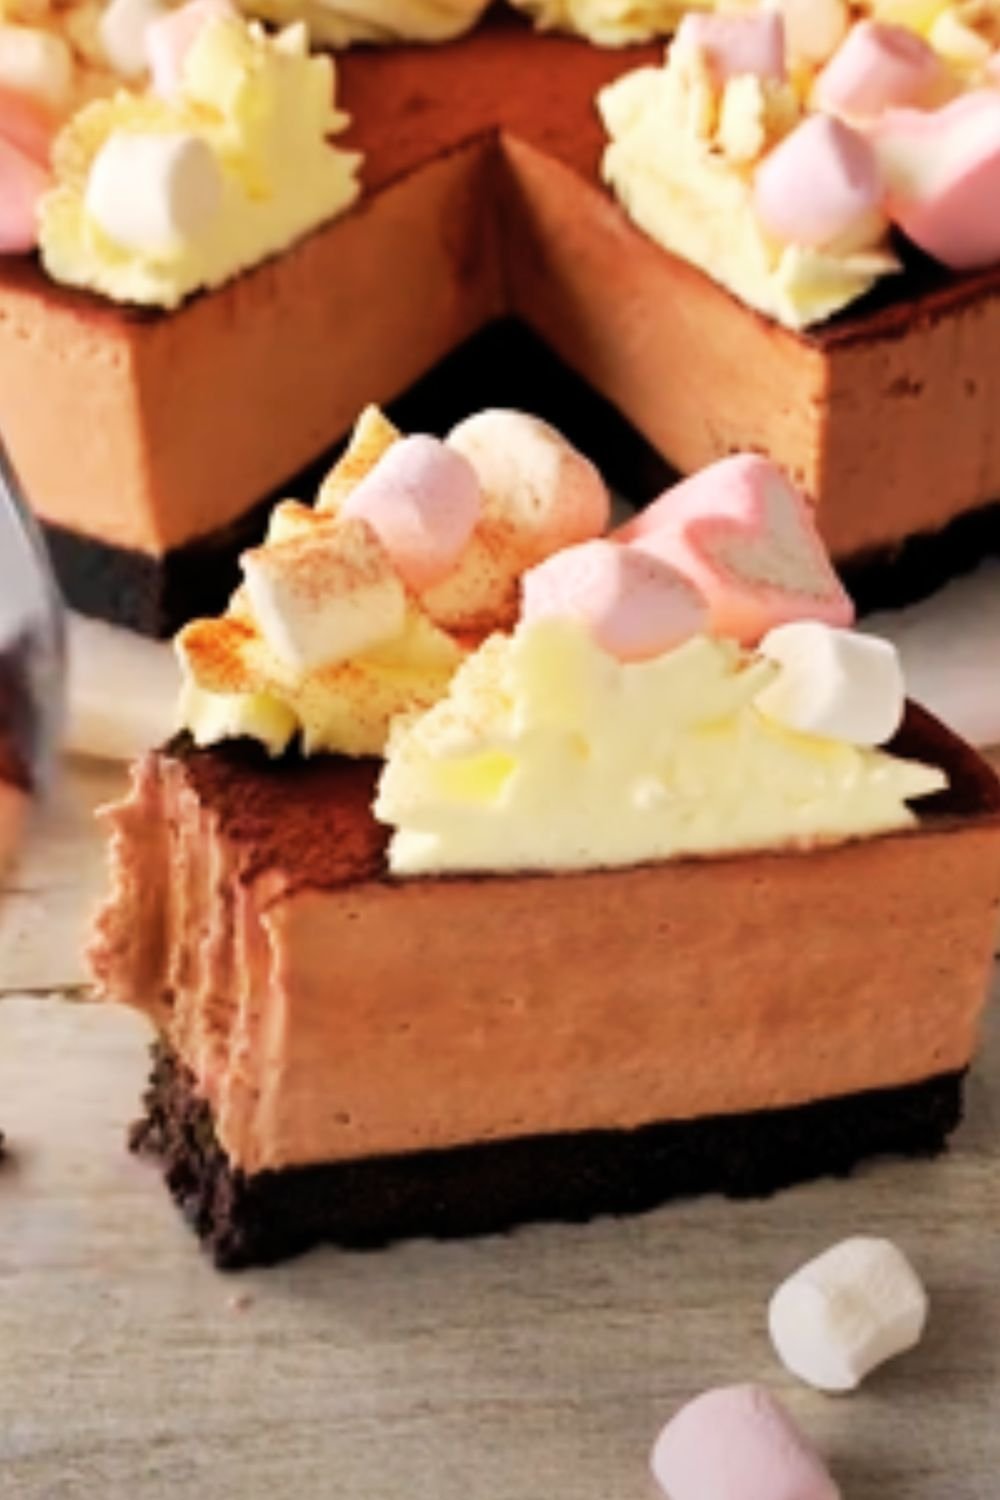
Toppings and Accompaniments:
- Fresh raspberries or strawberries
- Chocolate shavings or curls
- Lightly sweetened whipped cream
- Crushed toffee bits
- Caramel sauce drizzle
- Fresh mint leaves for color contrast
- Dusting of cocoa powder or powdered sugar
- Edible gold leaf for special occasions
Recipe Variations:
- Chocolate-Orange: Add the zest of one orange to the filling and 1 tablespoon of orange liqueur.
- Chocolate-Espresso: Dissolve 2 tablespoons of instant espresso powder in 1 tablespoon of hot water and add to the filling.
- Chocolate-Hazelnut: Replace 100g of the cream cheese with chocolate-hazelnut spread.
- Chocolate-Mint: Add ½ teaspoon of peppermint extract to the filling (reduce vanilla accordingly).
- Mexican Chocolate: Add 1 teaspoon of ground cinnamon and a pinch of cayenne pepper to the filling.
Nutritional Information
While this is definitely an indulgent dessert meant for special occasions, here’s the approximate nutritional breakdown per slice (assuming 12 slices per cheesecake):
| Nutrient | Amount per Serving |
|---|---|
| Calories | 650 |
| Total Fat | 48g |
| Saturated Fat | 28g |
| Cholesterol | 210mg |
| Sodium | 380mg |
| Total Carbohydrates | 45g |
| Dietary Fiber | 3g |
| Sugars | 35g |
| Protein | 9g |
Frequently Asked Questions
Q: Can I make this cheesecake without a springform pan? A: While a springform pan is ideal, you can use a regular cake pan lined with parchment paper with extra hanging over the sides to lift the cheesecake out after chilling. Your presentation may not be as clean, but the taste will be identical.
Q: Is the water bath really necessary? A: Yes, for this silky texture it’s essential. It prevents cracking and ensures even, gentle baking. If you absolutely cannot use a water bath, reduce the oven temperature to 140°C (275°F) and expect some surface cracking.
Q: Can I use milk chocolate instead of dark chocolate? A: Yes, but reduce the sugar to 200g as milk chocolate contains more sugar. The texture will be the same but the flavor will be sweeter and less intense.
Q: Why does my cheesecake crack even with a water bath? A: The most common causes are overmixing (incorporating too much air), overbaking (always look for that slight wobble), or removing it from the oven too quickly. Follow the gradual cooling instructions carefully.
Q: Can I make this recipe as mini cheesecakes? A: Absolutely! Use a muffin tin lined with paper liners and reduce the baking time to about 20-25 minutes. The water bath is still recommended but less critical for small formats.
Q: How can I tell when my cheesecake is perfectly baked? A: The edges should be set and slightly puffed, but the center 3-4 inches should still have a slight wobble when gently shaken. It will continue to set as it cools. An instant-read thermometer inserted in the center should read 65-70°C (150-160°F).
Q: Can I make this recipe without eggs? A: Unfortunately, eggs are crucial for the structure of this particular recipe. For an egg-free version, you would need to use gelatin or agar-agar as a setting agent and follow a completely different method.
Q: Why add flour to the filling? A: The small amount of flour helps stabilize the cheesecake and creates a slightly firmer texture that holds up well to the richness of the chocolate. For a gluten-free version, substitute cornstarch.
Final Thoughts
Creating the perfect silky chocolate cheesecake is not a quick process, but the results are absolutely worth the time and attention to detail. What I love most about this recipe is how it transforms simple ingredients into something truly extraordinary through technique and patience.
The first time I served this cheesecake at a dinner party, there was a moment of complete silence as everyone took their first bite, followed by a chorus of “Oh my goodness” and “This is incredible.” That moment of connection through shared pleasure is why I love baking and sharing recipes like this one.
Remember that baking is both a science and an art. Follow the technique precisely, but don’t be afraid to make the recipe your own through different flavor variations or presentation styles. Your chocolate cheesecake journey starts here, and I can’t wait for you to experience the joy of creating this silky, decadent masterpiece in your own kitchen.