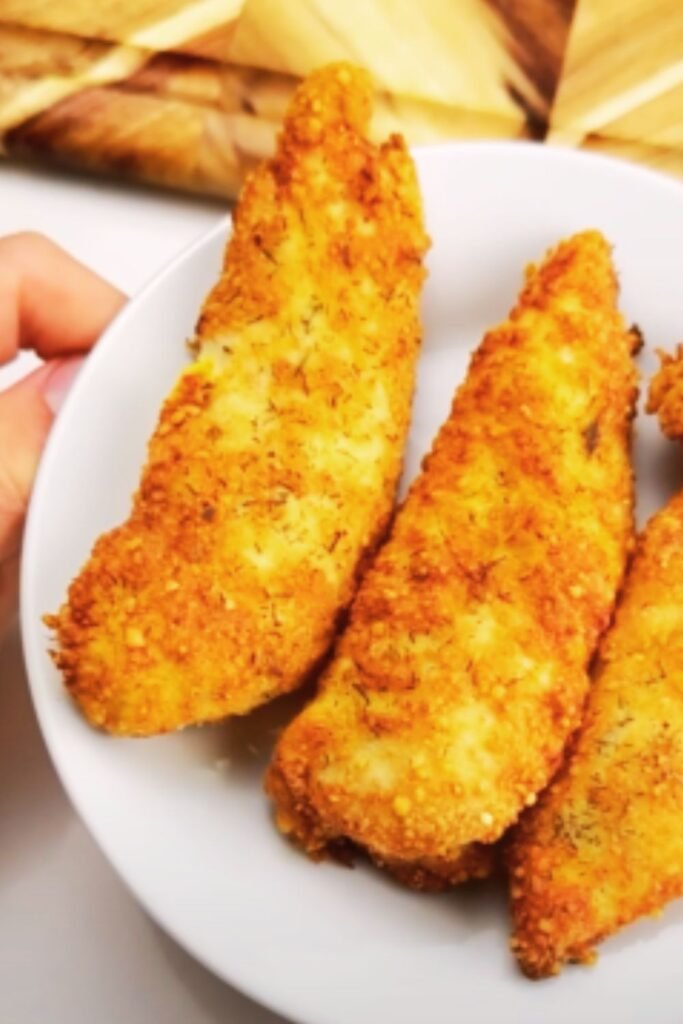
There’s something magical about the combination of tender chicken, aromatic garlic, and rich butter that creates an irresistible dish loved by both kids and adults. When I first started experimenting with this recipe, I never imagined it would become such a staple in my household. These garlic butter chicken tenders offer the perfect balance of crispy exterior and juicy interior, with a flavor profile that’s both sophisticated and comforting.
As someone who’s tested countless chicken tender recipes over the years, I can confidently say this garlic butter version stands head and shoulders above the rest. The secret lies in the double coating technique and the garlic-infused butter that transforms an ordinary chicken dish into something extraordinary.
Why You’ll Love This Recipe
Before we dive into the ingredients and steps, let me share why these chicken tenders deserve a spot in your regular meal rotation:
- Restaurant-quality results with simple home ingredients
- Kid-approved but sophisticated enough for adults
- Versatile as a main dish, appetizer, or salad topping
- Make-ahead friendly for busy weeknights
- Customizable with various herbs and spices
Ingredients You’ll Need
For the Chicken Tenders:
- 2 pounds chicken tenderloins (or boneless, skinless chicken breasts cut into strips)
- 2 cups buttermilk
- 2 teaspoons kosher salt, divided
- 1 teaspoon black pepper, divided
- 2 cups all-purpose flour
- 1 tablespoon garlic powder
- 1 tablespoon onion powder
- 2 teaspoons paprika
- 1 teaspoon dried oregano
- 1/2 teaspoon cayenne pepper (optional)
- 3 large eggs
- 2 tablespoons water
- 2 cups panko breadcrumbs
- Vegetable oil for frying (or olive oil spray for baking)
For the Garlic Butter Sauce:
- 8 tablespoons (1 stick) unsalted butter
- 6 cloves garlic, minced
- 1 tablespoon fresh parsley, finely chopped
- 1 teaspoon fresh thyme leaves
- 1 tablespoon fresh lemon juice
- 1/2 teaspoon red pepper flakes (adjust to taste)
- Salt and pepper to taste
Equipment Needed
Here’s what you’ll need to have on hand:
- Large mixing bowls
- Shallow dishes for breading
- Meat thermometer
- Large skillet or Dutch oven (for frying)
- OR baking sheets with wire racks (for baking)
- Small saucepan (for garlic butter)
- Paper towels
- Tongs
The Science Behind Perfect Chicken Tenders
What separates mediocre chicken tenders from exceptional ones? It comes down to understanding a few key principles:
| Factor | Role | Impact on Final Dish |
|---|---|---|
| Buttermilk Marinade | Tenderizes meat through mild acid | Juicier, more flavorful chicken |
| Double Breading | Creates barrier between chicken and heat | Extra crispy exterior that seals in moisture |
| Oil Temperature | Controls cooking rate | Prevents soggy, oily coating |
| Internal Temperature | Ensures food safety without overcooking | Perfectly cooked, safe-to-eat chicken |
| Resting Time | Allows juices to redistribute | Prevents dry chicken tenders |
Step-by-Step Instructions
Preparation and Marinating
- In a large bowl, combine buttermilk with 1 teaspoon salt and 1/2 teaspoon pepper.
- Add chicken tenderloins, making sure they’re fully submerged.
- Cover and refrigerate for at least 1 hour (or up to 4 hours for maximum tenderness).
Setting Up Your Breading Station
- In a shallow dish, combine flour, garlic powder, onion powder, paprika, dried oregano, remaining salt and pepper, and cayenne (if using).
- In another shallow dish, whisk together eggs and water.
- In a third shallow dish, place panko breadcrumbs.
- Arrange in assembly-line fashion: marinated chicken → flour mixture → egg wash → panko breadcrumbs.
Breading the Chicken
- Remove chicken from buttermilk, allowing excess to drip off.
- Dredge each tender in flour mixture, shaking off excess.
- Dip into egg wash, ensuring complete coverage.
- Press into panko breadcrumbs, gently pressing to adhere.
- Place breaded tenders on a clean plate or baking sheet.
- Let rest for 5-10 minutes to allow breading to set.
Cooking Method 1: Pan-Frying (Recommended)
- Heat 1/2 inch of vegetable oil in a large skillet or Dutch oven to 350°F (175°C).
- Carefully add chicken tenders in batches, avoiding overcrowding.
- Cook for 3-4 minutes per side until golden brown and crispy.
- Check internal temperature—it should reach 165°F (74°C).
- Transfer to a paper towel-lined plate to drain excess oil.
Cooking Method 2: Baking (Healthier Option)
- Preheat oven to 425°F (220°C).
- Place a wire rack on a baking sheet and spray with cooking spray.
- Arrange breaded tenders on the rack, not touching.
- Spray tenders with olive oil cooking spray.
- Bake for 15-18 minutes, flipping halfway through.
- Check internal temperature—it should reach 165°F (74°C).
Preparing the Garlic Butter Sauce
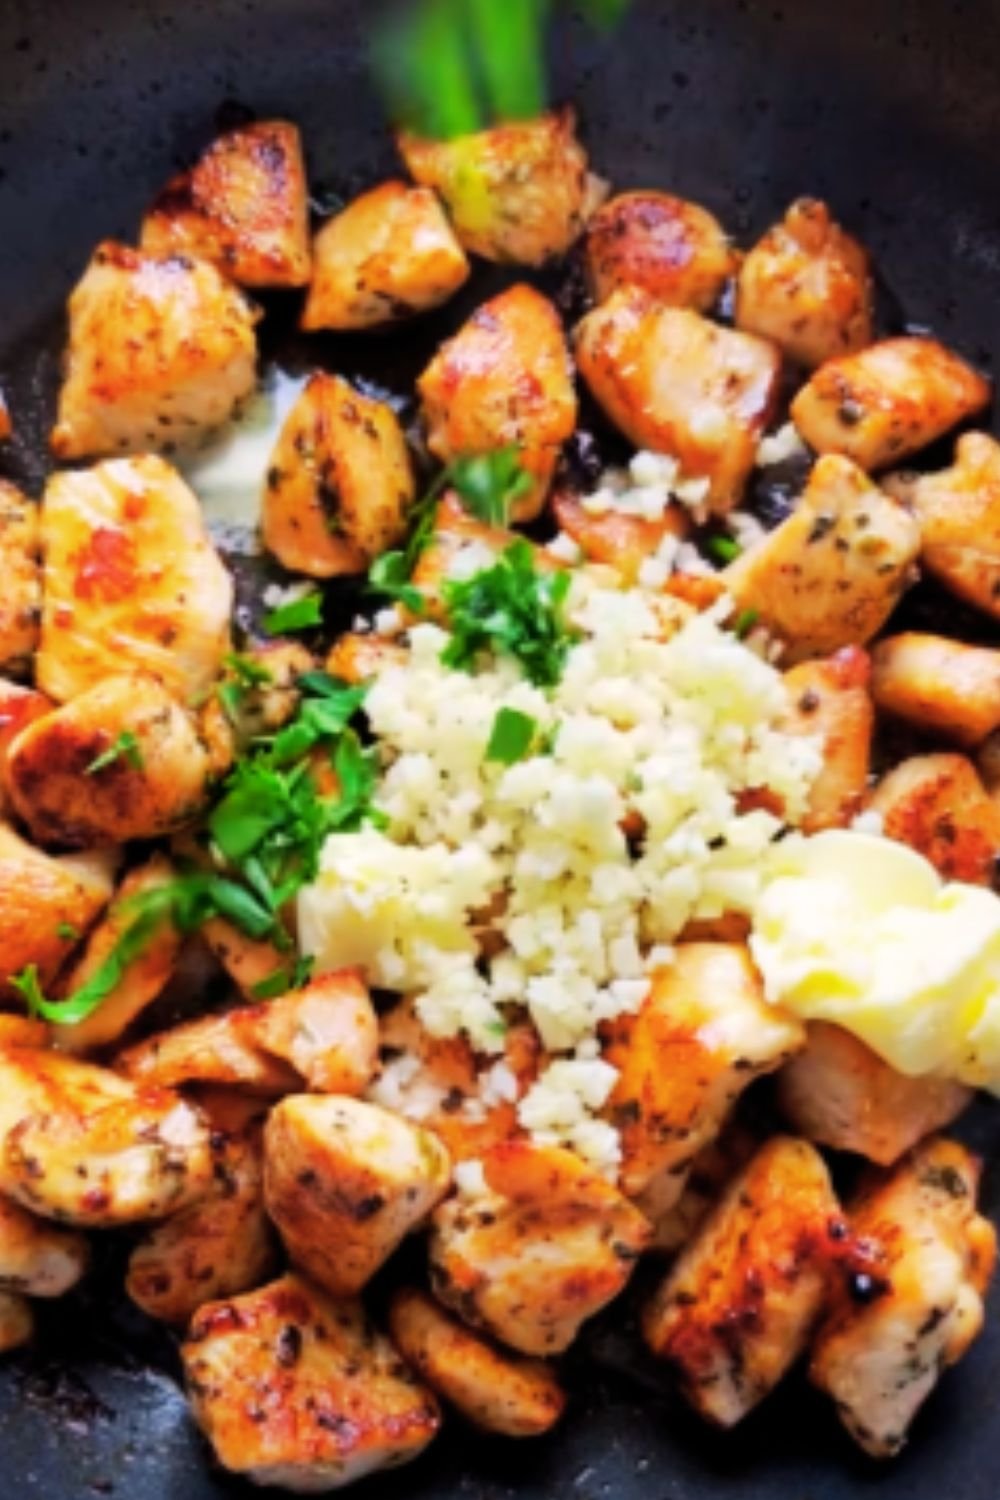
- While chicken is cooking, melt butter in a small saucepan over medium-low heat.
- Add minced garlic and cook for 1-2 minutes until fragrant but not browned.
- Stir in fresh herbs, lemon juice, and red pepper flakes.
- Season with salt and pepper to taste.
- Keep warm until chicken is ready.
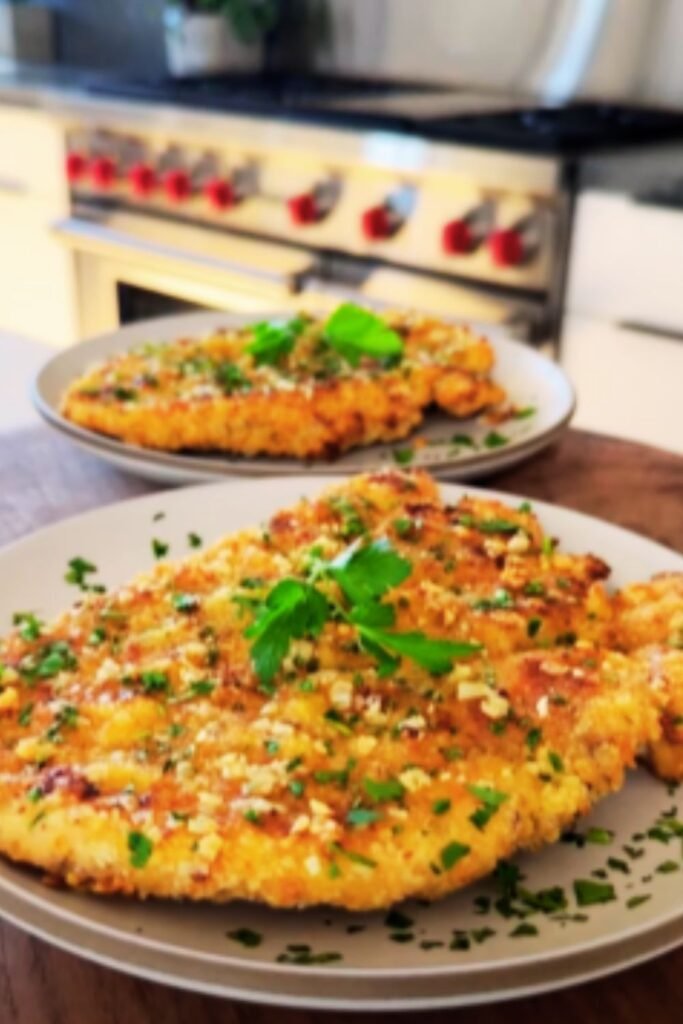
Finishing and Serving
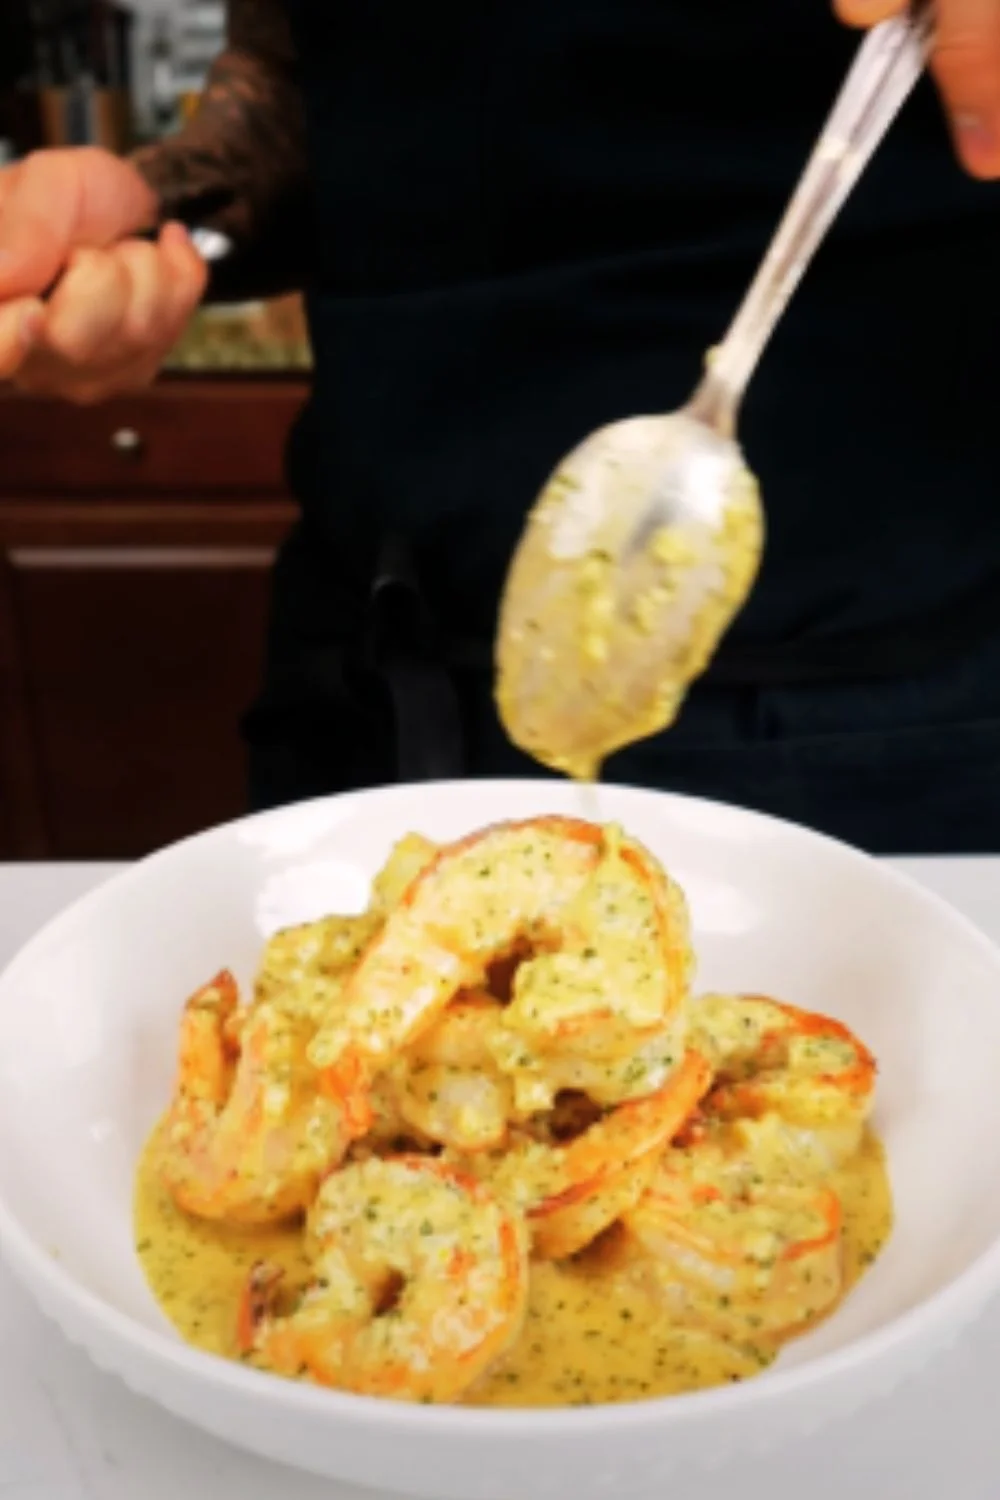
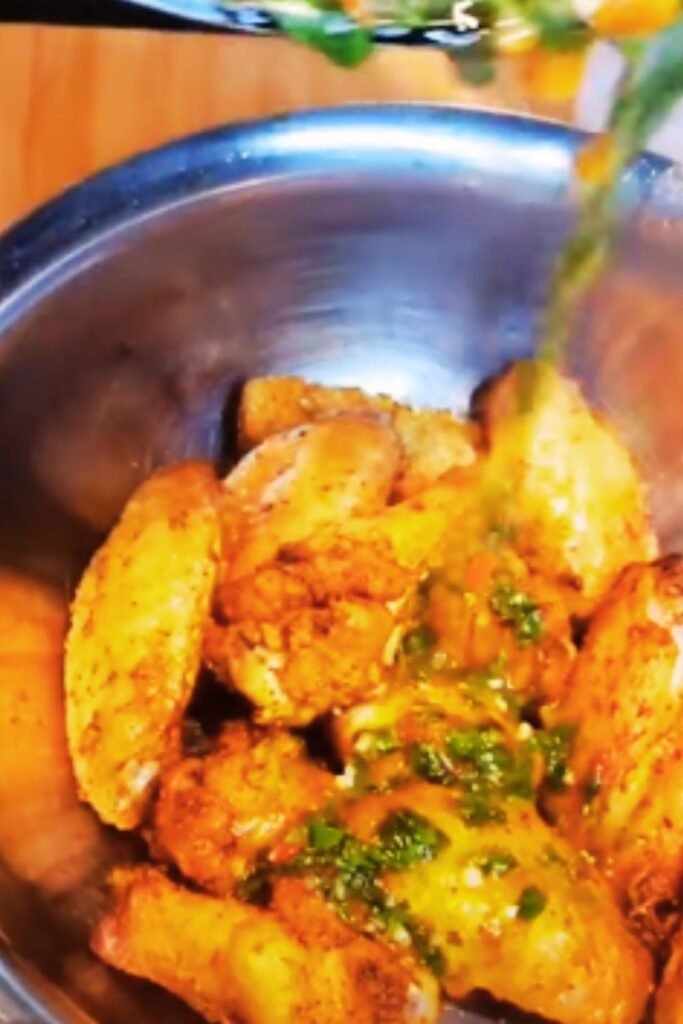
- Just before serving, drizzle garlic butter sauce over the chicken tenders.
- Alternatively, serve sauce on the side for dipping.
- Garnish with additional fresh herbs if desired.
Nutritional Information
Understanding the nutritional profile of your meal helps with balanced eating. Here’s a breakdown per serving (assuming 4 servings):
| Nutrient | Amount (Pan-Fried) | Amount (Baked) |
|---|---|---|
| Calories | 625 | 450 |
| Protein | 48g | 45g |
| Total Fat | 32g | 18g |
| Saturated Fat | 14g | 10g |
| Carbohydrates | 38g | 36g |
| Dietary Fiber | 2g | 2g |
| Sugars | 3g | 3g |
| Sodium | 890mg | 870mg |
Make-Ahead and Storage Tips
These garlic butter chicken tenders can be prepared in advance for quick meals throughout the week:
Make-Ahead Options:
- Marinate chicken up to 24 hours in advance.
- Prepare breading mixtures up to 2 days ahead and store in separate containers.
- Pre-bread chicken tenders up to 4 hours ahead; store uncovered in the refrigerator.
- Prepare garlic butter sauce up to 3 days in advance; reheat gently before using.
Storage Guidelines:
- Refrigeration: Store cooked tenders in an airtight container for up to 3 days.
- Freezing: Freeze cooked tenders in a single layer, then transfer to a freezer bag for up to 2 months.
- Reheating: For maximum crispiness, reheat in a 350°F (175°C) oven for 10-15 minutes.
Common Mistakes to Avoid
Even experienced cooks can fall into these traps when making chicken tenders:
- Skipping the marinade: This crucial step ensures juicy, flavorful chicken.
- Overcrowding the pan: This leads to steaming rather than frying, resulting in soggy breading.
- Inconsistent oil temperature: Too low, and tenders absorb oil; too high, and they burn before cooking through.
- Under-seasoning the breading: Season each layer for maximum flavor.
- Serving immediately: A brief 5-minute rest allows juices to redistribute.
Serving Suggestions
Transform these garlic butter chicken tenders into a complete meal with these pairing ideas:
Side Dishes:
- Crisp garden salad with light vinaigrette
- Roasted garlic mashed potatoes
- Steamed broccoli with lemon
- Sweet potato fries
- Honey-glazed carrots
Dipping Sauces (Beyond the Garlic Butter):
- Honey mustard
- Ranch dressing
- Buffalo sauce
- Sweet chili sauce
- Sriracha mayo
Variations to Try
Once you’ve mastered the basic recipe, get creative with these delicious variations:
Italian-Style:
- Add 1 tablespoon Italian seasoning to flour
- Mix 1/2 cup grated Parmesan into panko
- Serve with marinara sauce
Spicy Cajun:
- Add 2 tablespoons Cajun seasoning to flour
- Double the cayenne pepper
- Add hot sauce to the buttermilk marinade
Lemon Herb:
- Double the lemon juice in butter sauce
- Add 1 tablespoon each of fresh rosemary and dill
- Add lemon zest to the breading
Parmesan Crusted:
- Mix 1 cup grated Parmesan cheese into panko
- Add 1 teaspoon garlic salt to breadcrumbs
- Sprinkle with fresh parsley after cooking
Special Diet Adaptations
This recipe can be adapted for various dietary needs:
Gluten-Free:
- Substitute all-purpose flour with gluten-free flour blend
- Use gluten-free panko or crushed rice cereal
Dairy-Free:
- Replace buttermilk with coconut milk + 1 tablespoon vinegar
- Use dairy-free butter alternative for sauce
Low-Carb/Keto:
- Replace flour with almond flour
- Use crushed pork rinds instead of panko
- Add extra Parmesan cheese to the coating
The Perfect Family Meal
What I love most about these garlic butter chicken tenders is how they bring everyone to the table with enthusiasm. Even my pickiest eaters clean their plates when these are served! They’re elegant enough for a dinner party but casual enough for a weeknight meal.
The combination of crispy exterior, juicy chicken, and that rich, aromatic garlic butter creates a symphony of flavors that’s hard to resist. I’ve found that preparing a double batch allows for quick lunches or dinners throughout the week.

Frequently Asked Questions
Q: Can I use chicken breasts instead of tenderloins?
Yes! Slice boneless, skinless chicken breasts into strips about 1-inch wide. You may need to adjust cooking time slightly as breast strips can be thicker than tenderloins.
Q: What can I substitute for buttermilk?
If you don’t have buttermilk, mix 2 cups of regular milk with 2 tablespoons of lemon juice or white vinegar. Let it sit for 5 minutes before using.
Q: How do I know when the chicken is fully cooked?
The safest way is to use a meat thermometer—chicken should reach an internal temperature of 165°F (74°C). If you don’t have a thermometer, cut into the thickest tender; the meat should be opaque with no pink.
Q: Can these be made in an air fryer?
Absolutely! Preheat your air fryer to 375°F (190°C), spray the basket with cooking spray, add breaded tenders in a single layer, and cook for 10-12 minutes, flipping halfway through.
Q: How do I keep the breading from falling off?
Make sure to: 1) pat the chicken dry before dredging, 2) firmly press the breadcrumbs onto the chicken, 3) let the breaded tenders rest before cooking, and 4) don’t flip them too early during cooking.
Q: Is there a way to make these spicier?
Yes! Add more cayenne to the flour mixture, include hot sauce in the buttermilk marinade, or increase the red pepper flakes in the garlic butter sauce.
Q: Can I freeze these before cooking?
Yes, freeze breaded uncooked tenders on a baking sheet until solid, then transfer to freezer bags. Cook from frozen, adding about 5-7 minutes to the cooking time.
Q: What’s the best oil for frying chicken tenders?
Vegetable oil, canola oil, or peanut oil all work well due to their high smoke points. Avoid olive oil, which can burn at the temperatures needed for frying.
Conclusion
These garlic butter chicken tenders represent comfort food at its finest—familiar enough to satisfy cravings but elevated enough to impress. The combination of proper technique and quality ingredients transforms an everyday protein into something truly special.
Whether you’re feeding a family on a busy weeknight, entertaining guests, or meal prepping for the week ahead, this recipe delivers consistently excellent results. The joy of watching someone take that first bite and seeing their eyes light up makes all the effort worthwhile.
I encourage you to make this recipe your own by experimenting with the variations suggested or creating your unique twist. Cooking should be an adventure, and even a seemingly simple dish like chicken tenders can be the canvas for culinary creativity.
What started as my attempt to improve upon a classic has become a signature dish in my home. I hope it brings the same joy and satisfaction to your table!