Have you ever wondered how to transform the humble red lentils into a breakfast masterpiece that’s both nutritious and delicious? Today, I’m excited to share my favorite recipe for Masoor Dal Chilla, a protein-rich Indian pancake that has become my go-to morning meal. As someone who’s been experimenting with healthy breakfast options for years, I can confidently say that this recipe is a game-changer.
What is Masoor Dal Chilla?
Masoor Dal Chilla is a savory pancake made from red lentils (masoor dal) and aromatic spices. Unlike traditional pancakes, these are protein-packed, naturally gluten-free, and perfect for anyone looking to incorporate more plant-based options into their diet. I’ve spent countless mornings perfecting this recipe, and I’m thrilled to share my insights with you.
Nutritional Profile
Before we dive into the recipe, let’s look at why Masoor Dal Chilla deserves a spot in your breakfast rotation:
| Nutrient | Amount per serving | % Daily Value |
|---|---|---|
| Calories | 165 | – |
| Protein | 9g | 18% |
| Carbohydrates | 28g | 9% |
| Fiber | 5g | 20% |
| Iron | 3.2mg | 18% |
| Folate | 179mcg | 45% |
| Potassium | 369mg | 8% |
Essential Ingredients
For the Base Batter:
- 1 cup masoor dal (red lentils)
- 1 small onion, finely chopped
- 2 green chilies, minced
- 1-inch ginger piece, grated
- ¼ cup fresh coriander leaves, chopped
- Salt to taste
For the Aromatic Spice Mix:
- ½ teaspoon cumin seeds
- ¼ teaspoon turmeric powder
- ½ teaspoon red chili powder
- ¼ teaspoon asafoetida (hing)
Kitchen Equipment Needed
| Equipment | Purpose |
|---|---|
| Blender or food processor | For grinding dal into smooth batter |
| Non-stick pan or tawa | For cooking the chillas |
| Spatula | For spreading and flipping |
| Mixing bowls | For preparing ingredients |
| Measuring cups and spoons | For accurate measurements |
Step-by-Step Preparation Method
1. Soaking and Grinding
I always start by soaking the masoor dal for 4-6 hours, though I’ve found that overnight soaking yields the best results. After draining, I grind it into a smooth batter with minimal water, aiming for a spreadable consistency.
2. Batter Preparation
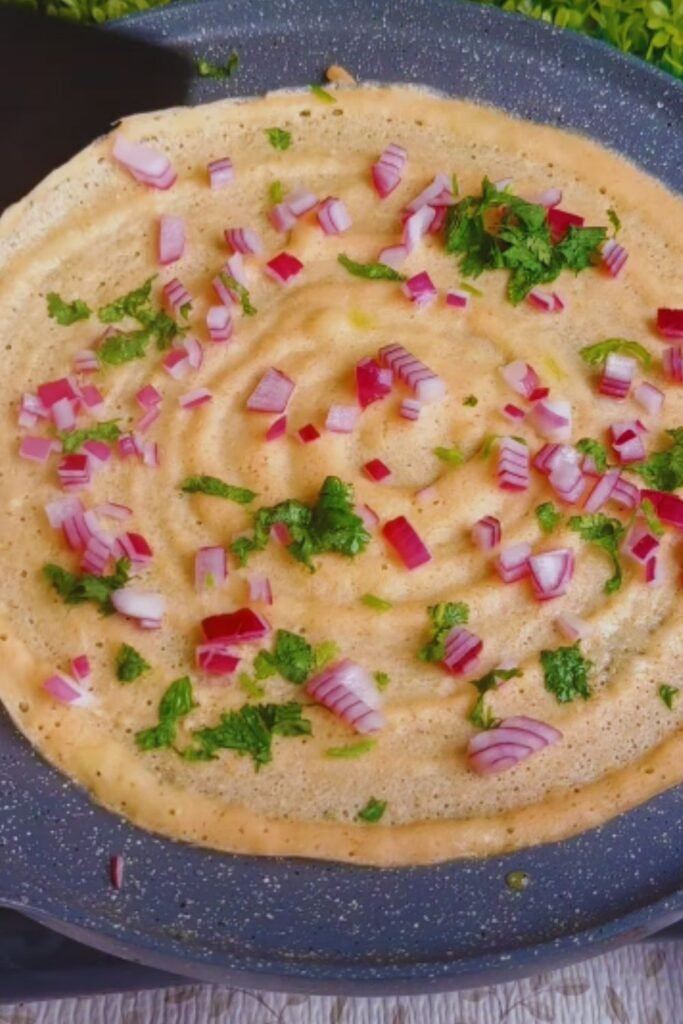
- Drain the soaked dal and grind into a smooth paste
- Add finely chopped onions, green chilies, and ginger
- Mix in the aromatic spice blend
- Adjust consistency with water if needed
- Let the batter rest for 15-20 minutes
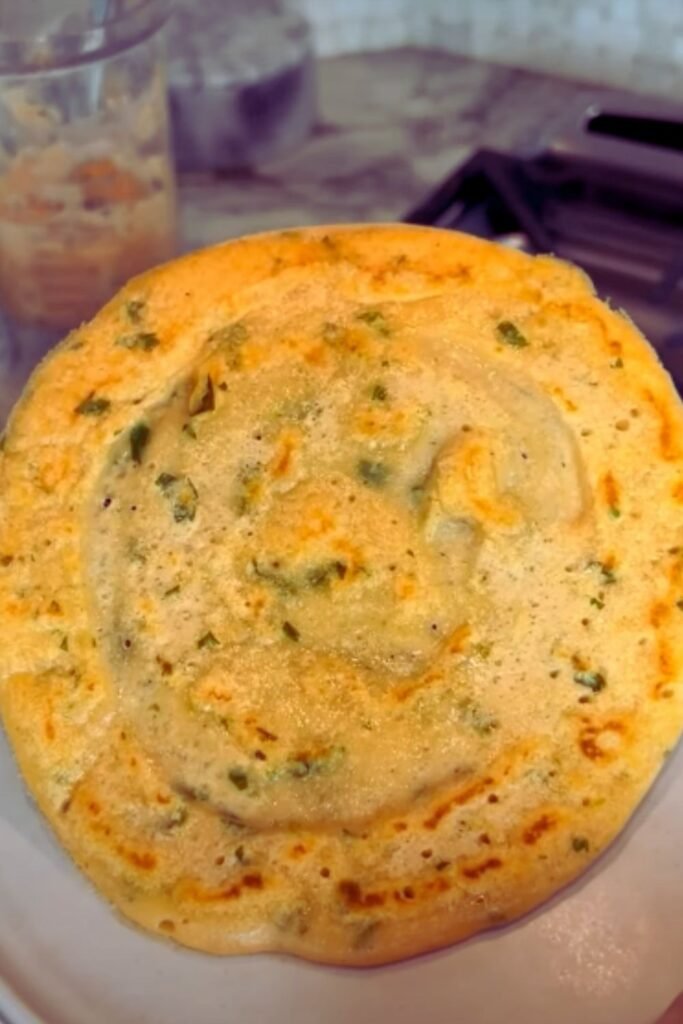
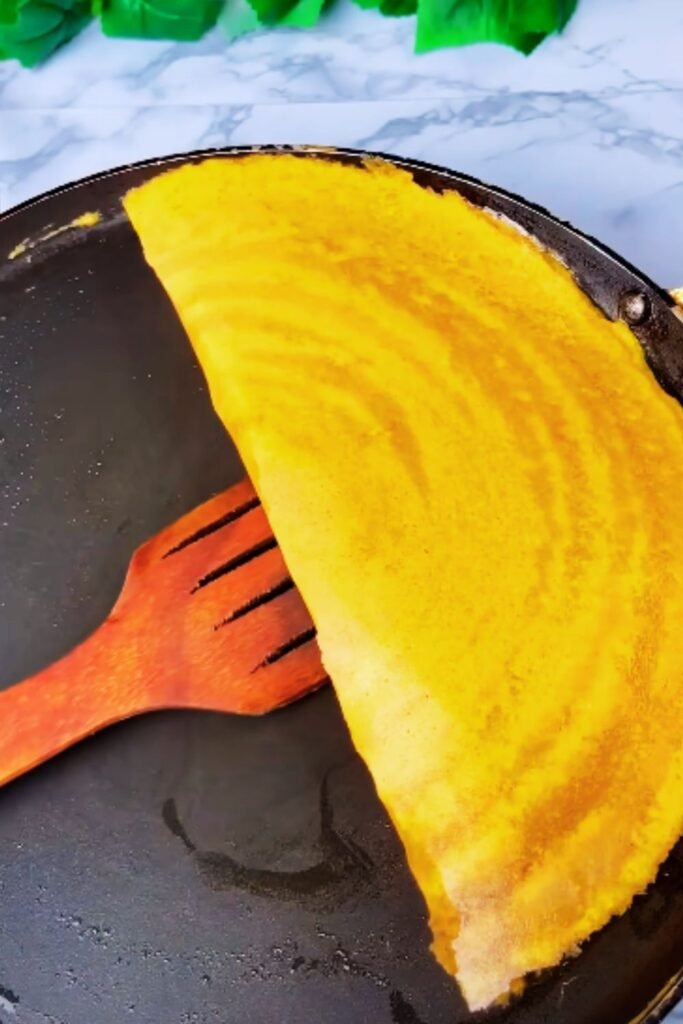
3. Making the Chilla
The key to perfect chillas lies in the technique. Here’s my tried-and-tested method:
- Heat a non-stick pan over medium flame
- Pour a ladleful of batter in the center
- Spread in circular motions to form a thin pancake
- Drizzle oil around the edges
- Cook until golden brown on both sides
Pro Tips from My Kitchen
- Temperature Control: Maintain medium heat throughout cooking
- Batter Consistency: Should be like thick cream
- Pan Preparation: Wipe with oil between each chilla
- Storage: Batter stays good for up to 24 hours in the refrigerator
Common Troubleshooting
| Issue | Cause | Solution |
|---|---|---|
| Sticky chilla | Too wet batter | Add rice flour to thicken |
| Breaking while flipping | Too thin spread | Make slightly thicker |
| Uneven cooking | Uneven spreading | Use circular motions while spreading |
| Raw center | Too thick | Spread thinner and cook longer |
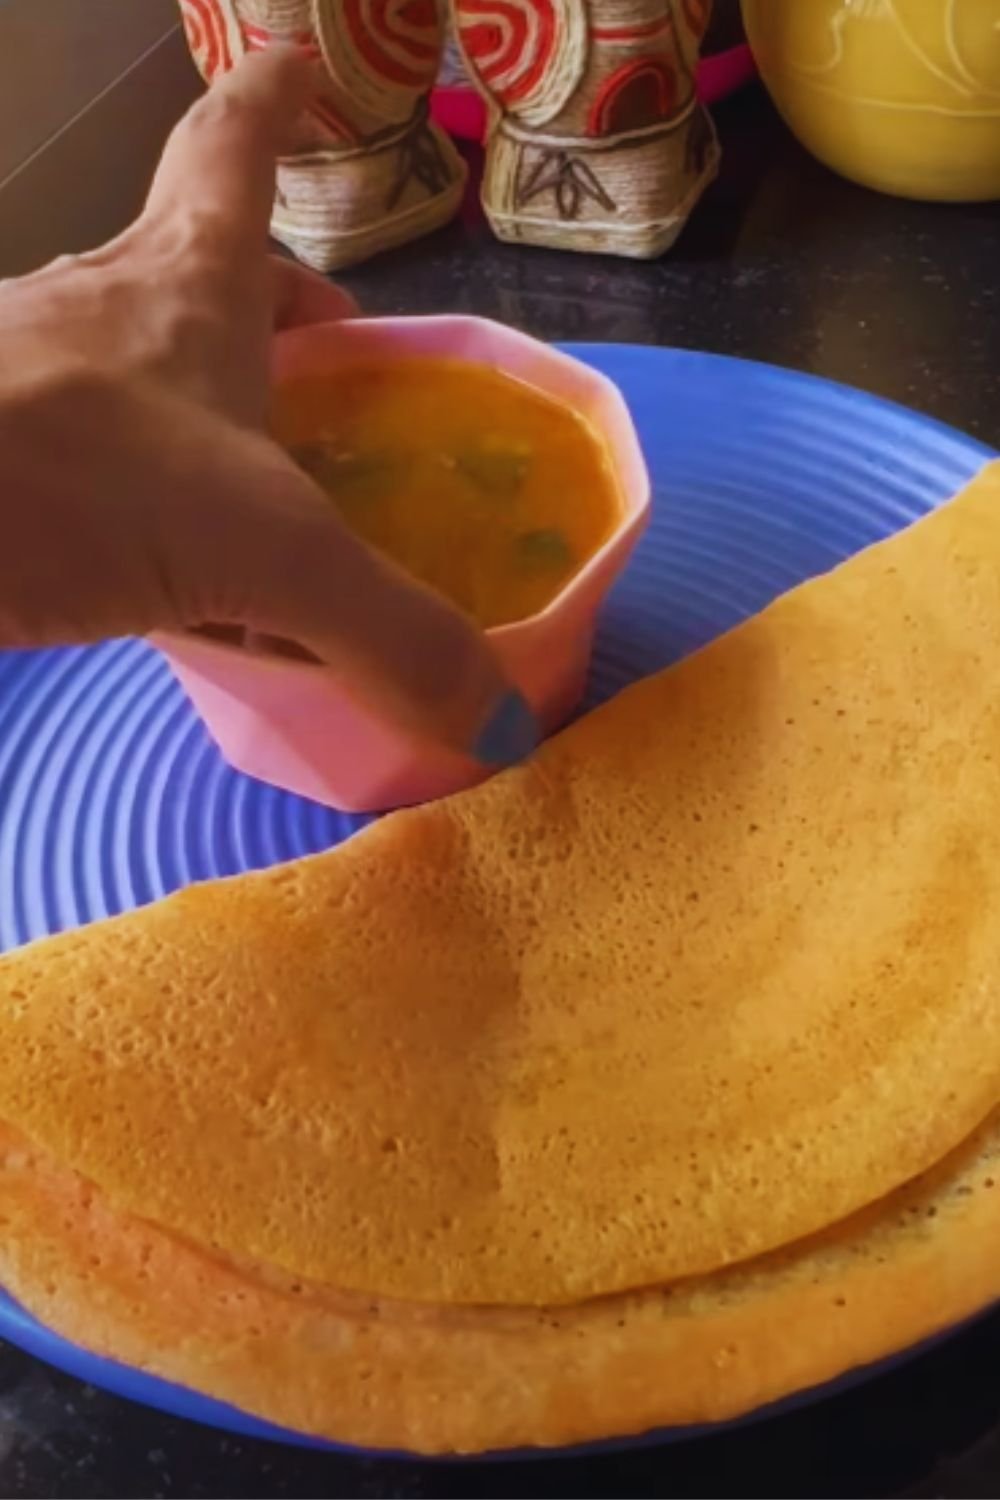
Serving Suggestions
I love serving my Masoor Dal Chilla with:
- Fresh mint-coriander chutney
- Tangy tamarind chutney
- Indian pickle
- Yogurt-based raita
- Hot masala chai
Storage and Meal Prep
While these chillas taste best fresh, I’ve discovered some effective storage methods:
| Storage Method | Duration | Tips |
|---|---|---|
| Room temperature | 4-6 hours | Stack with parchment paper |
| Refrigerated | 2-3 days | Reheat on tawa |
| Frozen | Up to 1 month | Thaw overnight |
Health Benefits
As a nutrition enthusiast, I’m particularly excited about the health benefits:
- High Protein Content: Essential for muscle maintenance
- Rich in Fiber: Promotes digestive health
- Iron-Rich: Helps prevent anemia
- Low Glycemic Index: Suitable for diabetics
- Heart-Healthy: Low in saturated fats
Variations and Adaptations
Over time, I’ve experimented with several variations:
- Spinach Masoor Chilla: Add pureed spinach to the batter
- Mixed Dal Chilla: Combine with moong dal
- Spicy Version: Double the green chilies
- Herb-Loaded: Add mint and methi leaves
Frequently Asked Questions
Q: Can I make this without soaking the dal?
While possible, I strongly recommend soaking for better texture and digestibility.
Q: How do I make it crispy?
Use slightly more oil around the edges and cook on medium-high heat.
Q: Can I make the batter in advance?
Yes, it stays good in the refrigerator for up to 24 hours.
Q: Is this recipe vegan?
Yes, it’s completely plant-based and vegan-friendly.
Q: Can I freeze the batter?
I don’t recommend freezing the batter, but cooked chillas freeze well.
Recipe Variations for Different Dietary Needs
| Dietary Requirement | Adaptation |
|---|---|
| Low-sodium | Reduce salt, increase herbs |
| Gluten-free | Already suitable |
| Low-spice | Reduce green chilies |
| High-protein | Add sprouted lentils |
I hope this comprehensive guide helps you master the art of making perfect Masoor Dal Chilla. Remember, practice makes perfect, and don’t be afraid to adjust the seasonings to your taste. Happy cooking!